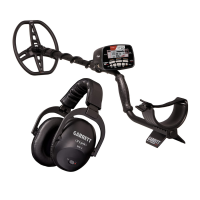
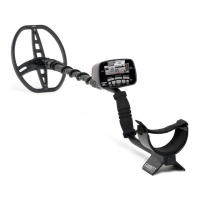
30 Garrett Metal Detectors
ATX
™
31
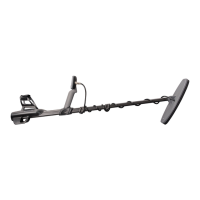
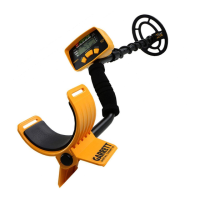
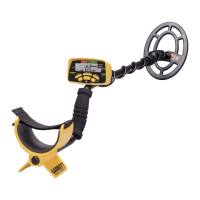
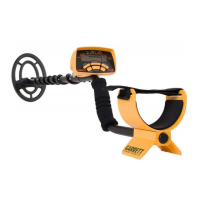
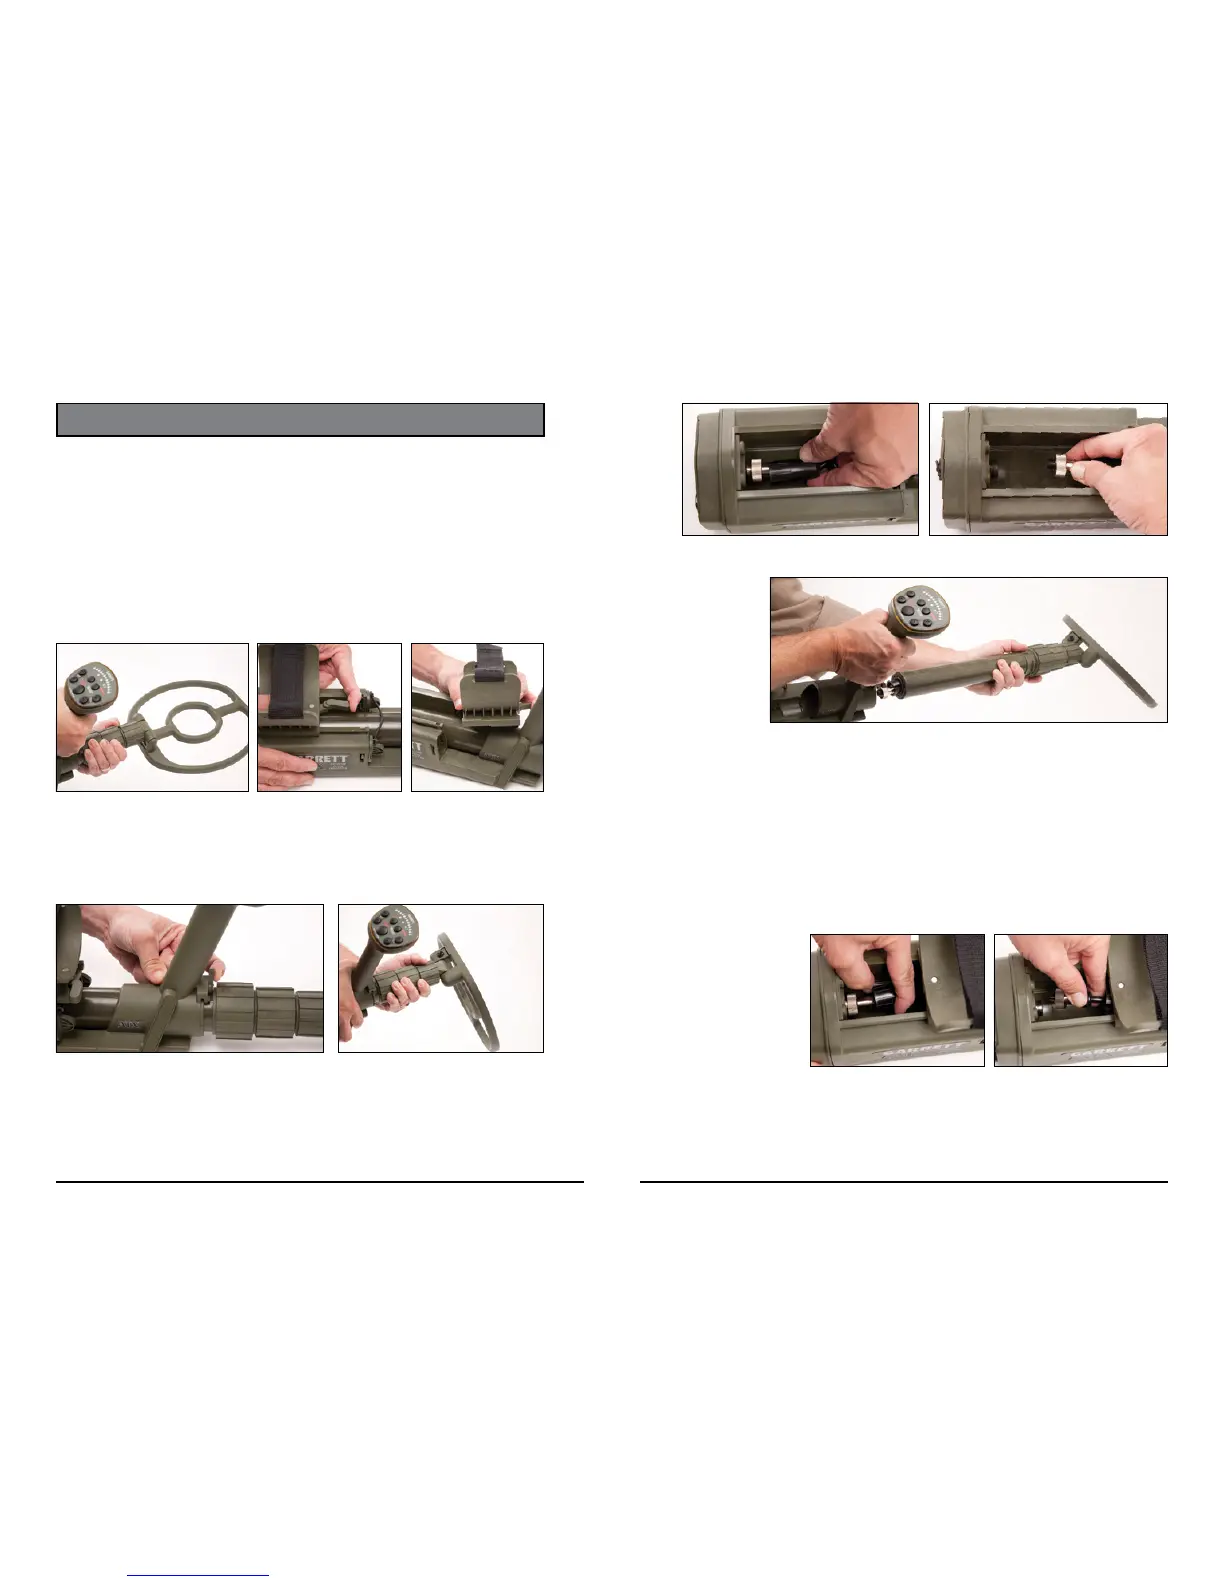
SEARCHCOIL REMOVAL/INSTALLATION
Each ATX searchcoil is permanently attached to its telescoping stem assem-
bly� To switch to another searchcoil, it is necessary to remove and install the
entire assembly as described below�
Searchcoil removal
1� Fully collapse the telescopic stem and tighten stem nuts (see Figure 1)�
2� Remove the armrest by disengaging the armrest lock and sliding the
armrest forward and off (see Figure 2)� It will be necessary to remove one
battery cover to allow the cuff to fully slide forward (see Figure 3)�
Figure 1
3� Disengage the stem rotation lock (see Figure 4) and, while continuing to
hold the lock open, rotate the stem 180° counterclockwise (looking
toward the coil) such that the coil is upside down (see Figure 5)�
4� Partially slide the stem assembly out to access the coil connector�
5� Slide connector cover down the cable to expose the connector (see
Figure 6)� Loosen and disconnect from the electronics housing by hand
(see Figure 7)�
Figure 2
Figure 4 Figure 5
Figure 3
Figure 6
Figure 8
6� Remove the searchcoil/stem assembly from the electronics housing
(see Figure 8).
Note: It is also possible to replace the ATX searchcoil without fully remov-
ing the armrest or one of the battery covers� At Step 2 from above, simply
disengage the armrest lock and slide the armrest forward without removing
it� Continue with the remaining searchcoil removal steps� Reinserting the
connector and tightening the collar is done in a more restricted space, but
this method does not require removing parts (see images below)�
Optional method shown
of searchcoil removal
with the armrest cuff not
fully removed.
Figure 7