ORIUS ™ 833 CCD Camera User’s Guide Series Rev 3 1-2
• Click on Start Acquire button in the Camera Acquire palette (Figure 3-
4). (exposure mode set to User).
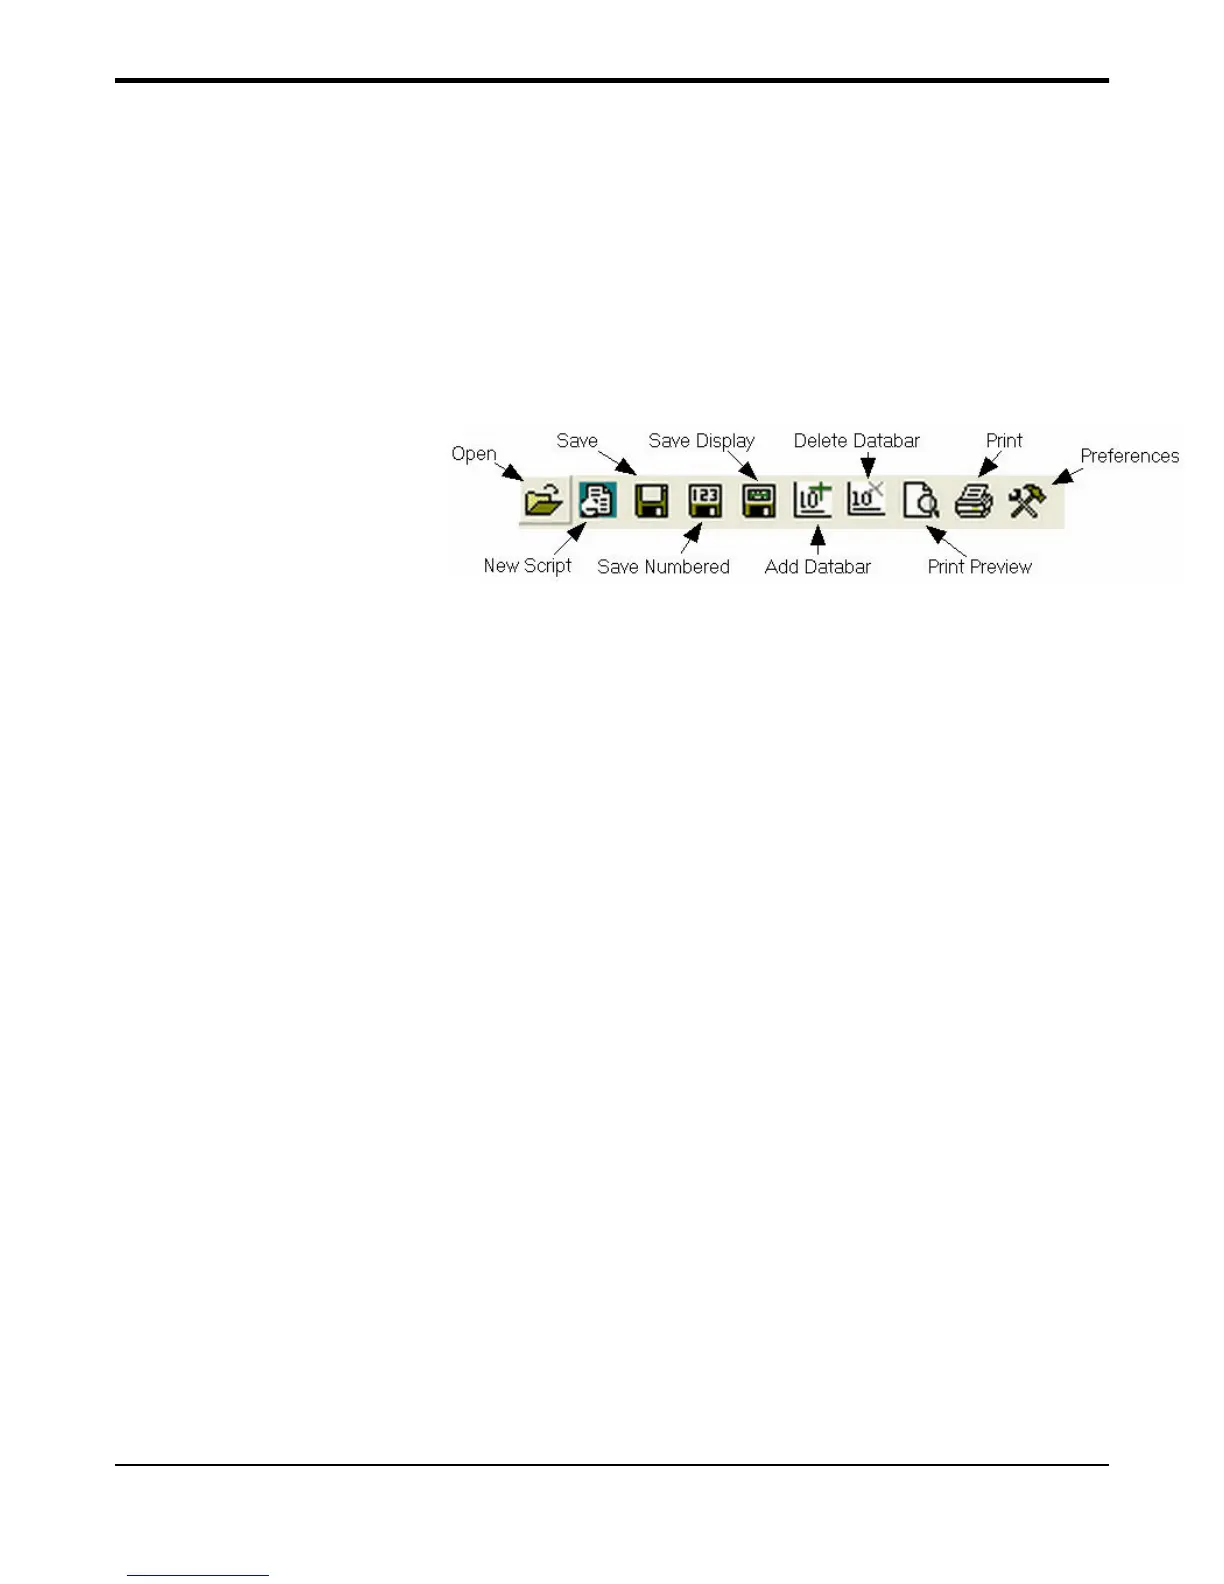
• Click on Print Preview button on the Toolbar (Figure 3-4) to view
image in print preview mode.
• Click on Save button (or Save Numbered) icon on the Toolbar (Figure
3-4) to save image in the designated folder.
• Click on Print (Figure 3-4) button (printer icon on the Toolbar) to send
image directly to the printer.
Fig. 3-4
Quick Help:
A DigitalMicrograph session would typically follow a procedure similar to the following:
1. Acquire your data.
DigitalMicrograph allows you to acquire data from many different sources such as
CCD cameras, EELS systems, or imaging filters. Your data may be an image, a
spectrum, or something totally different. You may be analyzing data that already
exists in a file. Acquisition would then consist of simply loading the file into
DigitalMicrograph.
2. Visualize your data.
DigitalMicrograph can display data and images in many ways. You can display
images in a format similar to a photograph, as a surface plot, as a numerical
spreadsheet display, or as a one-dimensional line plot.
3. Analyze your data.
You can measure areas and lengths, perform various statistical and mathematical
calculations, and analyze particles present in your image.
4. Process your data.
 Loading...