CHAPTER 4: POWERING-UP AND TESTING
D20MX INSTRUCTION MANUAL GE INFORMATION 57
Set up a PC to act as a WESMAINTII+ terminal
To set up a PC to act
as a WESMAINT II+
terminal.
1. Open the VT100 compatible terminal emulation software you are going to use.
2. Verify (or set) terminal communications settings as follows:
Result: The terminal emulator settings are now configured.
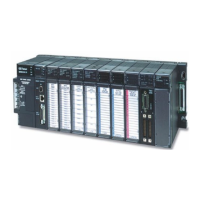
Power up the D20MX
To power up the
D20MX
1. Check that all field wiring, grounding wires and fuses are in place and secure on your
D20 system.
2. Turn the chassis-mounted Power Supply switch to ON.
Result: The unit is powered-up.
3. On start-up, inspect the D20MX LED indicators on the front panel.
Result: The RDY LED is flashing.
Automatic on-line start-up test
The D20MX automatically boots up when the power is switched on. Internal processes
perform a series of routines. Self-diagnostic tests are performed followed by the spawning
of all the software applications that reside in the unit's memory.
The self-diagnostic tests generate PASS or FAIL messages that can be viewed in your
terminal emulator WESMAINT II+ screen. You can also see the results of the application
spawning process.
Pass/Fail tests are carried out on the:
•User RAM
•NVRAM
• FLASH memory
• Root process
The self-diagnostics also return measures for:
•SDRAM size
• Bus Speeds
•CPU Core Speed
The NVRAM CRC test verifies that the configuration header is valid. If this fails, then the
D20MX starts with a minimal set of applications that allow the system to be restored.
Setting Value
Data Rate Baud rate of the D20MX (9600 or 19200 bps - See “RS-232” on
page 50 to change)
Data Bits 8
Stop Bits 1
Parity None
Flow Control Xon/Xoff (software)
Connector Settings COM1 or COM2, as required by the computer you are using