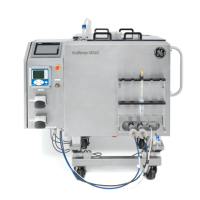
ActionStep
Turn the probe clockwise to tighten the probe in the probe sheath assembly
end plug.
8
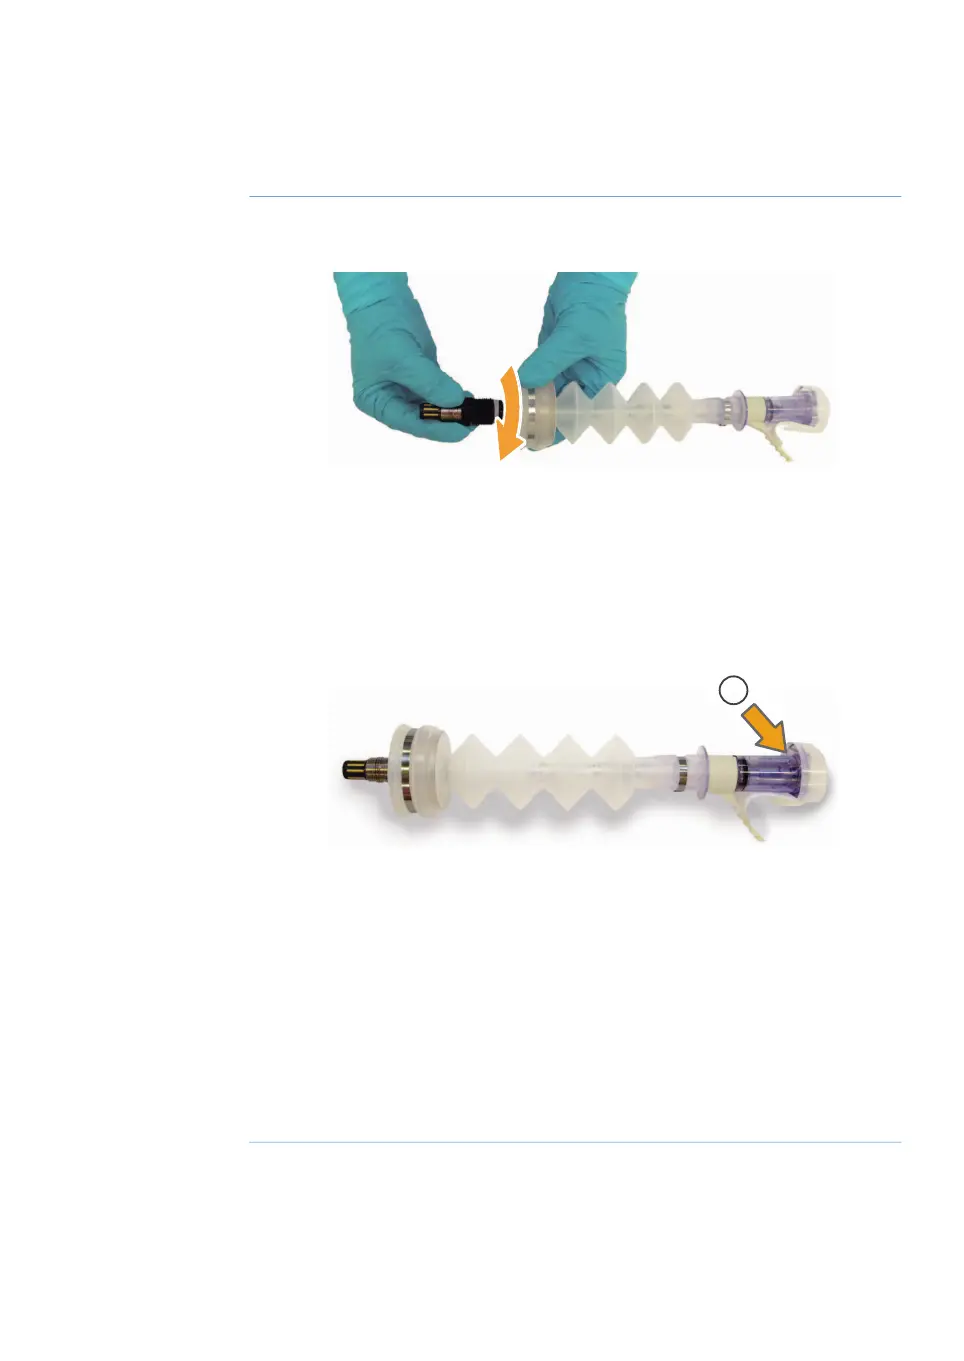
Verify that the probe sheath assembly bellows are extended enough so that
the sensory tip of the probe is not pressing hard against the aseptic paper
membrane at the end of the ACD connector (1).
9
The following illustration shows probe sheath assembly with correctly insert-
ed probe.
Result: The probe sheath assembly is ready to be placed in the autoclave.
Place the probe sheath assembly into the autoclave. The paper membrane
end of the probe sheath assembly (1) should be lower than the plug end of
the assembly.
Tip:
Use a probe assembly holder (optional) to position the probe sheath assembly
correctly during autoclaving. Contact your GE representative for more infor-
mation.
10
Start the autoclave. See Conditions, on page 165 for sterilization conditions.11
Xcellerex XDM 50-1000, XDUO 100-1000 mixers Operating Instructions 29251615 AD 167
6 Preparation
6.4 Prepare and install the probes
6.4.3 Autoclave probe sheath assembly
 Loading...