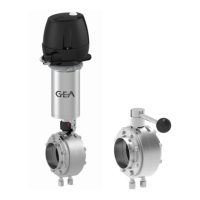
Spring-to-close valve (NC) with control top T.VIS
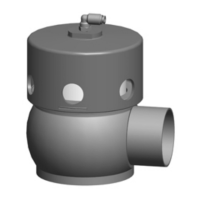
INFO Mounting step: mount the clamp connection between the housing and
lantern
T
ools
●
Jaw wrench a/f 10
●
Jaw wr
ench a/f 13
●
Torque wrench ¼“ 2,5-25 Nm
●
Socket for wrench ¼" long a/f10
●
Socket for wrench ¼" a/f13
1. Pressurize the actuator with compressed air, max. 8 bar, by activating solenoid valve
Y1 at the manual operation element S.
®
Valve disk is raised.
Valve insert lowers into the seat.
2. Mount the clamp connection (43) between the housing and lantern.
®
Observe torques, see
9.6.1 Tightening torques
.
3. Depressurize the actuator - 0 bar - by deactivating the solenoid valve Y1 at the
manual operation element S.
®
The valve disk is lowered.
74 / 104 - 9.6 Installing the valve
0000000881 - 001 - EN-GB

 Loading...