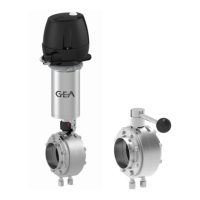
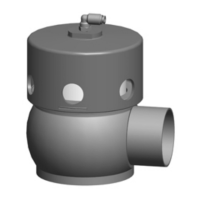
9.5.7 Dismantling of the housing combination
Prerequisites
●
This housing combination does not exist for welded housings
Tools
●
Jaw wrench a/f10
●
Jaw wrench a/f 13
1. Remove the clamp connections (43)
on the housing combination.
2. Remove the blanking plate (35).
3. Remove the seat rings (33)
Þ
Housing combination is dismantled.
All seals are fr
eely accessible.
9.6 Installing the valve
9.6.1 Tightening torques
Tighten the following valve connections to the torques specied in the table.
Tightening torques [Nm] [lbft]
Valve disk M14 80 59
Spacer nut M14 80 59
INI holder M34 60 44.2
Switch bar M14 2 1.5
Clamps on the control top M14 1 0.7
Cap 1 0.7
64 / 104 - 9.6 Installing the valve
0000000881 - 001 - EN-GB

 Loading...