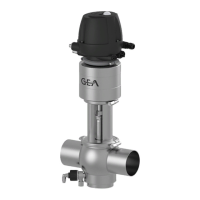
4. Unscrew the valve disk (15) along
with
the bearing disk (4), the bearing
(2), the seal ring (1) and the seal disk
(3) from the actuator (A).
5. Release the lock nut (10) using 2 jaw
wrenches on the wrench at surface
of the lock nut (10.1) and the wrench
at surface of the valve disk (15.1)
from the valve disk (15) and unscrew.
6. Pull off the bearing disk (4) with the
bearing (2) and the sealing washer (3)
with the gasket (1) from the valve
disk.
7. Remove the
clamp connection (46)
between the lantern (9) and the ac-
tuator (A).
8. Remove the lantern (9).
Þ
Valve insert has been dismantled into its individual parts.
All seals ar
e freely accessible.
9.5 Removing the valve - 63 / 104
 Loading...