8
in.xe TechBook
Installing the in.k200
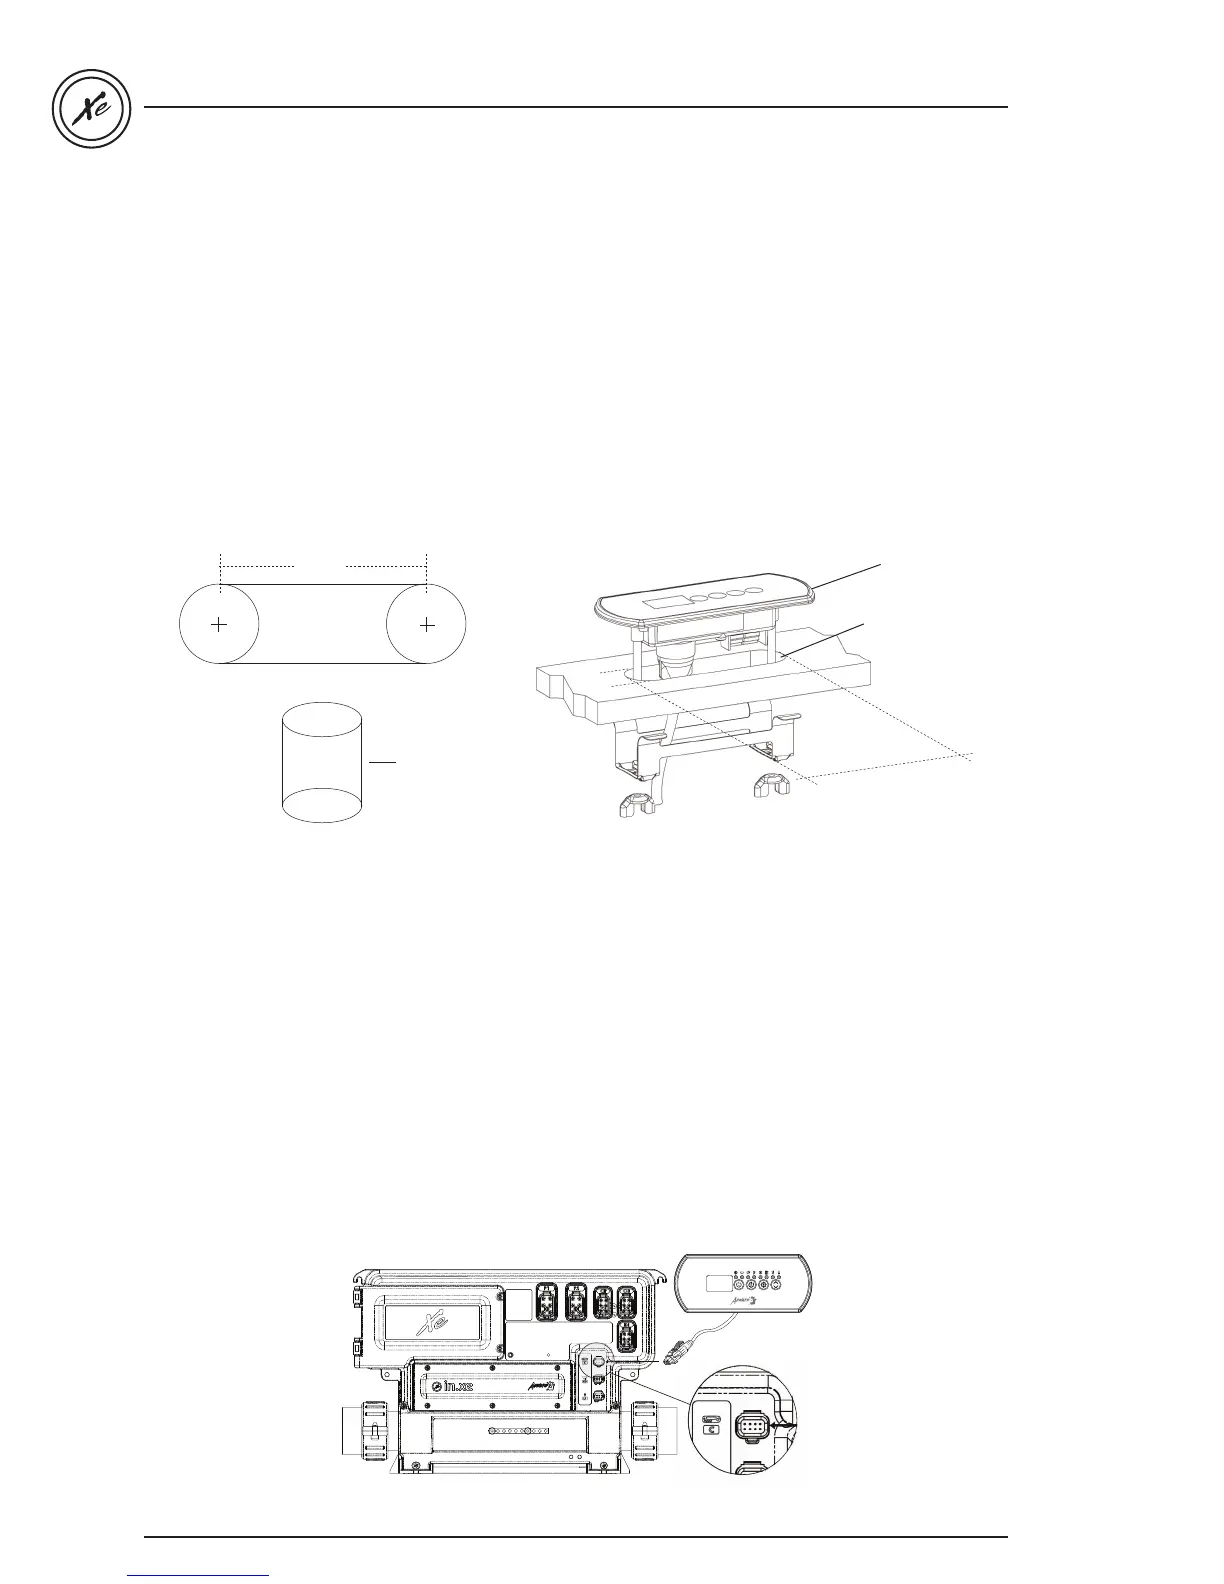
The keypad should be installed directly onto the spa (or very close to it) so that it is easily accessible to the user.
• To install the in.k200, drill two 1” (25 mm) diameter holes at 2.625” (67 mm) from center to center as illustrated.
• Cut out the material between the two holes (see illustration).
• Clean the installation surface and peel the adhesive backing from the keypad.
• Insert keypad and align it correctly, then ensure it is properly glued by gently pressing evenly on the entire surface.
If the keypad is equipped with an optional holder plate, remove the two wing nuts from the back of the keypad and
remove the mounting bracket.
Insert the keypad into the opening you have cut out. Put the mounting bracket and the wing nuts back on their
respective bolts and fix the keypad securely in place (see illustration below).
Note: It is the installer’s responsibility to ensure that no obstructions (cables, piping, etc.) are present below the deck
at the drill hole location.
Note: If the installation location is not perfectly even (e.g. wood surface), make a silicone joint between the
installation surface and the back of the unit to ensure a proper seal around it.
∅ 1"
(25 mm)
Gasket with adhesive
2.625"
67 mm
∅ 1"
(25 mm)
∅ 1"
(25 mm)
1" (25 mm)
dia. drill
1"
(25
mm)
3
.
625
"
92 mm
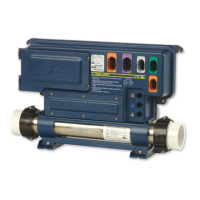
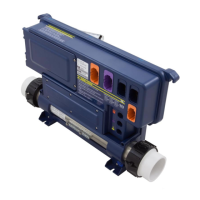
Connecting the main keypad to the in.xe spa pack
The in.k200 comes with a 10' (3.048 m) cable and an in.link connector.
To connect the in.k200, first remove the in.xe cover (6 screws), then insert the in.link connector into the appropriate
keypad connector (as illustrated.) Route the cable through one of the molded strain relief channels on the bottom
right side of the spa pack (as illustrated.) Don’t forget to replace the cover and all 6 screws (do not over tighten
cover screws.)
Note: always shut power down before connecting an accessory to the in.xe.
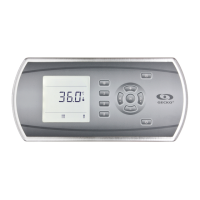
in.k200 installation & connections
in.k200
Connect the main keypad
in.k200 as indicated here.
 Loading...