in.xe TechBook
9
Electrical wiring for North American model of the in.xe
Electrical wiring for North American or CE model of the in.xe
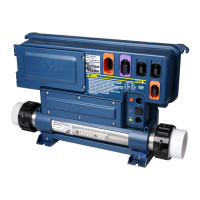
Main electrical box GFCI panel
Warning!
For units for use in other than single-family
dwellings, a clearly labeled emergency switch shall
be provided as part of the installation. The switch
shall be readily accessible to the occupants and
shall be installed at least 5' (1.52 m) away, adjacent
to, and within sight of the unit.
-----
This product must always be connected to a circuit
protected by a ground fault interrupter.
Proper wiring of the electrical service box, GFCI
and in.xe terminal block is essential!
Check your electrical code for local regulations.
Only copper wire should be used, never
aluminum.
-----
Disposal of the product
The appliance (or the product) must be
disposed of separately in accordance with
the local waste disposal legislation in force.
To install the wiring for the in.xe spa control, you'll need
a Phillips screwdriver and a flat screwdriver.
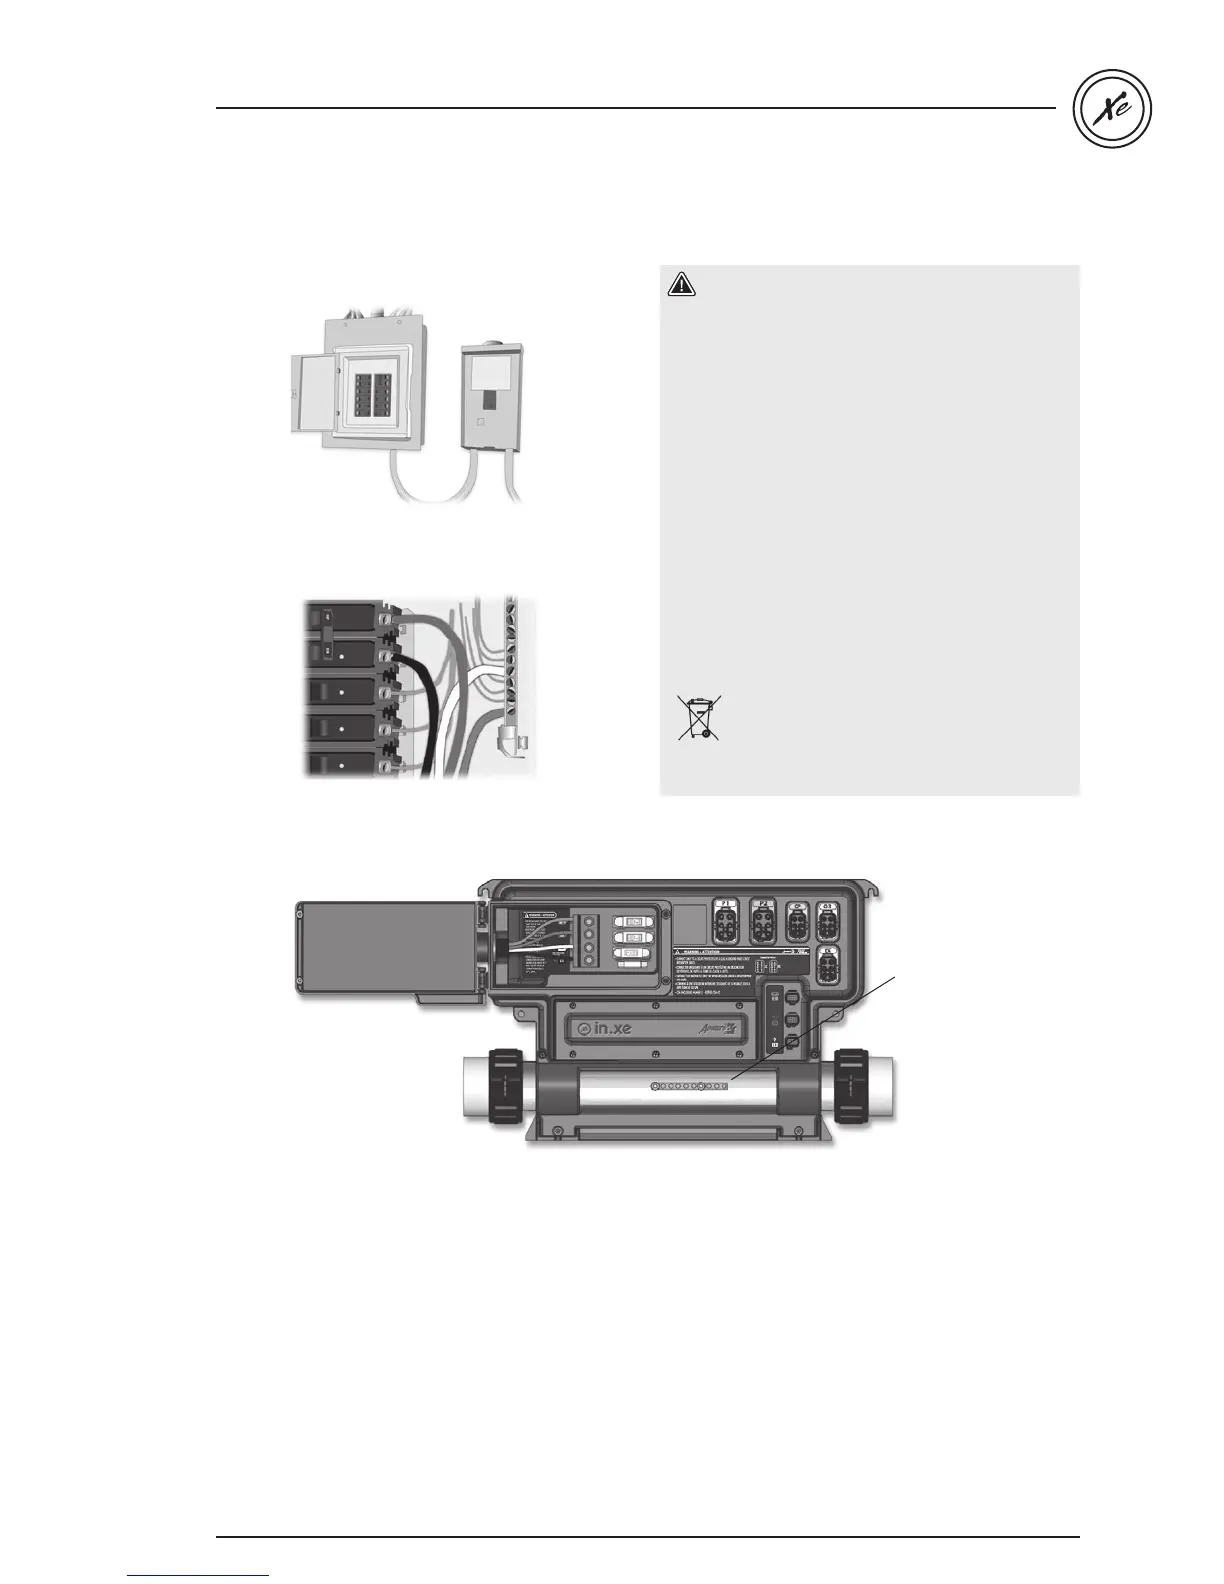
Loosen the 2 screws of the spa pack door and open it.
Remove 5.5" (142 mm) of cable insulation.
Strip away 1" (25 mm) of each wire insulation.
Pull the cable through the cutout of the box
and secure it with a strain relief (1" NPT strain relief;
hole diameter: 1.335").
(For CE use an IEC certified plastic bushing that will
maintain the IPX5 rating.)
Make sure that only the uncut sheathing is clamped
at this opening.
Push the color-coded wires into the terminals as
indicated on the sticker and use the flat screwdriver
to tighten the screws on the terminals.
After making sure wire connections are secure, push
them back into the box and close the door. Tighten
the 2 screws of the spa pack door.
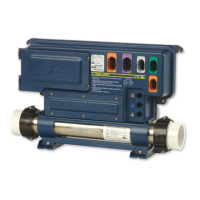
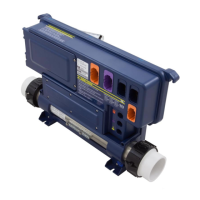
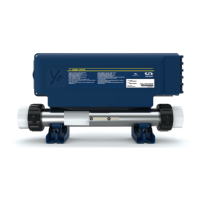
Connect the bonding conductor to the bonding lug on
the front of the in.xe spa pack (a grounded electrode
conductor shall be used to connect the equipment
grounding conductors).
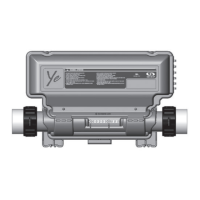
in.xe connections
bonding lug
 Loading...