Owner’s Manual for Power Zone Pro Sync 27
Operation
5. Write down configuration of annunciator.
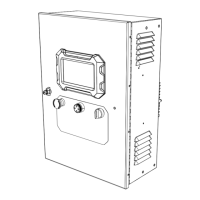
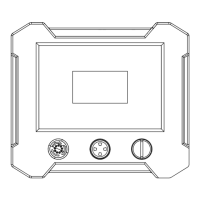
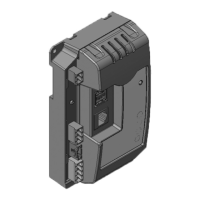
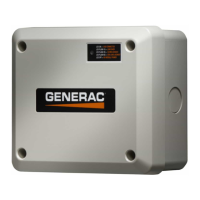
Replace annunciator:
6. Replace the annunciator.
Delete the old annunciator from the “Device Man-
ager” screen on each Display, and assign the new
annunciator a Friendly Name:
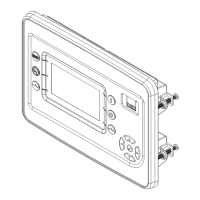
7. See Figure 3-4. Select “Setup” (B).
8. Select “Communications”.
9. Select “Device Manager”.
10. Select “Clear Devices”. Repeat this step on ALL
other Displays in the system including P&L Dis-
plays.
11. Go back to the “Device Manager” page on the Dis-
play with the new annunciator.
12. Select the new annunciator entry in the “Ethernet
Annunciators” list.
13. Select “Edit”.
14. Assign a Friendly Name for this annunciator and
select “Save”.
Configure the new annunciator:
15. See Figure 3-4. Select “Setup” (B).
16. Select “Modules”.
17. Select “Annunciator Setup”.
18. See Figure 3-9. Under “Remote Annunciator”, use
the “Select a Name” dropdown to select the new
annunciator.
19. See Figure 3-10. Under “Generator”, use the
“Select a Name” dropdown to select the generator.
Figure 3-10. Select Generator
20. Configure the annunciator settings and select
“Save”.
Verify the Controller is communicating with the
annunciator:
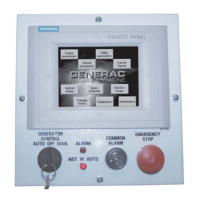
21. The “COMMS OK” LED on the annunciator should
be lit solid green (no flashing) and the “SYSTEM
READY” LED should be flashing green.
22. Temporarily take the generator out of AUTO mode
(only if it is safe to do so).
23. Verify the horn sounds and the “NOT IN AUTO”
LED is lit.