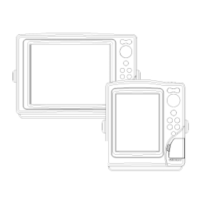
14 15
Removing the CompactFlash™
Make sure that the plotter is perfectly dry.
Open the cartridge slot cover located on the plotter’s front
side, then extract the cartridge.
WARNING: Always use CompactFlash™ cartridges certified by Navionics. The
use of non-certified cartridges may result in improper operation of the unit.
The CompactFlash™ cartridges can be used as a mass-storage
with any PC computer, so can be the cartridge used by the
plotter. However, the plotter needs to find some free space in
the cartridge in order to work properly. Prior to use a new
cartridge, always make sure that there are at least 2.5MB of
free space.
WARNING: Be careful when handling the cartridge files by using the PC. Windows
allows deleting and moving files easily, therefore pay attention when using Windows
Explorer not to erase the content of the \NAVIONIC and \GEONAV folders. Damaging
the files stored in such directories may result in loss of data or improper operation of
the unit.
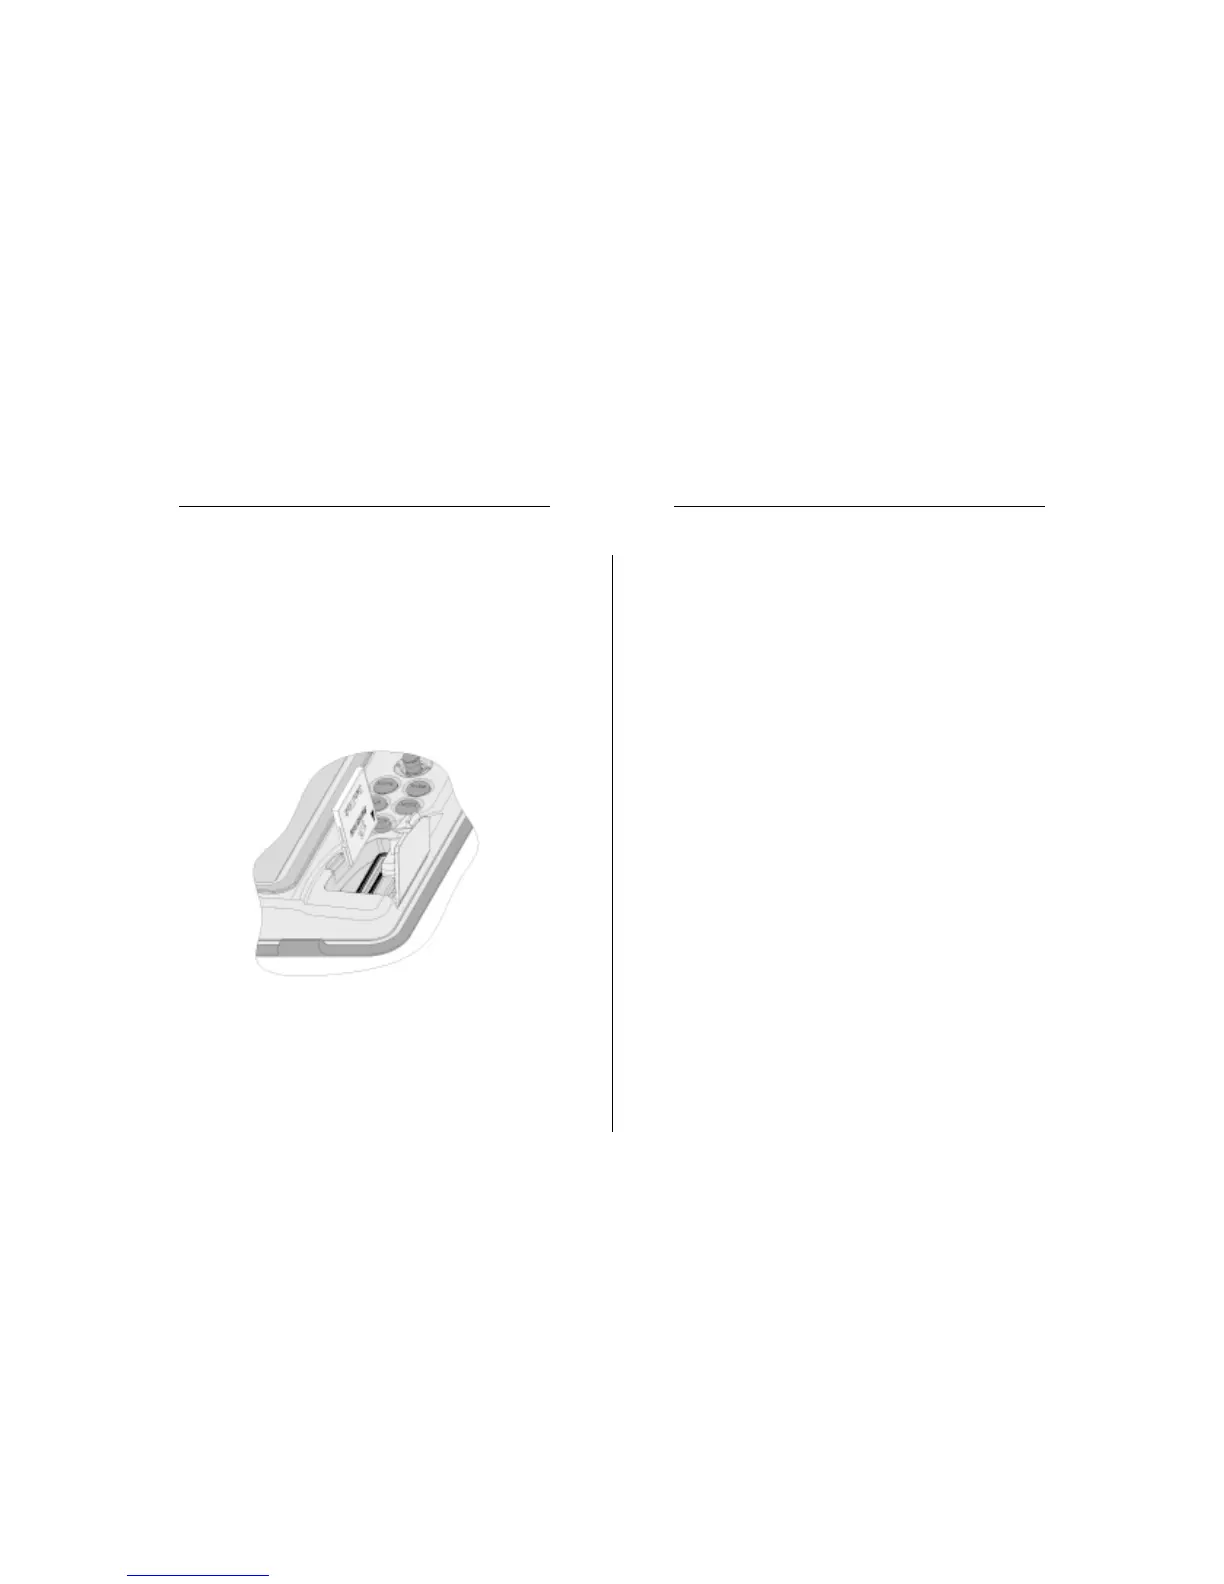
CARTRIDGE INSTALLATION
Installing the CompactFlash™
Open the cartridge slot cover located on the plotter’s front
side.
Insert the cartridge into the appropriate slot, with the label
side (side with a small arrow) towards the right, and push it
down.
Close the cover exercising light pressure and check that it is
perfectly closed, in order to avoid any water infiltration.
NOTE: Make sure of inserting the cartridge correctly. Should you try to insert the
wrong side of the cartridge, full insertion into the slot is hampered. Any further attempt
to force the cartridge into the slot may damage the cartridge or the plotter. This kind of
damage is not covered by the warranty.
Cartridge Installation