Comander Perimeter Security System
Engineering and Installation Manual
Page 24 of 72
Comander units using the Upload options provided in this section of the Configurator.
The exact details of this process vary according to the specific certificate strategy you
want to employ, and how you will acquire or generate the certificates. The range of
possible options is very wide, and beyond the scope of this manual.
Please contact Geoquip Technical Support for more information and guidance on using
SSL certificates in this way.
2.5 Comander Peripheral and System Setup Using the Configurator
This part of the Configurator has blue title bars which expand when clicked to display
different pages of configuration options. The pages are listed below in the order in
which they appear on-screen.
When you make changes on any of the pages in this menu, you must click the Apply
button at the bottom of the page to save the change. Some changes are implemented
immediately, but some require a system reboot – reboots are not executed
automatically, so when a page indicates that a reboot is required, you must manually
restart the Node after clicking Apply.
A Rack can be restarted using the Reboot command in the
Configurator, or using the reset switch on the Rear panel.
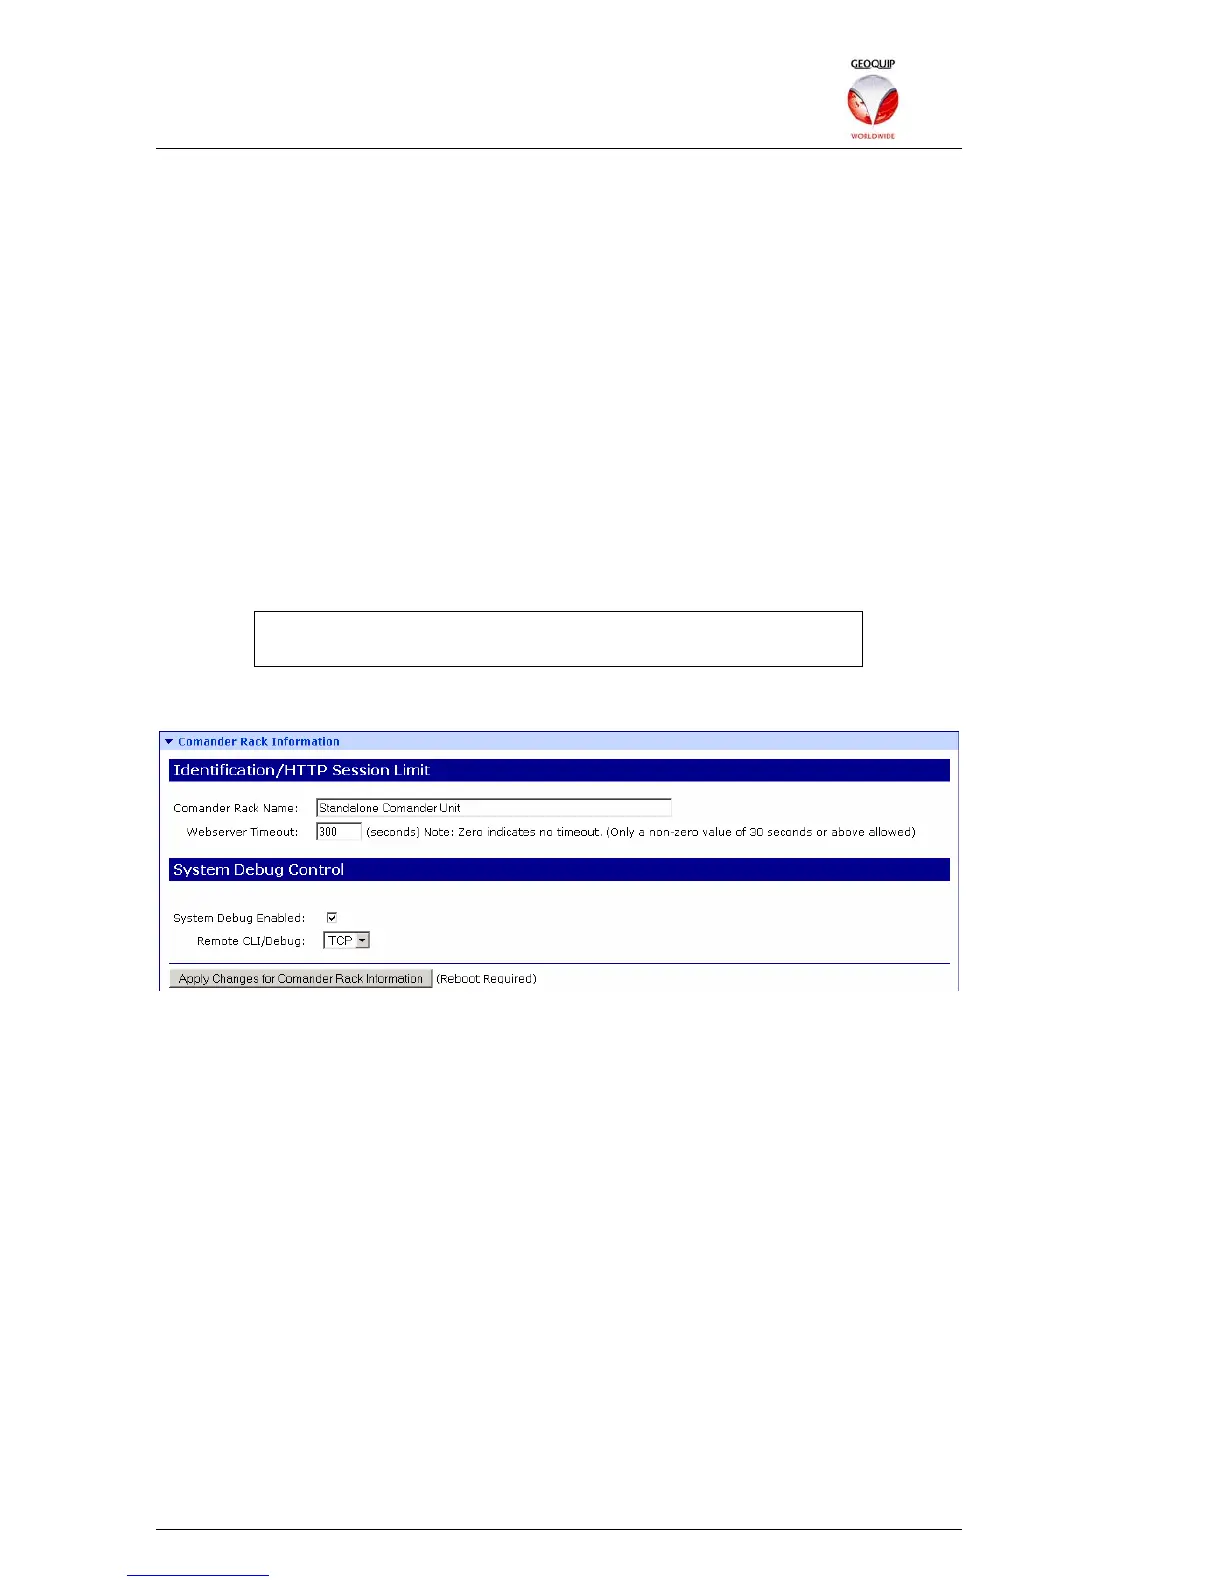
2.5.1 Comander Rack Information
On this page, the Comander Rack Name option allows you to allocate a name to each
rack unit. The name is not important for the operation of the system, but is useful for
engineers managing a large system with multiple racks. If you reset the Comander's
network settings and use the Digi Discovery program to regain access to it (see section
7 below), the Rack Name is displayed by the Discovery program.
The Webserver Timeout setting defines the period of inactivity (in seconds) after
which a logged-in Configurator session will time out and lock out the user. A timeout of
zero disables this feature. To regain entry to the Configurator, you must log back in
again.
The System Debug Enabled option is a global enable/disable switch for setting
whether status and activity information is streamed serially to a debugging device.
Debugging can be done via a Telnet/CLI link using a COM port in Diagnostic Mode –
see section 3.1.3.1 below.
With System Debug enabled, the Remote CLI/Debug option selects between TCP
(usually using TELNET, Hyperterminal or similar terminal program which does not
support encryption) and SSL (for secure encrypted terminal programs which use the
TELNETS protocol).