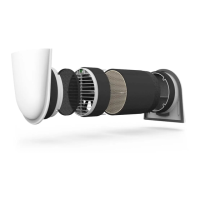
15
EN SmartFan
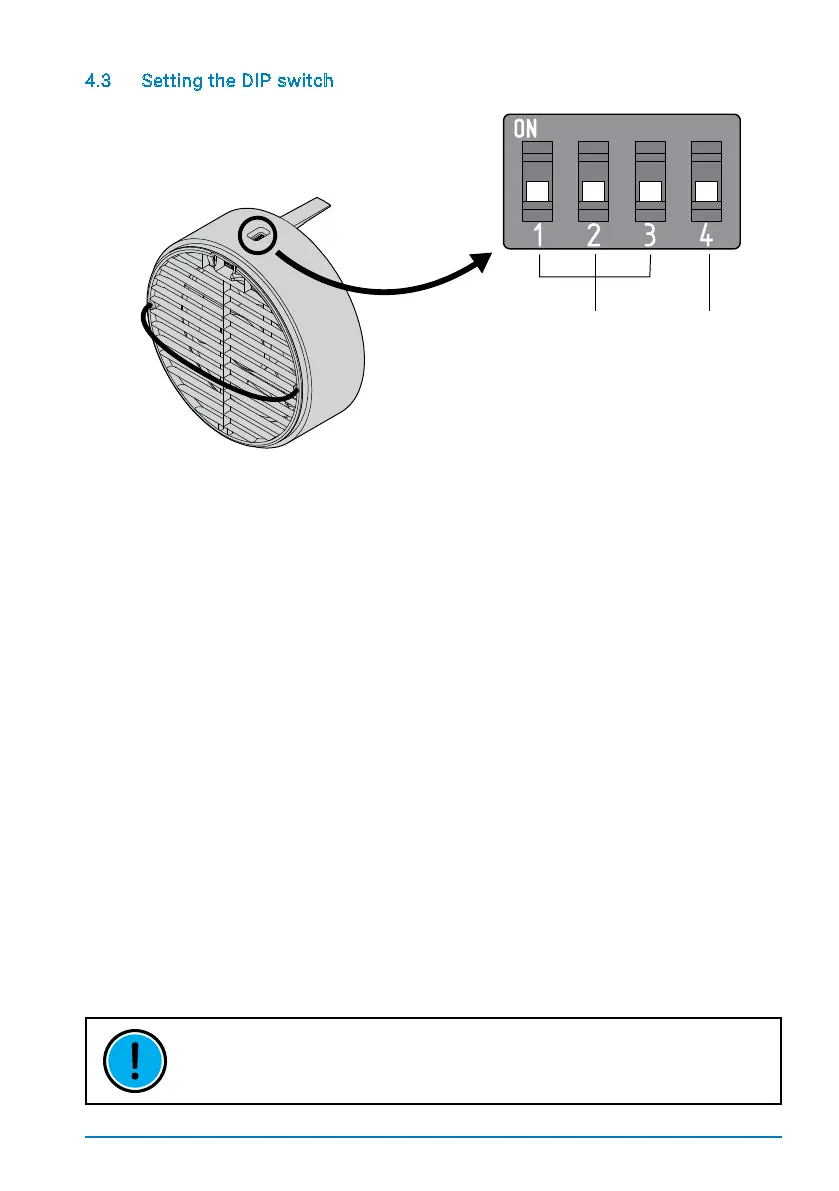
4.3 Setting the DIP switch
SmartFan fan units are equipped with a DIP switch on the top. During installation, the
required zone and initial direction need to be set. Switches 1 - 3 are used to assign a unit to
one of the three zones available.
Usingthismechanism,individualSmartFanunitscanbeassignedtospecicroomsand
separately controlled via the TOUCH controls. Each SmartFan unit can only belong to one
zone. The fourth DIP switch sets the SmartFan‘s initial direction, determining whether the
unit inputs air into a room at the beginning of a heat recovery interval (Switch 4 pointing
down) or expels air (Switch 4 up) When installing SmartFan units in pairs, the SmartFan
units must be assigned properly toachieve constant ventilation. Congure the units in
such a way that the same number of SmartFan units are assigned to each direction.
THOUGH THE LED CONTROL UNIT DOES NOT SUPPORT ZONE CONTROLS. THE
INITIAL DIRECTION OF THE FAN (SWITCH 4) MUST STILL BE SET.
Zone setting Fan start direction