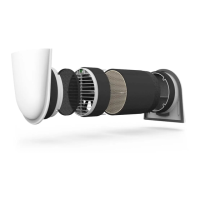
18 SmartFan EN
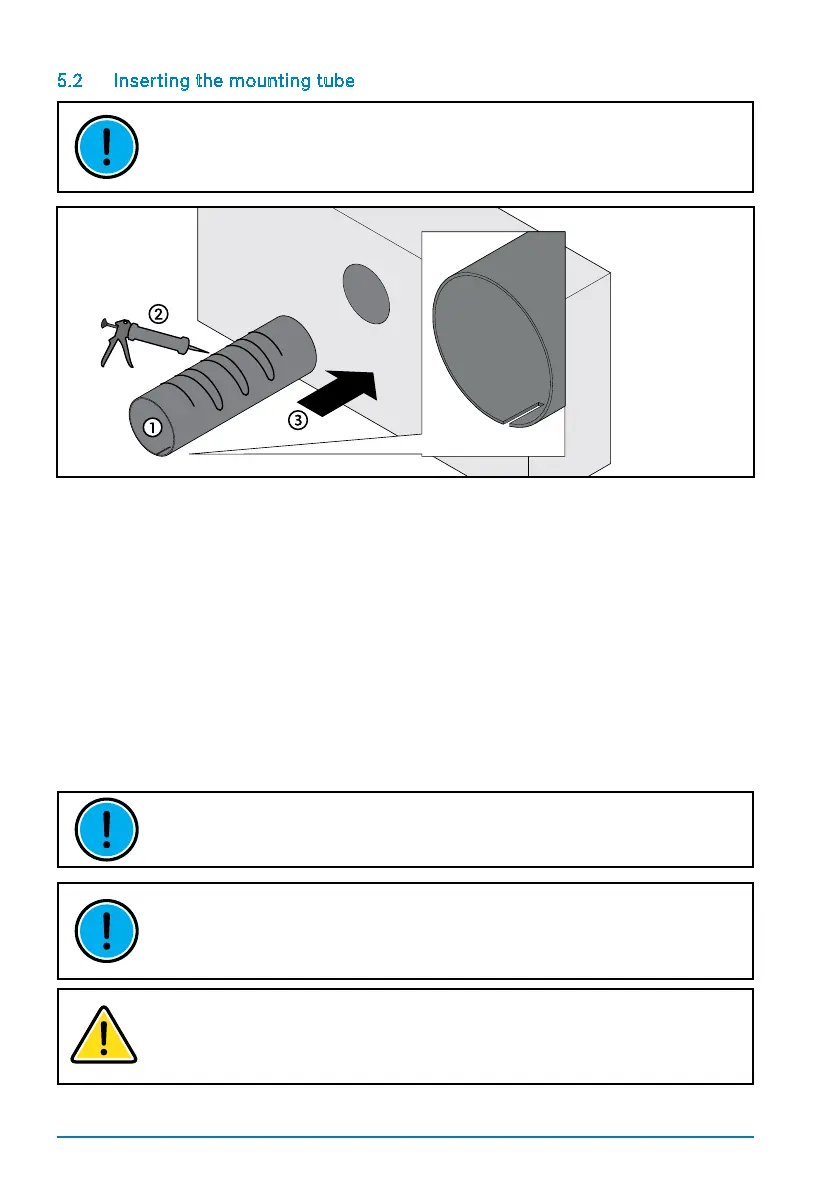
5.2 Inserting the mounting tube
WHEN USING A NON-REGULAR SMARTFAN VERSION, PLEASE REFER TO ITS
SPECIFIC INSTRUCTIONS.
Measure the thickness of the wall. Should any plastering still need to be done, allow for
plaster thickness when shortening the mounting tube. Shorten the mounting tube using a
sabresawinsuchawaythatthemountingtubeendsareushwithbothinsideandoutside
walls. Cut one or two slits (each ca. 10mm wide and 30mm long) into the mounting tube
on the indoor side (1). These are required for the incoming data cable (and possibly for a
cable to the next fan when serially installed). When using cables with a larger diameter or
when linking several SmartFan units together, the slit will need to be wider.
Coat the outside of the mounting tube with the sealant (2) and insert it into the core-drilled
hole (3). Pay attention to how long the sealant needs to dry. Proceed to the next step.
MAKE SURE THAT THE MOUNTING TUBE IS PROPERLY SEALED INTO THE WALL
BEFORE BEGINNING WITH THE NEXT STEP.
WHEN USING A METAL HOOD ON THE OUTSIDE WALL, THE MOUNTING TUBE
MUST NOT BE FLUSH WITH THE OUTSIDE WALL, BUT MUST PROTRUDE CA. 5 MM
TO ALLOW ANY CONDENSATE TO DRAIN OFF.
INSERT THE PLASTERING COVERS INTO THE MOUNTING TUBE. ONLY CONTINUE
INSTALLATION WORK ONCE ALL BUILDING WORK HAS BEEN COMPLETED.