20 SmartFan EN
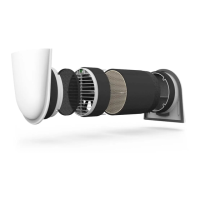
5.5 Installing the heat exchanger unit
Once all work on the inside wall has been completed and the outside cover installed, the
heatexchangerunitcanbeinstalled.Theexchangerisinsertedwiththeinsectlterfacing
the outside. Push the unit carefully into the mounting tube until it touches the rim of the
outside cover.
THE STRAP MUST POINT INWARDS (TOWARDS THE ROOM), ALLOWING THE HEAT
EXCHANGER TO BE REMOVED FOR MAINTENANCE.
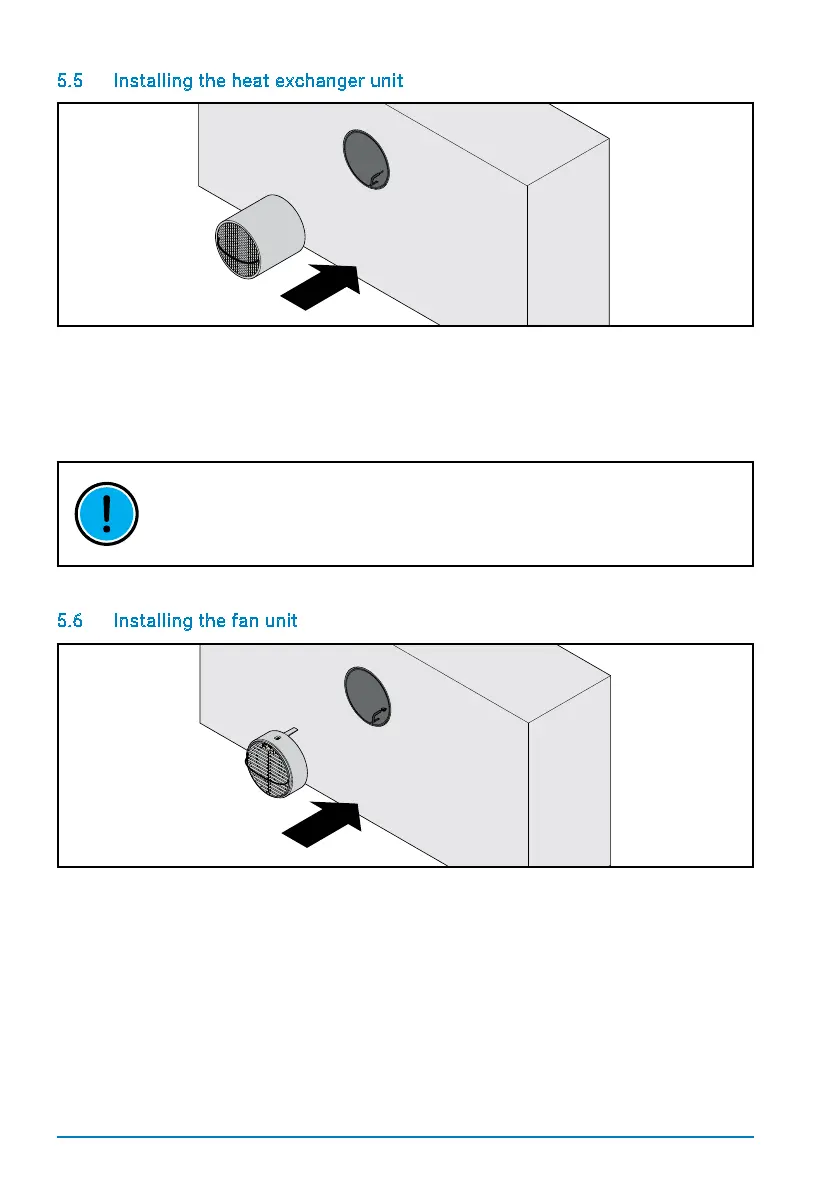
5.6 Installing the fan unit
Once the heat exchanger has been installed, the fan unit is then inserted. Set the DIP
switches on the fan unit for the desired zone and initial fan direction (see Electrical
installation). Mark the settings of the switch on the corresponding sticker.
Make sure that the fan unit sits properly in the mounting tube and that the electrical control
baseis on top. Connect the power cable to the fan unit and insert the unit carefully into the
mounting tube until the spacers touch the heat exchanger.