MDE-5222F
10
SECTION 3 - REMOVING COMPONENTS
CIM Door
To remove the CIM door:
Note: When removing the two CIM doors, it is ver
y important to ensure that the side A door node/pump
display is not swapped with the side B door node/pump display. The displays/door nodes must be
returned to the same side they were removed from.
1 Disconnect all the cables connecting the electronics on the CIM door from the rest of the unit and UL
bucket.
Note: Only remove the existing CRIND related cables from the unit. Keep all pump-related cabling in
the unit. Pump hardware, including cabling, will remain the same. Pump hardware is not part of
the FlexPay IV CRIND Kit.
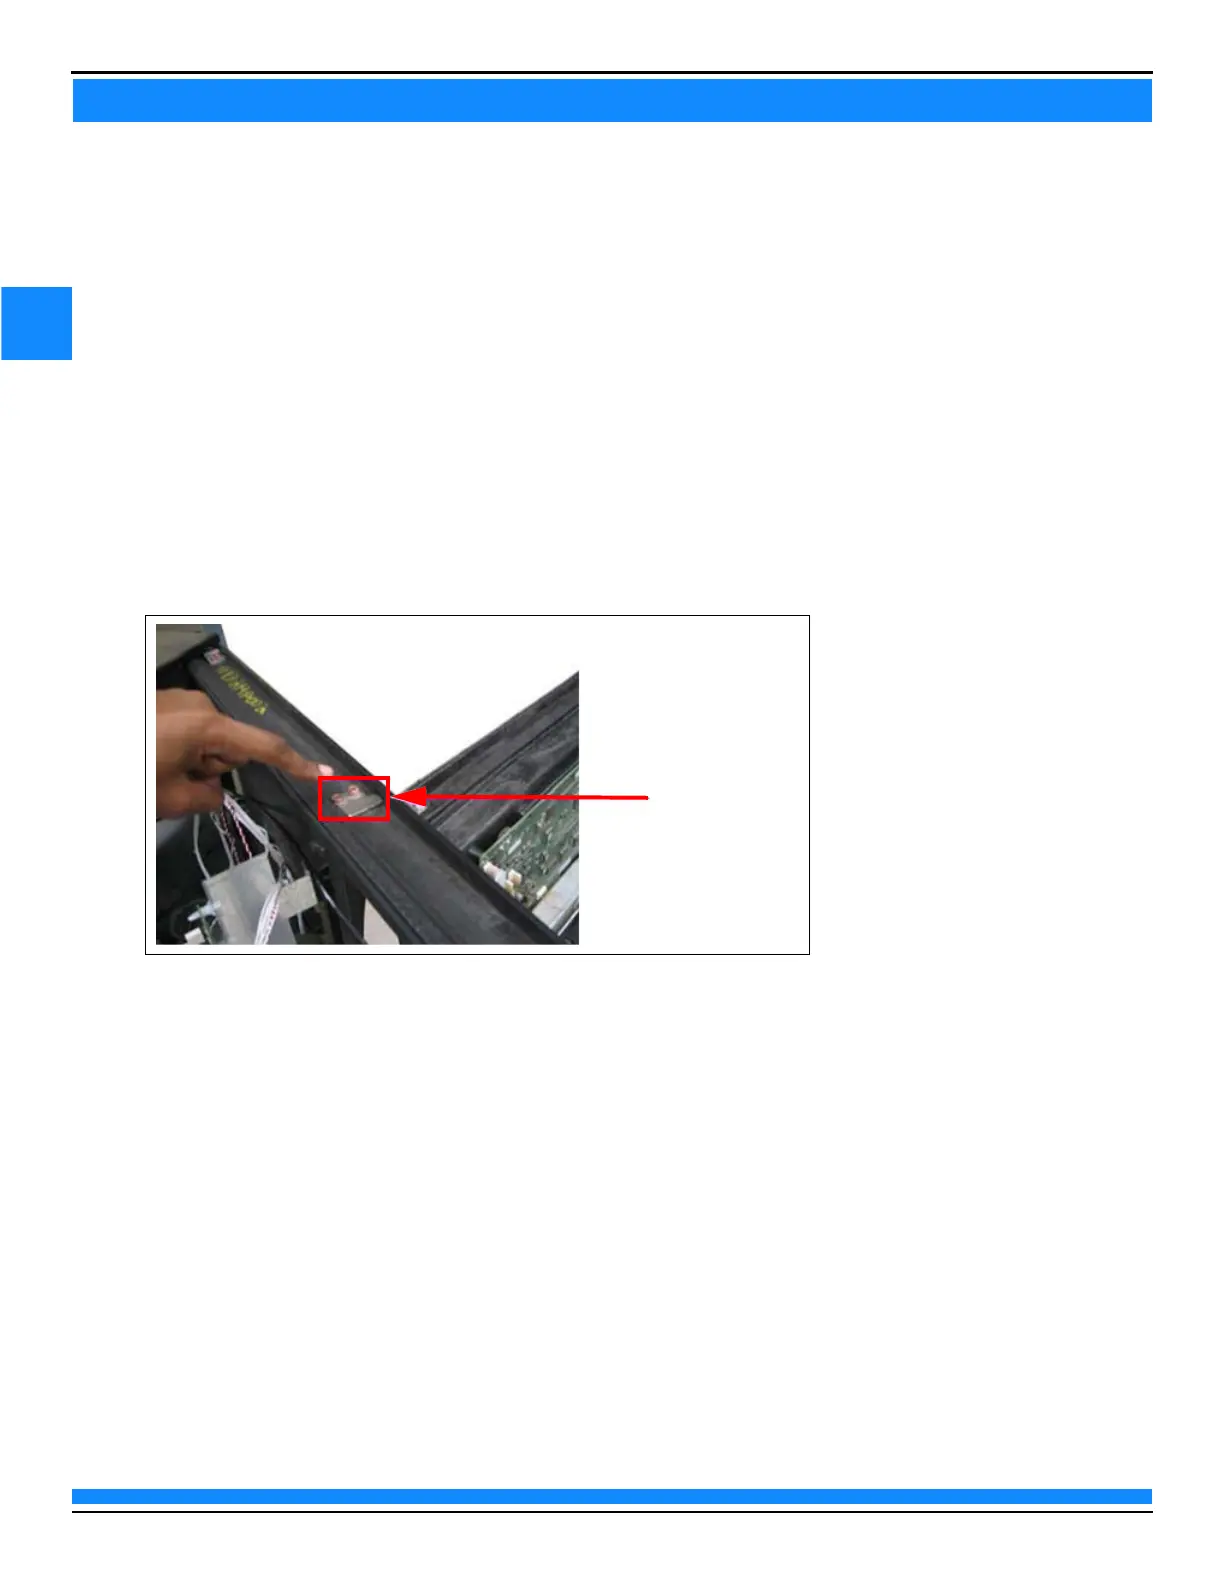
2 Loosen and remove the two screws from the top of the CIM door at the hinge (see Figure 2).
Figure 2: CIM Door Mounting Screws
3 Lift the pin assembly out while holding on to the CIM door.
4 Remove the CIM door from the unit frame.
Note: If the site is using customer supplied locks, transfer them to the new CIM door.
5 Carefully place the CIM door away from the unit in a safe location. Some components, such as the
main display/door node, will be reused on the new FlexPay IV CRIND CIM door.
 Loading...