17
MDE-5222F
FlexPay IV CRIND Retrofit Kit
CIM
To install the CIM door:
1 Place the preassembled FlexPay IV CRIND CIM door over the mounting location on the main door on
side A (used by the door that was removed earlier).
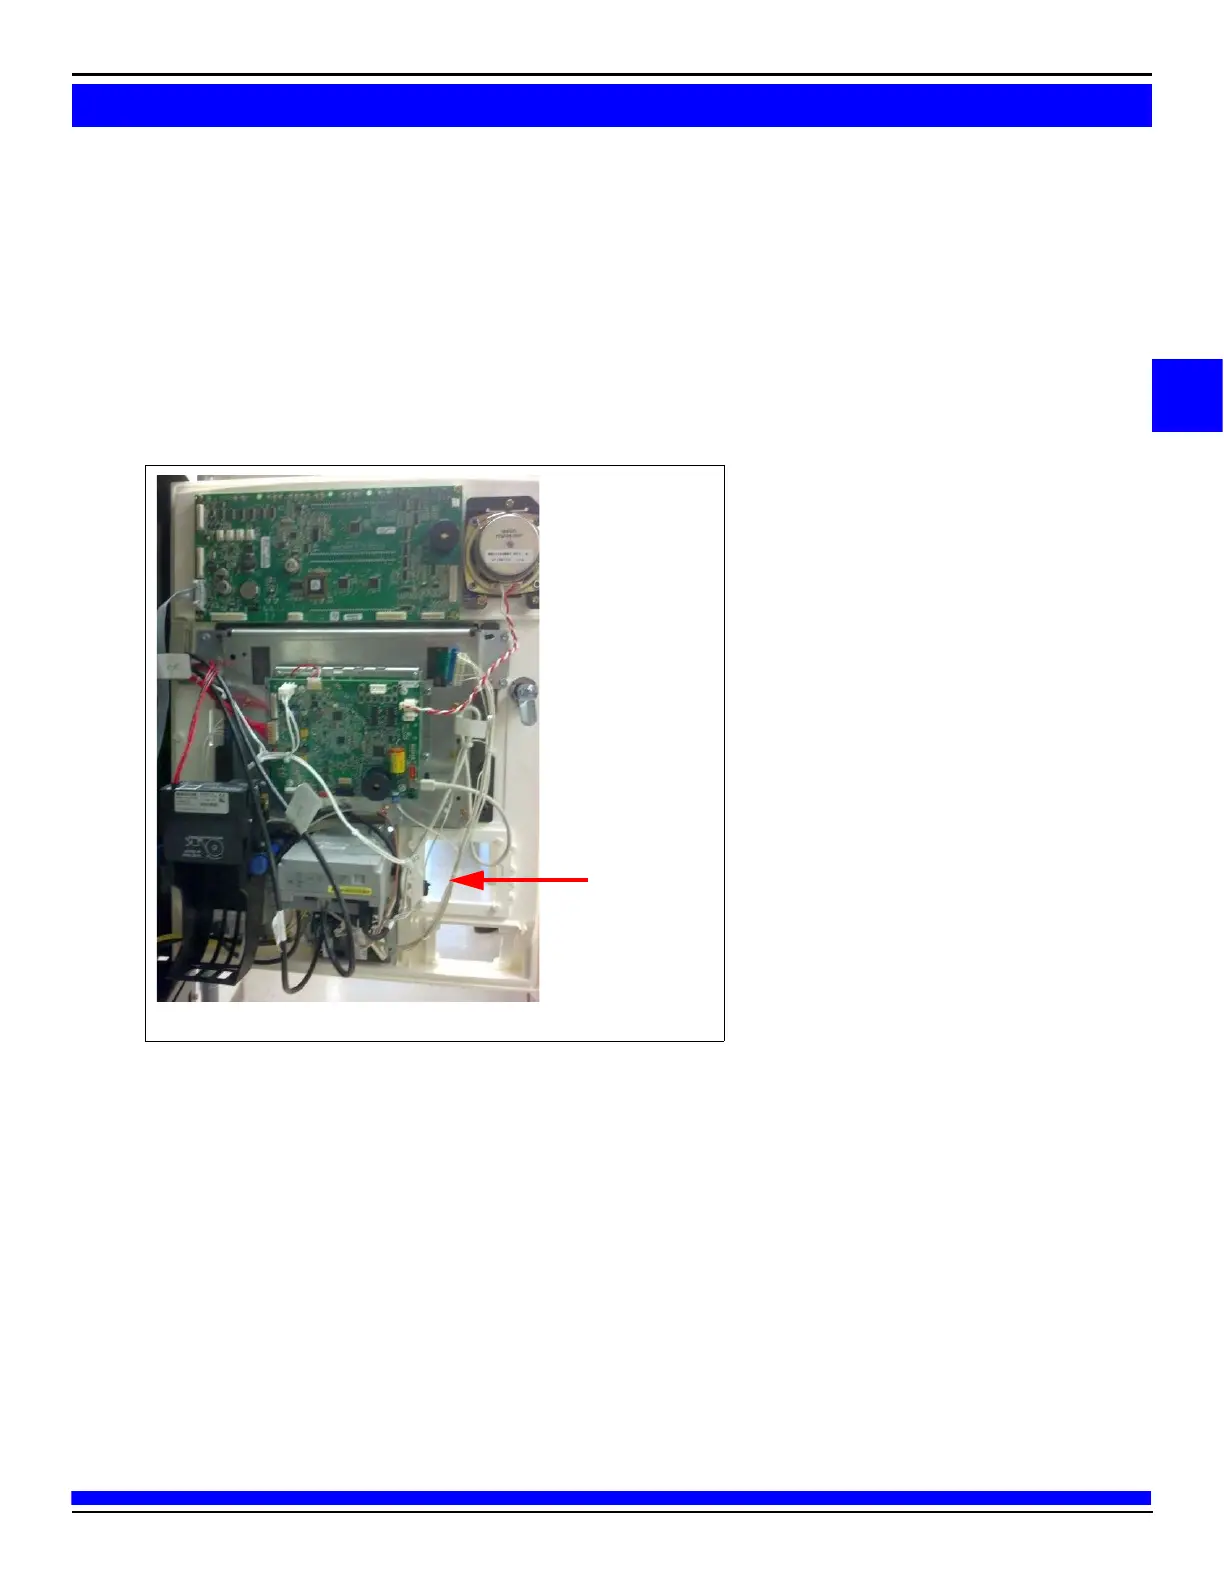
Figure 1: Mounting CIM Door
TRIND Mounting
Location
Note: The main display or door node is reused from earlier removed CIM door.
2 Insert the bracket and two screws removed previously, refer to step 1 through 6 on page 10. Tighten
the screws to secure the new CIM door.
3 Remount the components from the old door to the new door (for example, door node, main display,
and so on).
Note: Retain the door node or main display for reuse, even for a unit that has no CRIND.
4 If the kit did not come with a printer, transfer the printer from the old door to the new door. Verify
that the USB printer has software version 3.00 or later.
Note: The printer firmware can be upgraded in the maintenance menu. For more information,
refer to MDE-5221 FlexPay IV CRIND Start-up Manual.
5 Repeat the steps 1 through 4 for side B.
 Loading...