Gill Instruments Ltd
_____________________________________________________________________________________________________________
________________________________________________________________________________________________
WindObserver II Page 21 Issue 18
Doc. No. 1390-PS-0004 January 2009
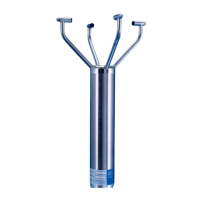
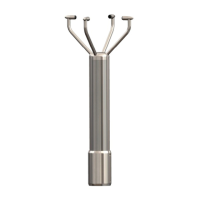
6.7. Mechanical installation
Do NOT remove the black “rubber” transducer caps. Take care not to knock
the four Transducer arms.
Before installing, a bench system test is recommended.
All the time the WindObserver II is not in its final location, it should be
protected from damage by keeping it in the original packaging as long as
possible, treating it as a delicate instrument.
When installing the unit handle with lint free gloves and degrease the unit to
reduce the build up of deposits.
Location
It is important to ensure that the WindObserver II is mounted in a position clear of any
structure, which may obstruct the airflow or induce turbulence.
Do NOT mount the WindObserver II in close proximity of high-powered radar or radio
transmitters. A site survey may be required if there is any doubt about the strength of
external electrical noise. (See Section 6.1)
Orientation
Normally the WindObserver II is mounted vertically with the cable exit at the bottom.
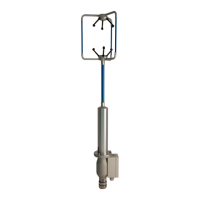
Alternatively, the unit may be mounted in any orientation, but note that if the unit is
mounted with the cable uppermost, the gasket provided in the mounting kit must be used.
Mounting bracket
A suggested mounting bracket is shown in Fig 1 below.
It is recommended that the WindObserver II mounting bracket be manufactured from
stainless steel 316, to prevent possible galvanic corrosion.
It is also recommended that the supplied gasket be always fitted to ensure IP66 rating and
to prevent galvanic corrosion if the mounting bracket is not manufactured from stainless
steel 316.
Stainless steel 316 fixings must be used.