10 Inspection and maintenance
22 Installation and maintenance instructions ENERGY 0020177748_03
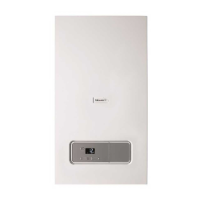
10.7 Cleaning the heat exchanger
1. Check the heat exchanger for damage and dirt.
2. If required, clean and replace the heat exchanger.
3. Protect the folded down electronics box against sprayed
water.
4. Clean the ribs of the heat exchanger (1) with water.
◁ The water runs out via the condensate tray.
10.8 Checking the burner
▶ Check the surface of the burner for damage. If you see
any damage, replace the burner.
10.9 Checking the ignition electrode
1. Disconnect the connection (2) and the earthing cable
(1).
2. Remove the fixing screws (3).
3. Carefully remove the electrode from the combustion
chamber.
4. Check that the electrode ends (4) are undamaged.
5. Check the electrode distance.
– Clearance for the ignition electrodes: 3.5 … 4.5 mm
6. Make sure that the seal (5) is free from damage.
▽ If necessary, replace the seal.
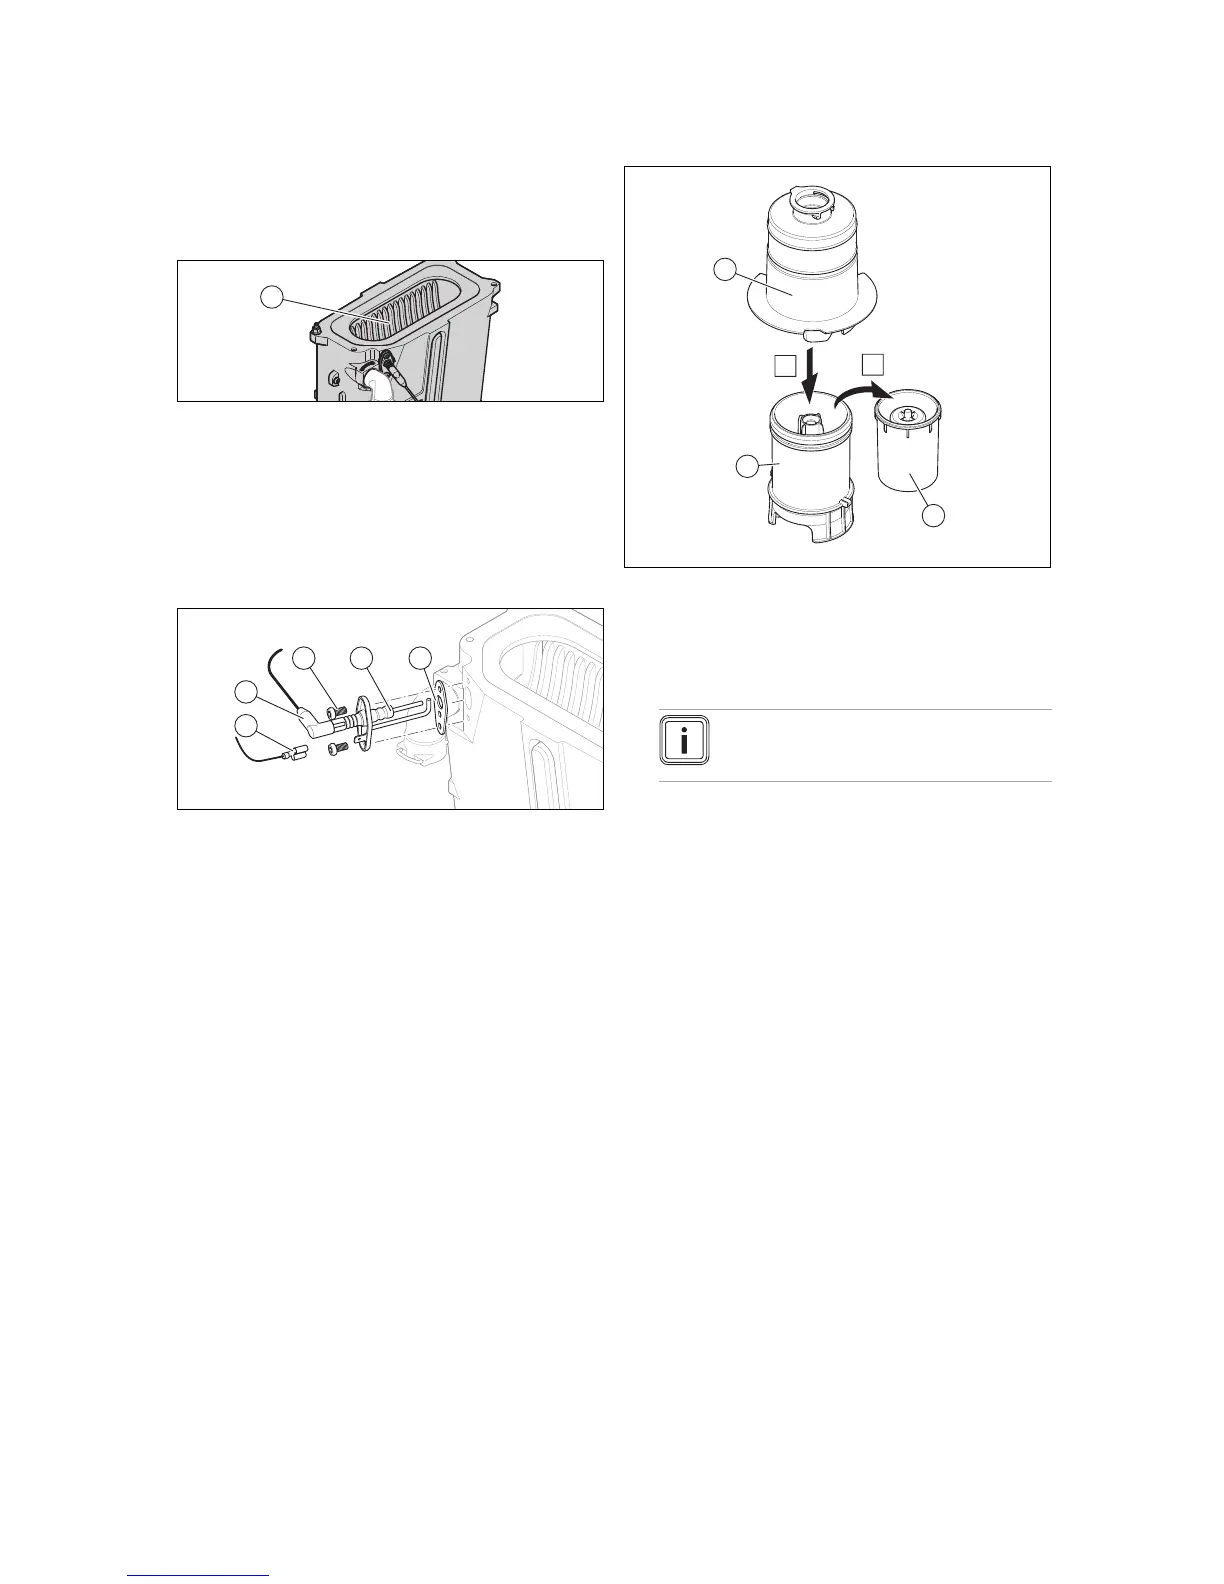
10.10 Cleaning the condensate siphon
1. Unclip the lower section of the siphon (1) from the up-
per section of the siphon (2).
2. Remove the float (3).
3. Flush out the lower section of the siphon with water.
4. Reinsert the float (3).
Note
Check whether the float is present in the
condensate siphon.
5. Clip the lower section of the siphon (1) into the upper
section of the siphon (2).
10.11 Installing the gas-air mixture unit
1. Install the burner.
2. Install two new burner seals in the burner hood.
3. Install the gas-air mixture unit.
4. Tighten the screws on the gas-air mixture unit.
– Ideally to 7 Nm if a torque spanner is available.
5. Install the flue pipe.
6. Install the air intake pipe.
10.12 Draining the product
1. Close the service valves of the product.
2. Start check programme P.05 (→ Page 16).
Check programmes – Overview (→ Page 25)
3. Open the drain valves.
 Loading...