Appendix
0020177748_03 ENERGY Installation and maintenance instructions 25
Appendix
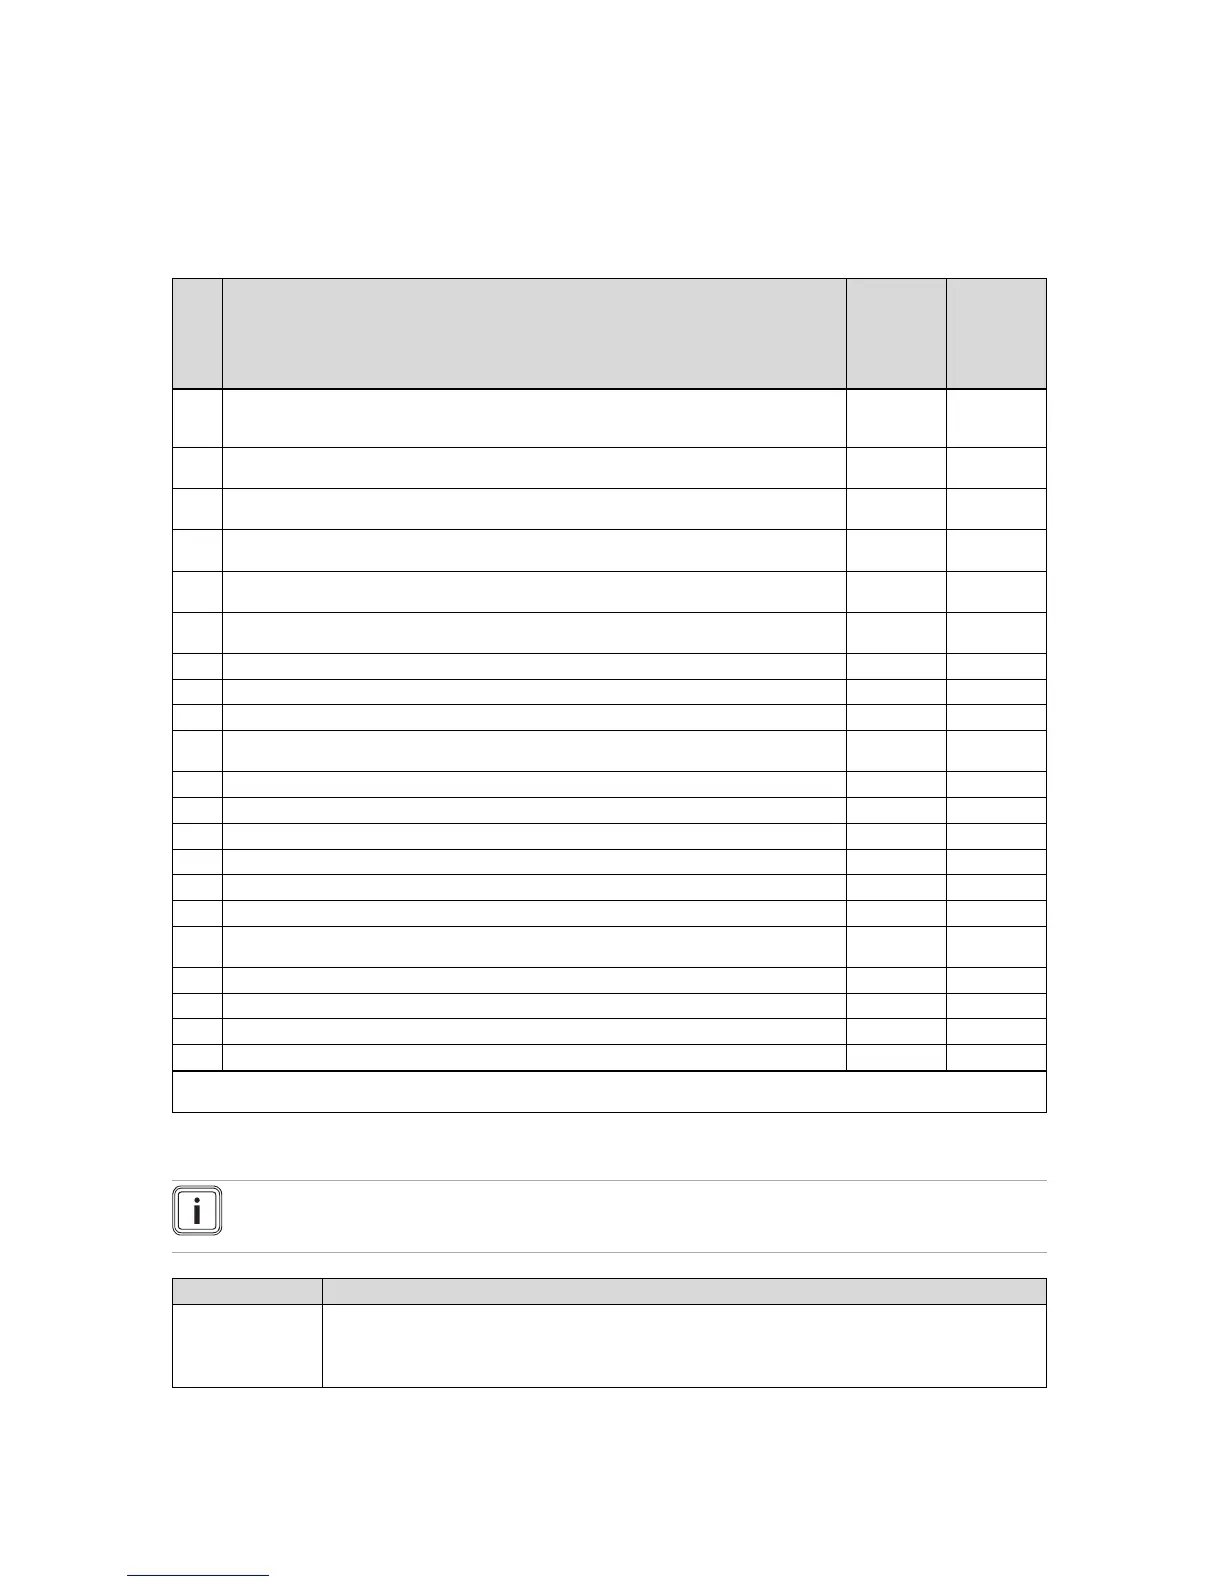
A Inspection and maintenance work – Overview
The table below lists the manufacturer requirements with respect to minimum inspection and maintenance intervals. If na-
tional regulations and directives require shorter inspection and maintenance intervals, you should observe these instead of
the intervals listed in the table.
No. Work
Inspection
(annual)
Mainten-
ance
(must be
carried out
at regular
intervals)*
1
Check the air/flue pipe for leak-tightness and to ensure that it is fastened correctly. Make sure
that it is not blocked or damaged and has been installed in accordance with the relevant Installa-
tion Manual.
X X
2
Check the general condition of the product. Remove dirt from the product and from the vacuum
chamber.
X X
3
Visually inspect the general condition of the entire heating cell and, in particular, check for signs
of corrosion, soot or other damage. If you notice any damage, carry out maintenance work.
X X
4
Check the gas connection pressure at maximum heat input. If the gas connection pressure is not
within the correct range, carry out maintenance work.
X X
5
Check the CO₂ content (the air ratio) of the product and, if necessary, adjust it. Keep a record of
this.
X X
6
Disconnect the product from the power mains. Check that the electrical plug connections and
other connections are seated correctly and correct these if necessary.
X X
7
Close the gas isolator cock and the service valves.
X X
8
Drain the product on the water side.
X
9
Remove the gas-air mixture unit.
X
10
Check the seals in the combustion area. If you see any damage, replace the seals. Replace the
burner seal each time it is opened and accordingly each time maintenance is carried out.
X
11
Clean the heat exchanger.
X
12
Check the burner for damage and replace it if necessary.
X
13
Check the condensate siphon in the product, clean and fill if necessary.
X X
14
Install the gas-air mixture unit. Caution: Replace the seals.
X
15
Open the gas isolator cock, reconnect the product to the power mains and switch the product on.
X X
16
Open the service valves, fill the product/heating installation.
X
17
Perform a test operation of the product and heating installation, including hot water generation,
and purge the system once more if necessary.
X X
18
Visually inspect the ignition and burner behaviour.
X X
19 Check the CO₂ content (the air ratio) of the product again.
X
20
Check the product for gas, flue gas, hot water and condensate leaks, and repair if necessary.
X X
21
Record the inspection/maintenance work carried out.
X X
*Note: For those appliances which are not part of an annual service agreement/policy, maintenance must be carried out at least every
5 years.
B Check programmes – Overview
Note
Since the programme table is used for various products, some programmes may not be visible for the product in
question.
Display Meaning
P.01 Start up the burner at the adjustable heat input:
The product is operated after a successful ignition with the set heat input between "0" (0% = Pmin) and
"100" (100% = Pmax).
The function is activated for 15 minutes.
 Loading...