21
Parts & Tools Needed:
Instructions
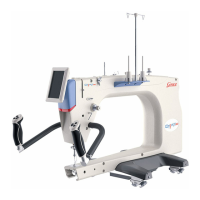
The encoders monitor the position of the machine over the frame, allowing for regulated stitching.
The upper encoder is installed on the outward-facing, left-rear wheel of the machine. Please take the
following steps:
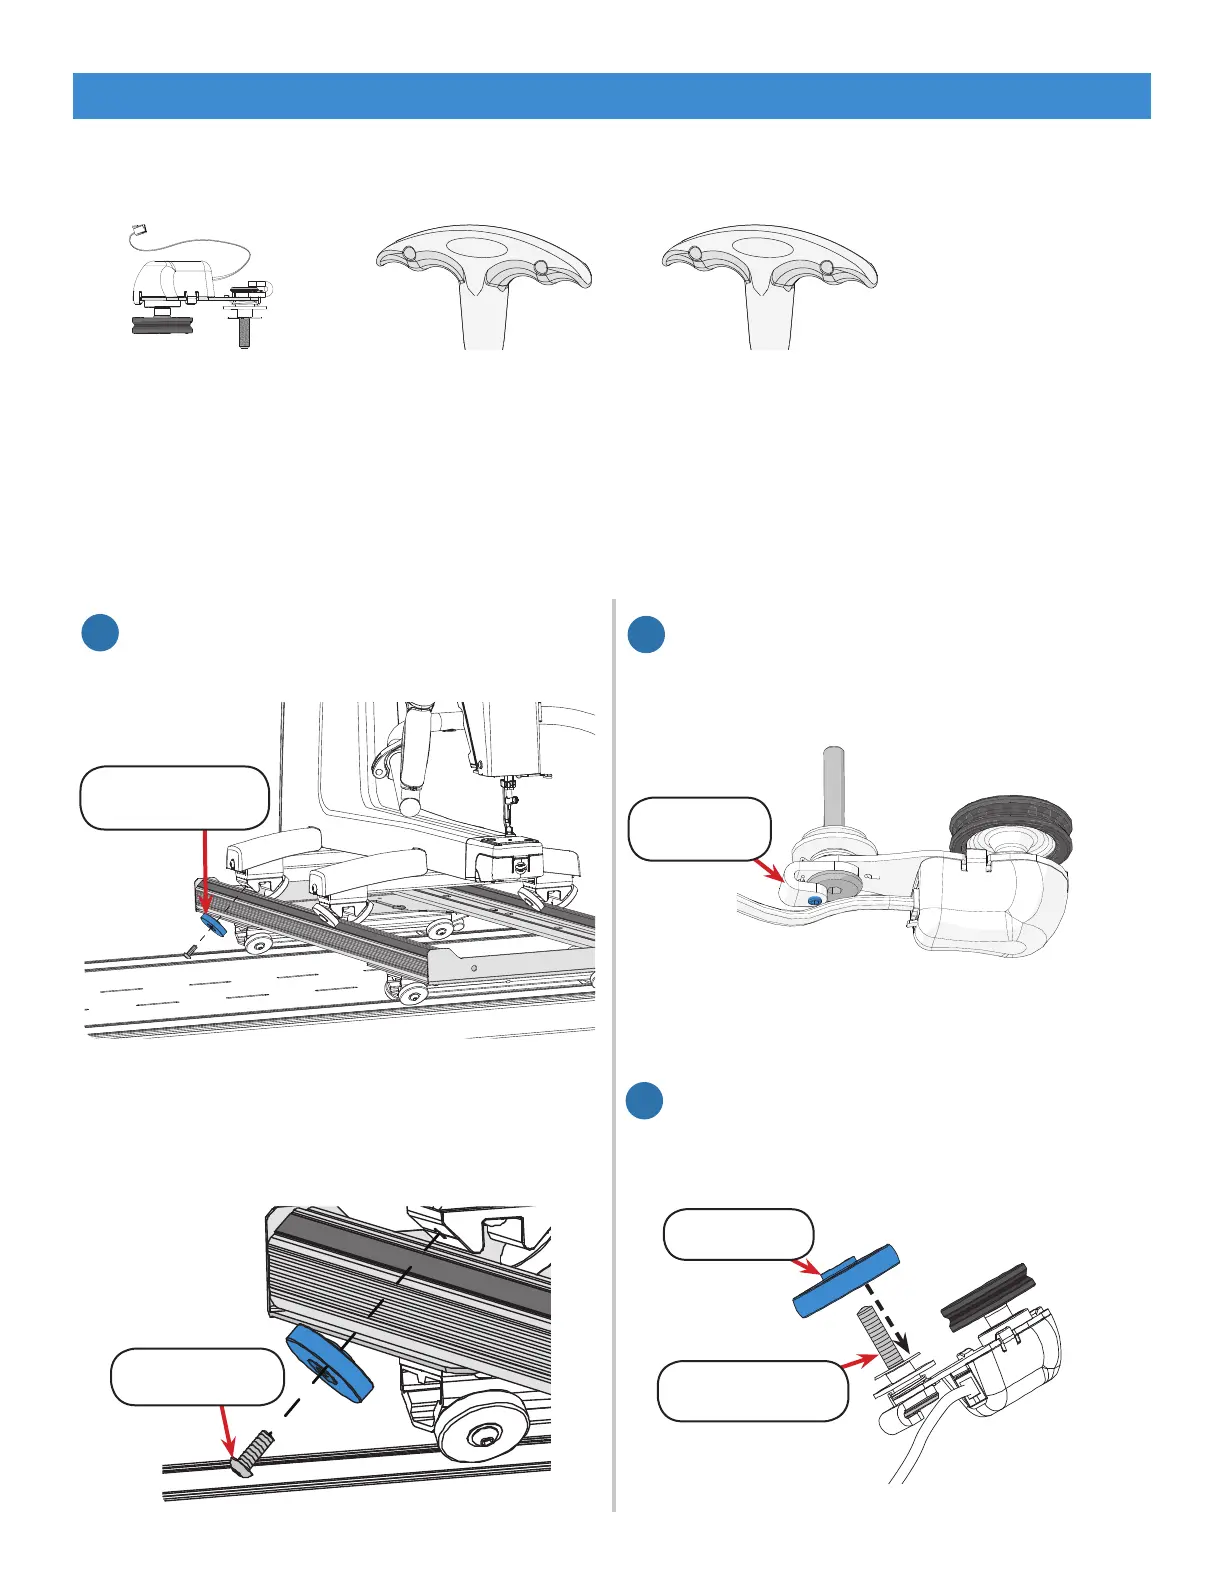
Installing the Upper Encoder
Left Rear Wheel
2.5 mm
T-handle Allen
Wrench 2.5 mm
4 mm
T-handle Allen
Wrench 4 mm
Upper Encoder
(silver spring)
Wheel Screw
1. Use the 4 mm Allen wrench to remove the
left rear wheel from the machine.
The wheel screw will not be needed
again, and can be stored with the packaging
materials.
1
2. Slide the wheel onto the upper encoder
screw so that the wheel hub faces away
from the encoder.
Wheel Hub
Encoder Screw
3
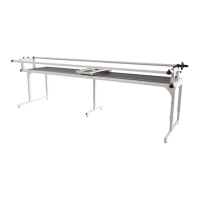
Out-of-the-Box Assembly
1. Loosen the lock collar screw (shown in
blue) on the upper encoder with the 2.5
mm Allen wrench until the lock collar
turns freely.
Lock Collar
2
Note: Depending on the encoder, this step
may require the 2.0 mm Allen wrench.
 Loading...