Maintenance
26 309550ZAP
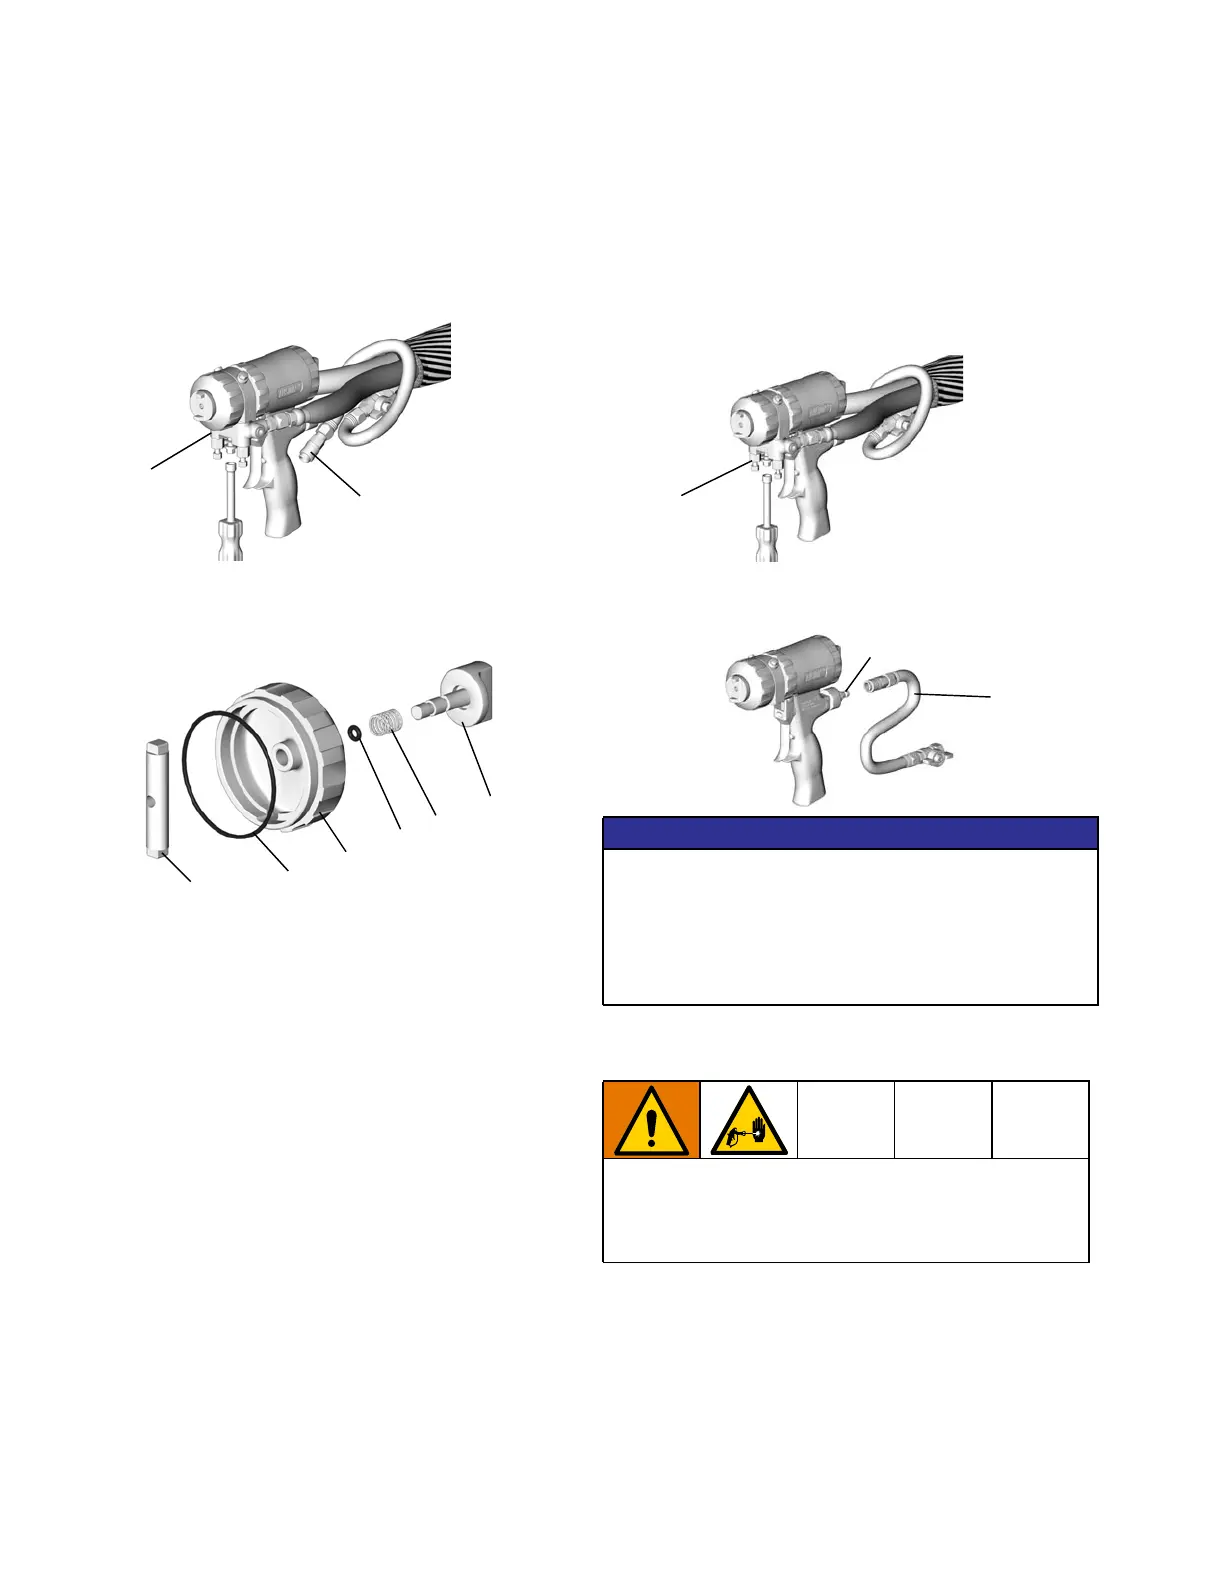
Inspect the Piston Safety Lock
1. Follow the Pressure Relief Procedure, page 19.
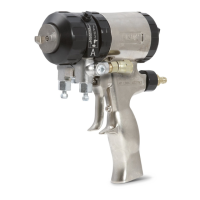
2. Disconnect air line quick coupler (D) and remove
fluid manifold (M).
3. Unscrew cylinder cap (5). Hold piston stop (28) with
wrench and unscrew from safety lock (4). Inspect
spring (30) and o-rings (14, 24).
4. Liberally lubricate o-rings and reassemble. Clean
threads with solvent or alcohol. Apply
medium-strength Loctite® or equivalent to threads
on stop (28) and reassemble.
5. Attach fluid manifold.
6. Connect air. Return gun to service.
Inspect the Check Valves
1. Follow the Pressure Relief Procedure, page 19.
2. Follow the Flush Gun procedure, page 20, to
remove residual chemical.
3. Remove fluid manifold (M). Leave air connected.
4. Disconnect gun air whip hose (V) from air line quick
coupler (D).
5. Pry out check valves (26) at notch.
M
D
TI2554A
4
30
24
5
14
28
TI2433A
NOTICE
To prevent cross-contamination in the gun, do not
interchange A component (isocyanate) and B
component (resin) parts. Cross-contamination can
result in cured material in the gun. Cured material may
damage the sealing surfaces, block fluid passages,
and prevent gun function.
Damaged check o-rings (26f, 26g) may result in
external leakage. To avoid potential leakage and
serious injury from skin injection, replace any
damaged o-rings.
M
TI2543A
TI2540A
D
V