Repair
332144E 49
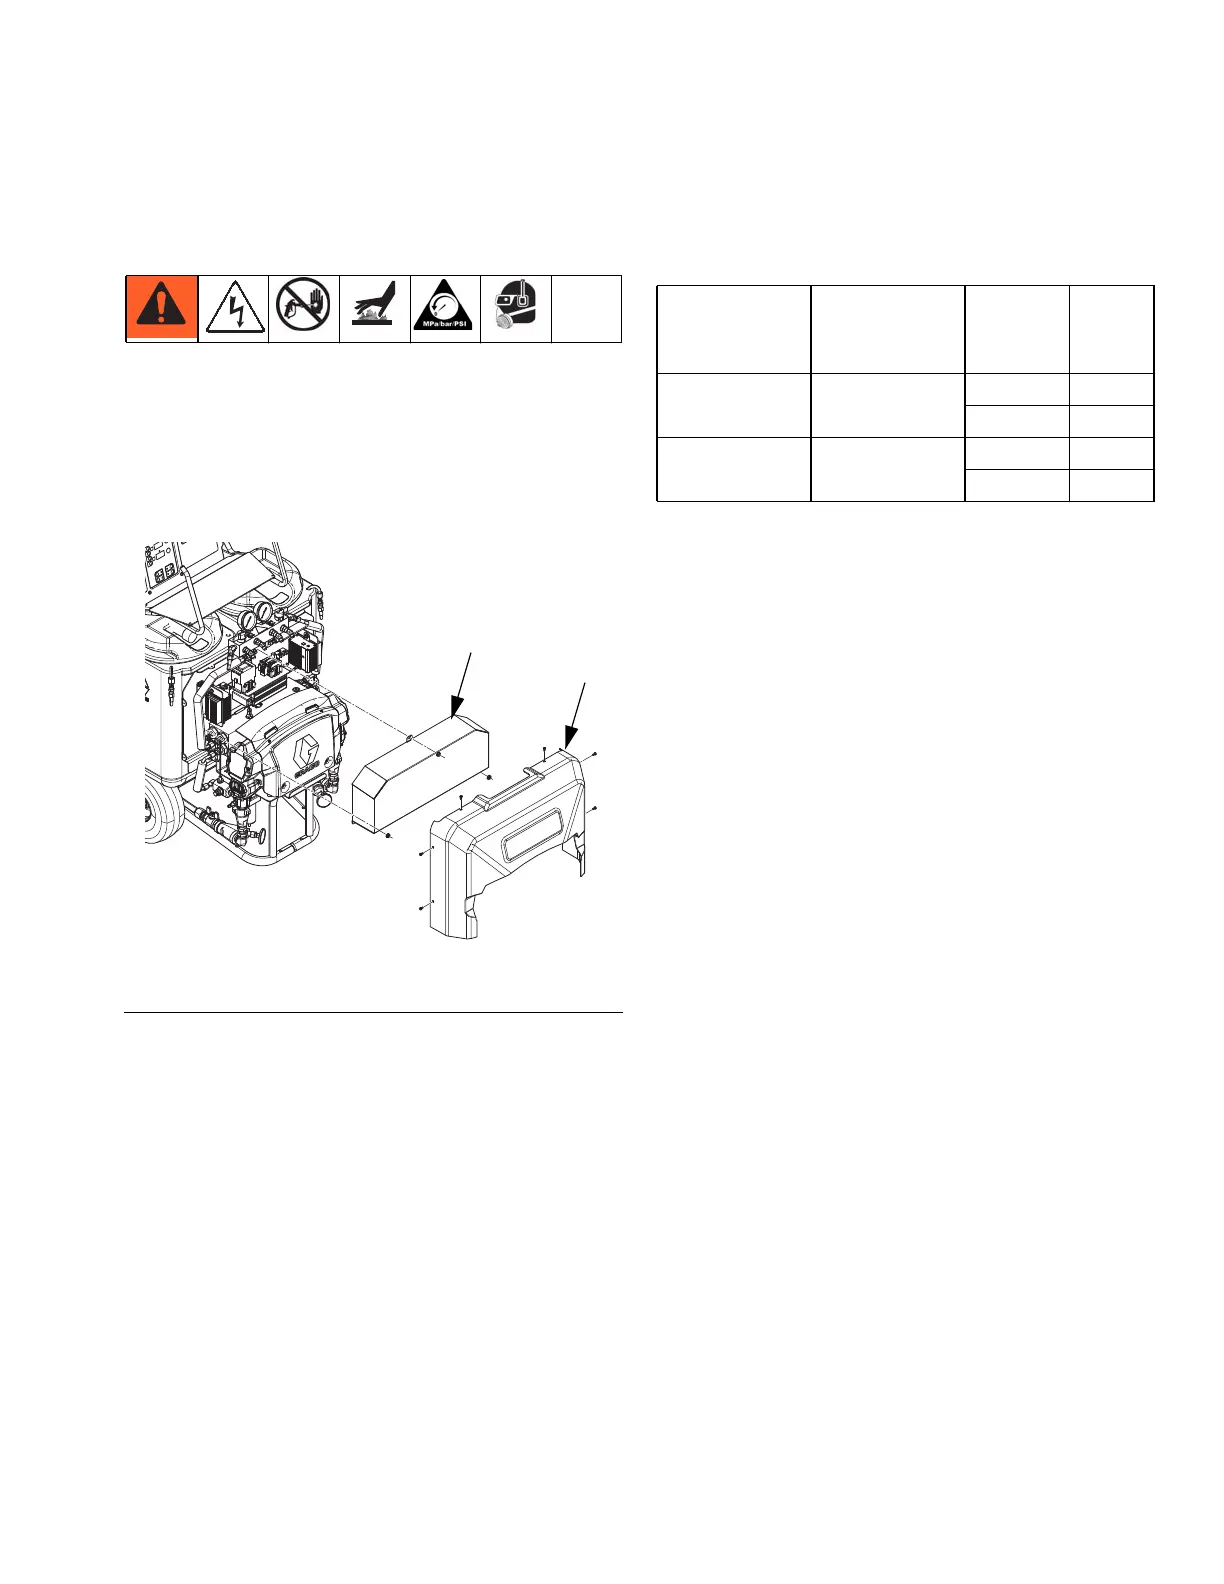
Heater
Test Heater Element
1. See Before Beginning Repair, page 40.
2. Wait for heater to cool.
3. Remove heater shroud (90) and electronics cover
(55).
4. Disconnect heater element wires from heater wire
connector. Test with ohmmeter. Replace heater ele-
ment if the resistance reading does not fall within
the range.
Remove Heater Element
1. To remove heater element (307), first remove ther-
mocouple (310) to avoid damage, see step 7,
page 50.
2. Remove heater element (307 or 316) from housing
(301). Be careful not to spill any fluid left in housing.
3. Inspect element.
NOTE: It should be relatively smooth and shiny. If there
is a crusted, burnt, ash-like material adhered to element
or sheath shows pitting marks, replace element.
4. Install new heater element (307 or 316). Hold mixer
(309) so it does not block thermocouple port (P), for
(307) only.
5. Reinstall thermocouple, page 50.
6. Reconnect heater element leadwires to heater wire
connector.
7. Replace heater shroud (90) and electronics cover
(55).
Line Voltage
The primary heaters output their rated wattage at their
nominal voltage of either 120VAC or 230VAC, depend-
ing on system. Low line voltage will reduce power avail-
able and the heaters will not perform at full capability.
FIG.15
ti21845a
55
90
Nominal
Heater
Voltage
Heater
Wattage Per
Zone
Element
Wattage Ohms
120 1500 500 24-32
1000 12-16
230 2000 620 73-94
1380 32-43