30
APCD-500, rev10
APCD-500
5.3. Time & Date
1. Use the menu select buttons to select the
TIME / DATE menu. The current time and
date are displayed.
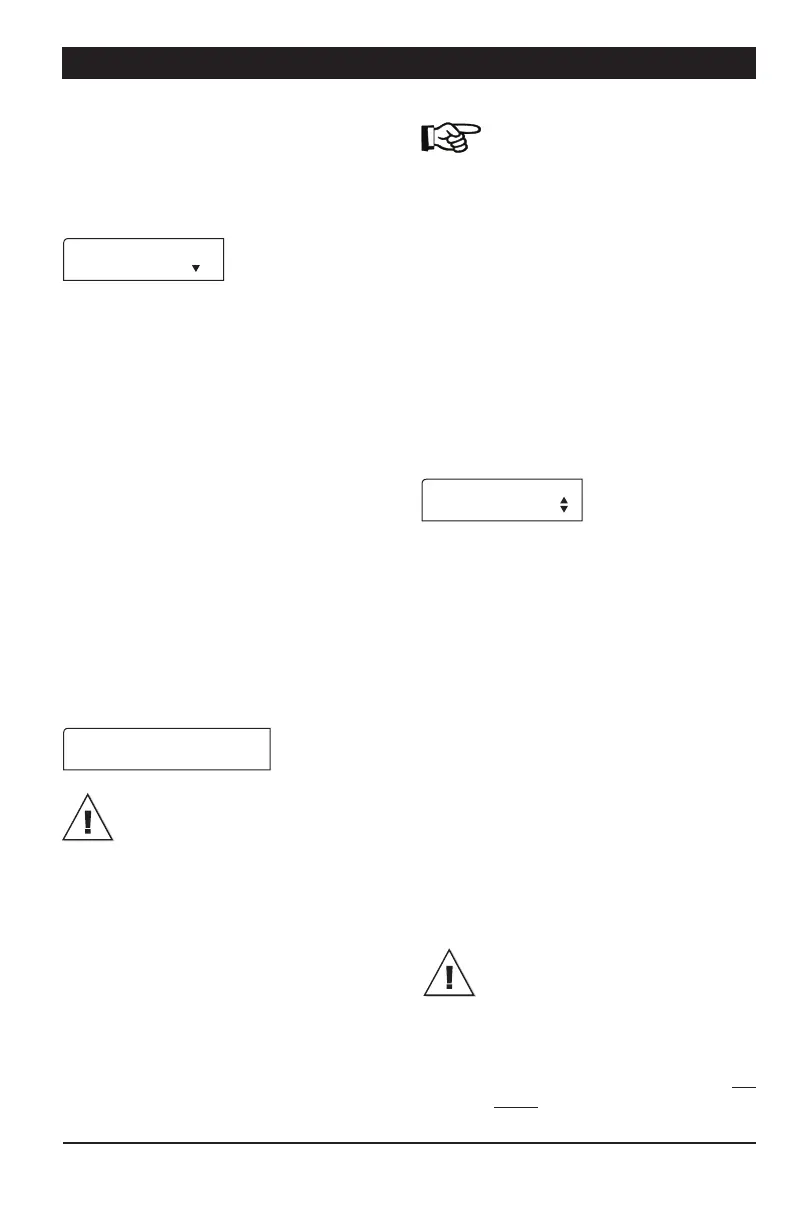
12:00:00PM
01/01/200X
2. Press MODIFY. The hours flash on the
display. Use the arrow keys to set them to
the proper value.
3. Press MODIFY once again. The minutes
flash on the display. Use the arrow keys to
set them to the proper value.
4. Press MODIFY once again. The seconds
flash on the display. Use the arrow keys to
set the seconds to the proper value.
5. Press MODIFY then proceed in similar
fashion to set the date (dd/mm/yyyy).
5.3.1. Adjusting Improper System
Time
When the notification message that follows is
displayed onscreen you must set the correct
time and date.
Improper System Time
Set Time & Date
CAUTION: To ensure accurate feed
data, history logs, and other important
system information, you must set
the correct time and date whenever
prompted.
To adjust the time and date when the “Im-
proper System Time” notification appears,
follow the steps in section “5.3. Time &
Date”.
Once the time and date has been adjusted,
the notification message disappears, the sys-
tem clock is set, and accurate data is ensured.
Note: The notification message re-
peatedly disappears and reappears
until the time and date are set.
5.4. Feed Cycle Settings
Refer to section 4.5 & 4.6 to get information
on the feed cycles. In addition, a feed cycle
worksheet is available to make it easier for
you to program your feed cycles (see next
page).
1. Use the menu select buttons to select the
FEED CYCLES menu. *This menu is only avail-
able if feed is distributed according to a timer (the
continuous feeding mode is disabled in the instal-
lation). A password may also be required to access
this menu (see sec. 5.6).
FeedingCycle 1
Start At 6:12A
2. Press MODIFY. The start time of the first
feed cycle flashes on the display. Use the
arrow keys to adjust it to the proper value.
Press MODIFY once again to validate.
3. Press the down-arrow key once. The dump
time of the first feed cycle is displayed. * This
parameter is available if actuators or air valves are
enabled (see sec. 5.6).
4. Press MODIFY. The dump time of the first
feed cycle flashes on the display. Use the
arrow keys to adjust it to the proper value.
Press MODIFY once again to validate the
new value.
5. Press the down-arrow key once. The start
time of the second feed cycle is displayed.
Proceed in similar fashion to set the start and
dump times of all feed cycles in use.
Check Feed Cycles : The controller
automatically re-arranges the feed
cycles in the case of a programming
error. The warning message “Check
Feed Cycles” is displayed in that case.
The user has to validate the new feed
cycle order by scrolling down the
whole feed cycle menu. The warning
message will then disappear.
 Loading...