Chapter 6: Installing the Wet Bin
3. Insert the 1–1/2 inch split tapered Q1 bushing on the auger drive shaft and infix the bushing with a
wooden or non-metal mallet.
4. Install three bolts into the bushing. If necessary, smooth the load auger drive shaft with hardware
cloth.
5. Insert the key into keyway and slide the motor drive sheave onto the drive shaft of the load motor.
6. Secure the drive sheave with the setscrew.
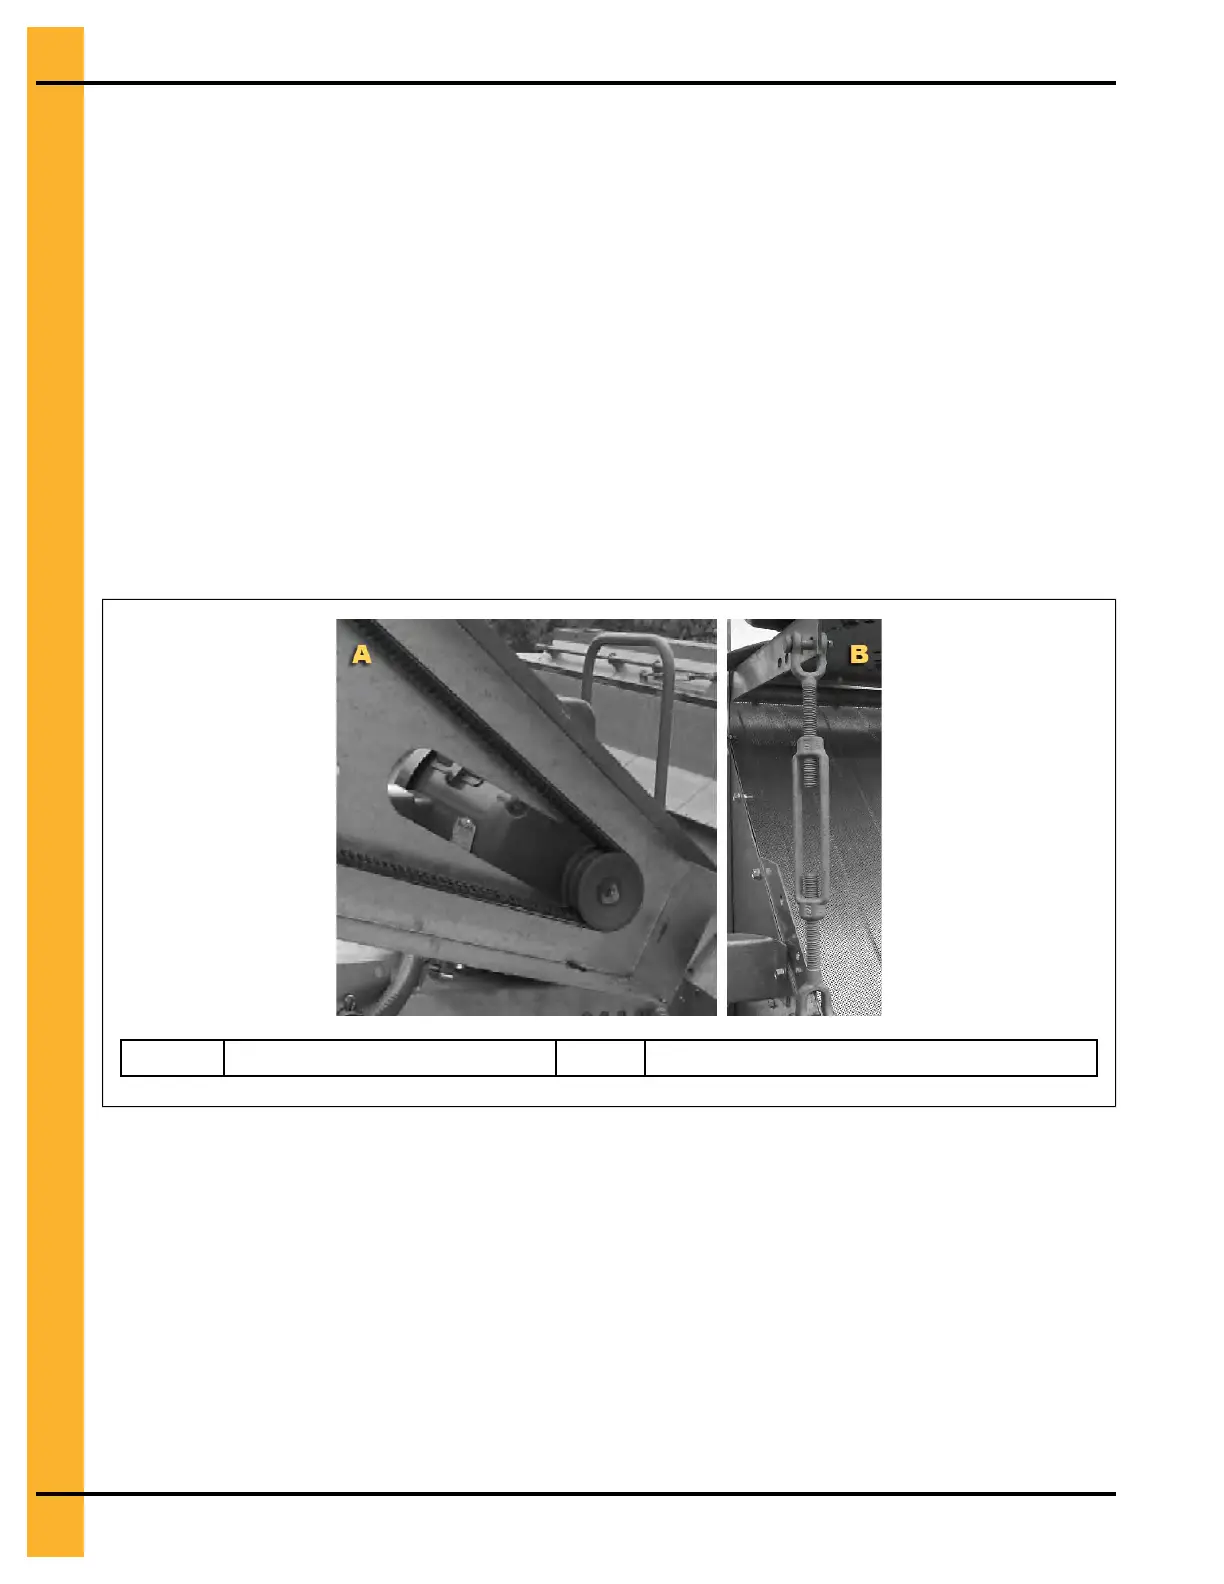
7. Thread the two BX97 belts from the motor drive pulley to the 16 inch sheave.
8. Check the alignment of the belts and sheaves to ensure that they are aligned.
9. To tighten belts, turn the turnbuckle on the anchor bracket of the motor mount.
10.Adjust the clearance of the belt guard body so that there is no contact with moving parts and tighten
the adjustment hardware.
Figure 6-7 Load motor sheave and motor adjustment turnbuckle
A Load motor sheave B
Motor adjustment turnbuckle
Installing the Belt Guard Cover
To easily remove the cover when performing maintenance to the drive belts and sheaves, you must install
the belt guard cover using its latches.
1. Insert the tabs on the belt guard cover into the slots on the belt guard body.
2. Engage the latches, one on the top and two on the bottom, (see Figure 6-8, page 45).
3. Install the dryer wet bin side that was left open to allow for easy access to the belt guard body.
44
PNEG–2088 Quiet Portable Dryer
 Loading...