11
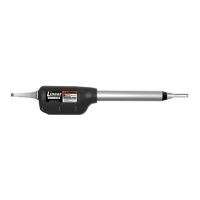
Step 6:
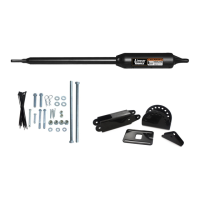
Place the rounded ends of post pivot brackets
inside the post bracket. Align the holes in the
post pivot brackets with holes in the post
bracket (see illustration). Insert
1
/
2
" x 3
3
/
4
" hex
head bolt through post pivot brackets and post
bracket; tighten the nut.
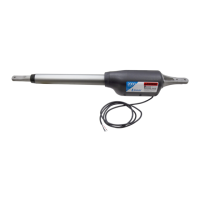
Step 5:
Drill holes in fence post as marked using a
1
/
2
" drill
bit. Install the post bracket using the
1
/
2
" x 10"
carriage bolts,
1
/
2
" washers, and lock nuts (provided).
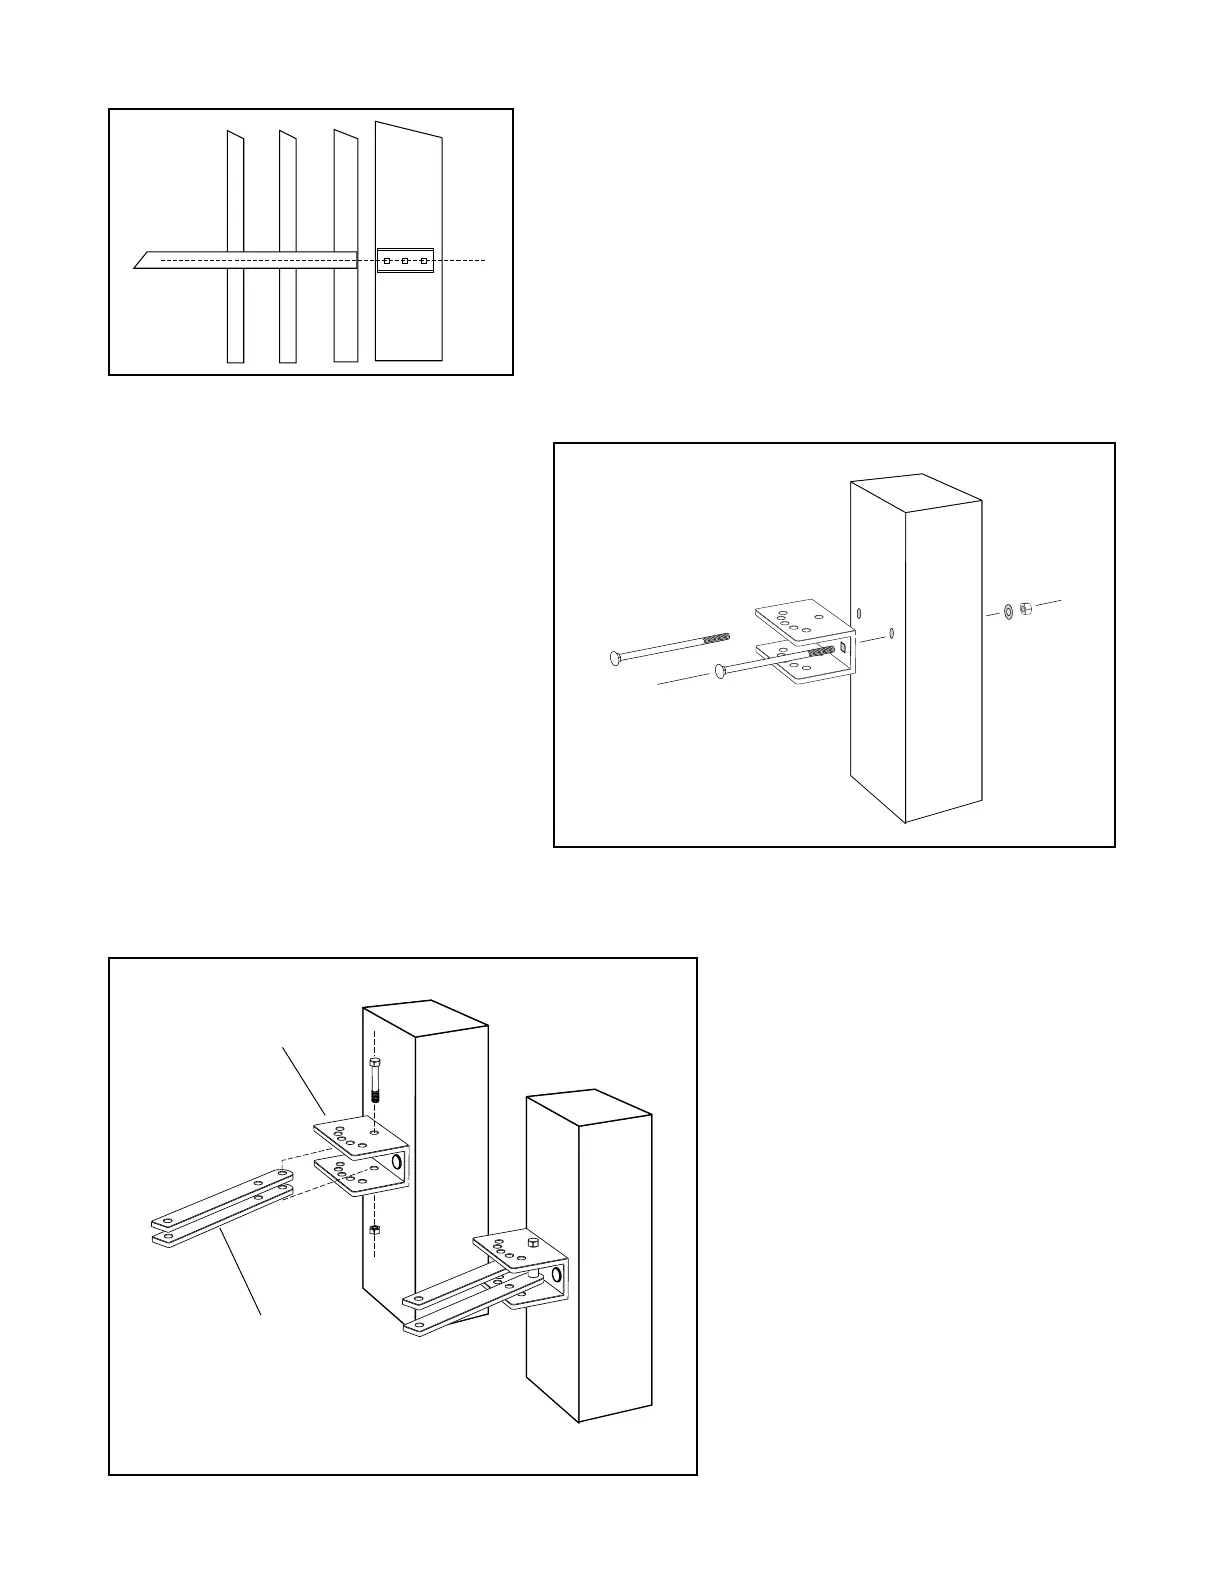
Step 4:
Position the post bracket on the fence post with the mounting holes
centered over the scribe line. The post bracket should be flush with the
edge of the fence post closest to the gate (see illustration). Mark the
position of post bracket holes on the fence post.
Post Bracket
Post Pivot Brackets