14
Step 14:
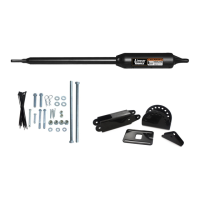
Remove the hairpin clip and clevis pin from the
gate bracket and move the gate so that you can
install the open position stop post. Secure stop
post firmly in the ground (and seat in concrete).
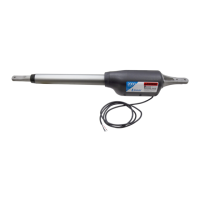
Installing the Open and Closed Position Stops
Open and closed position stops MUST be used; they are boundaries against which the operator firmly holds the gate in both the
open and closed positions. Stability in both the open and closed positions contributes to the long life of the operator and to the
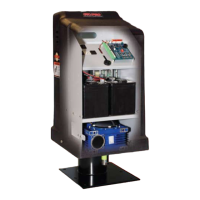
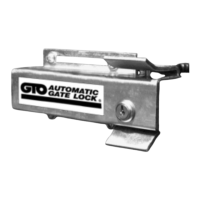
durability of the installation. For additional stability and security, install the GTO Automatic Gate Lock (see Accessory Catalog
on page 37).
Step 13:
With the gate still in the open position, measure approxi-
mately 3/4 of the distance to the end of the gate from the
hinges and place a mark on the ground directly under the gate
(refer to the overview illustration below for positioning). You
will install an open-position stop post at this point. The open
position stop post can be made of wood, metal, or concrete.
Closed Position Stop
Open Position Stop