23
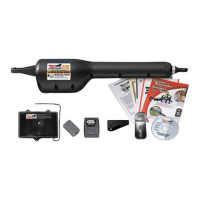
2. Set the Coding Switches
There are nine (9) dip switches, each of which can be placed in three different positions (+,0,–). DO NOT set all switches
in the same position, such as all +, all -, or all zeros.
WARNING: No other adjustments should be made inside the transmitter!
Once you have set the dip switches to the end user’s personal code, replace access cover.
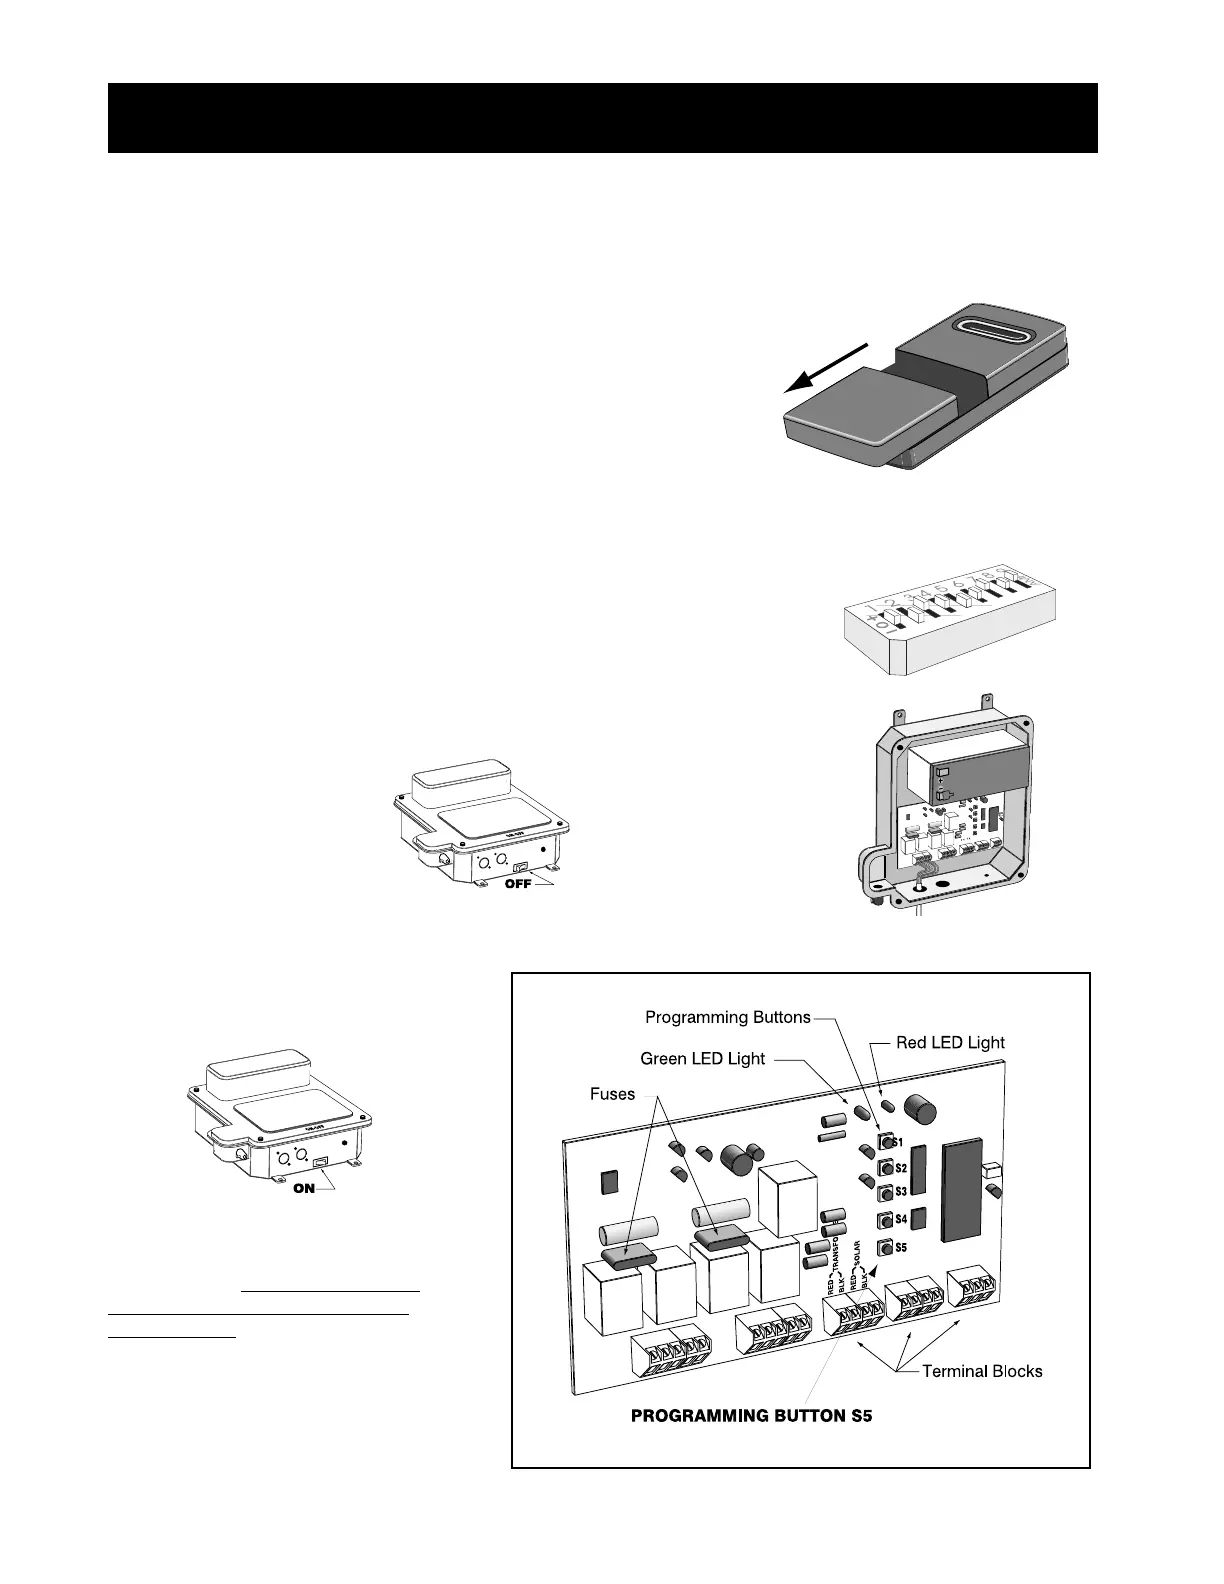
1. Remove the Transmitter Cover
Slide the access cover away from the top of the transmitter. This will expose
the battery and the dip switches. The code can now be changed using a small
screwdriver.
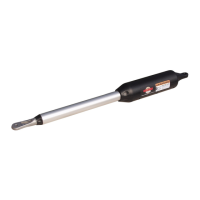
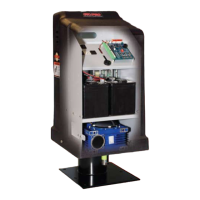
3. Store the Code in Control Board Memory
B. Remove control box lid.
D. Store the transmitter code in control
board memory by pressing the transmitter
button until the Red LED light on the
control board flashes bright and then
returns to dim. Then release the transmit-
ter button. The transmitter code is stored in
control board memory and the control
board is now in normal operational mode.
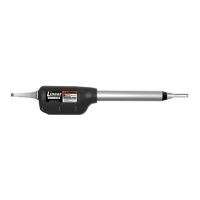
C. While holding down Programming
Button S5 on the control board, turn the
control box ON and then immediately
release the Programming Button S5.
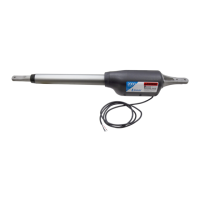
A. Turn the control box OFF.
All GTO transmitters are set to the same code at the factory, and are ready to activate the GTO/PRO operator. For safety
and security, however, we strongly recommend that you change the factory setting to the end user’s own personal code,
according to the following directions:
, Inc.
, Inc., Inc.
Setting the Personal Transmitter Code
S1
S2
S3
S4
S5
RED
BLK
RED
BLK
SOLAR
TRANSFORMER
Step 28: