19
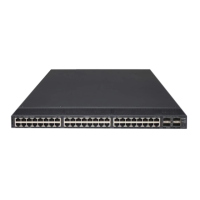
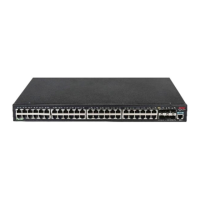
Figure 25 Mount the switch to the rack by using front mounting brackets
1
2
3
1
(1) Front rack posts (2) Switch front panel (3) Front mounting bracket
Rack mounting by front mounting brackets and a support tray
Follow these steps to mount the switch to the rack by front mounting brackets and a support tray:
Step1 Wear an ESD-preventive wrist strap and make sure it makes good skin contact and is well grounded,
check that the rack is sturdy and well grounded.
Step2 Plan the position of the switch in the rack, and fix the supplied support tray to the planned position.
Step3 Install the cage nuts to the corresponding positions on the rack posts.
Step4 Unpack the screws (packed with the front mounting brackets), and install the mounting brackets to the
switch with the screws, as shown in Figure 24.
Step5 Put the switch horizontally on the support tray, and slide the switch into the rack. Use the M6 screws to
install the front mounting brackets to the front rack posts, as shown in Figure 25.
Rack mounting by using front and rear mounting brackets
Follow these steps to mount the switch to the rack by using front and rear mounting brackets:
Step1 Wear an ESD-preventive wrist strap and make sure it makes good skin contact and is well grounded.
Step2 Check that the rack is sturdy and well grounded.
Step3 Unpack the screws (packed with the front mounting brackets), and install the front mounting brackets to
the switch with the screws, as shown in Figure 24.

 Loading...
