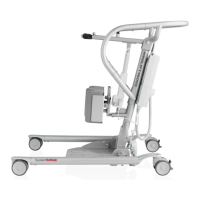
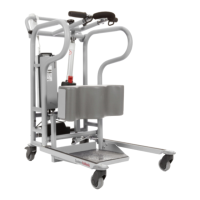
Basic Instruction Sheets
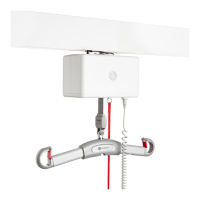
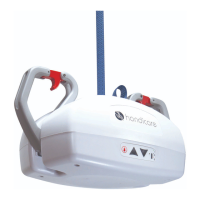
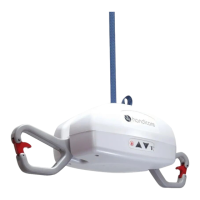
B1 - Getting Access to the C800/C1000
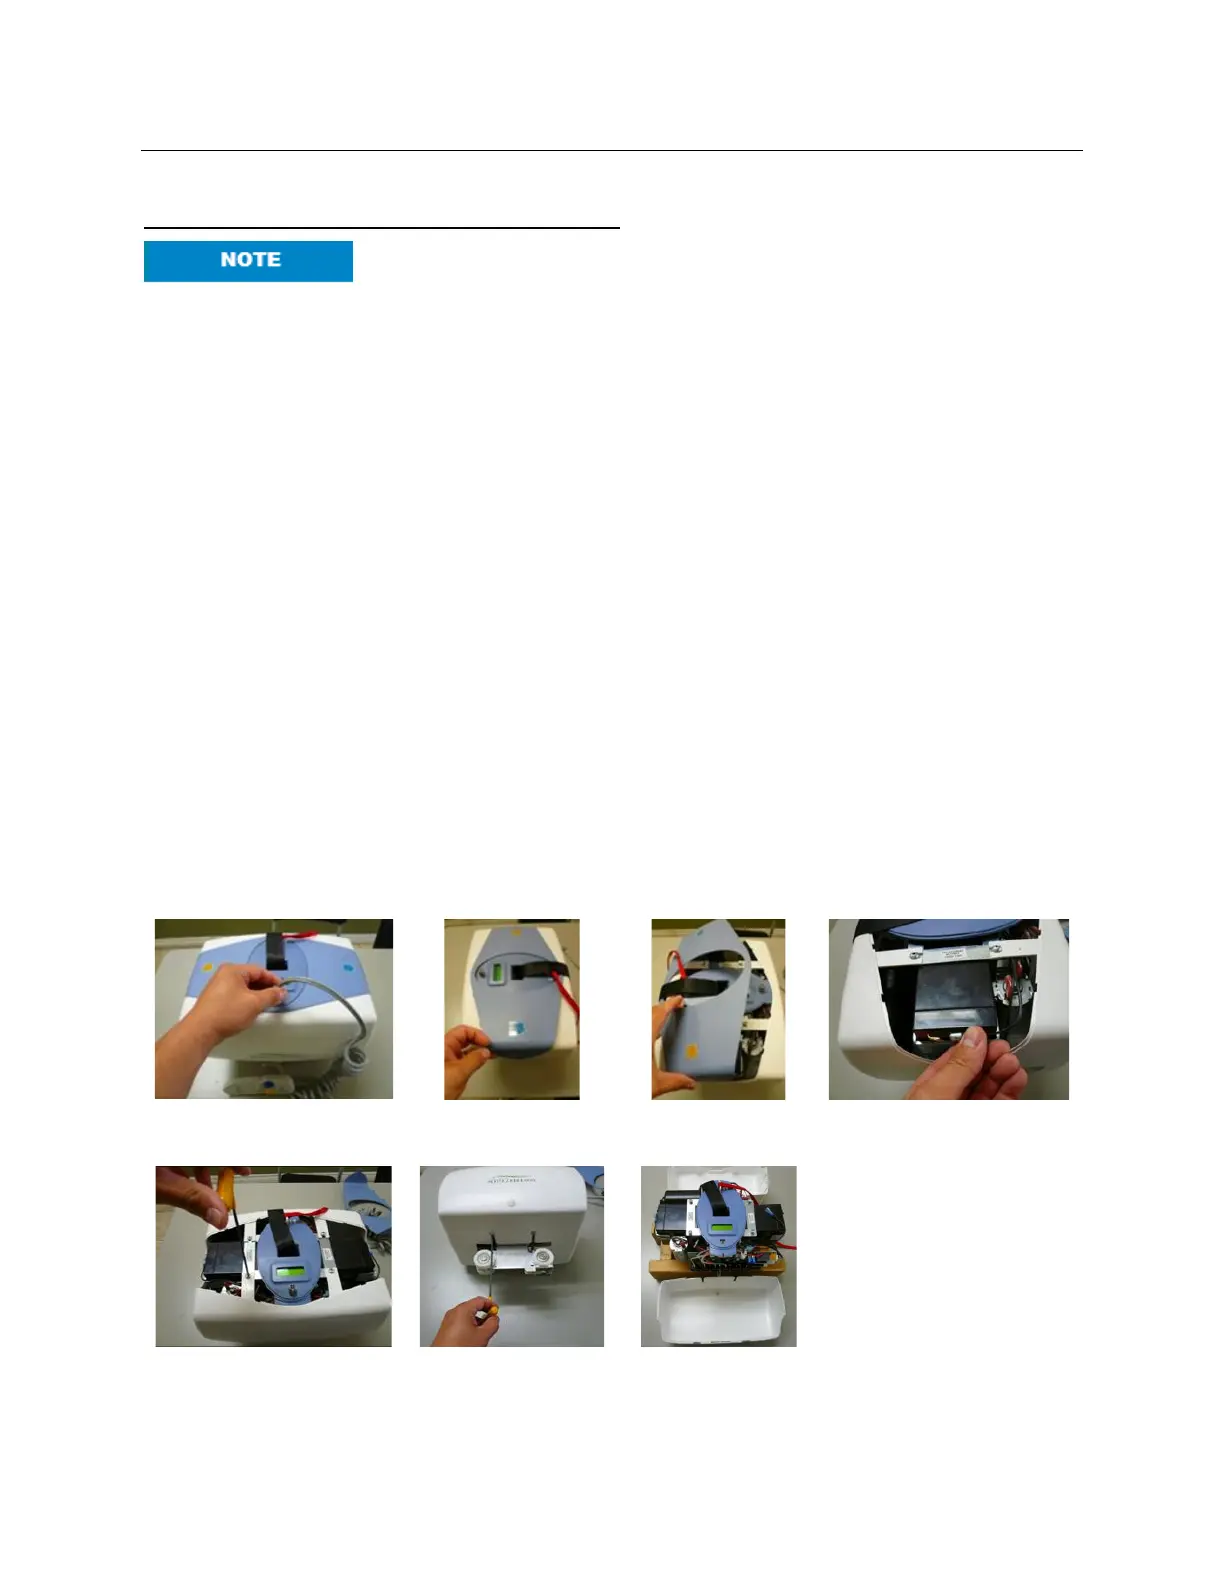
Service lift in a clean, dust free environment. Extreme care must be
exercised when removing the cover. Electric shock may occur.
1. Use support blocks to keep the lift balanced while servicing.
2. Disconnect the hand control airline tubing from the grey grommet on the lift unit.
3. Grasp the middle bottom cover at one of the short sides, pressing inwards to allow the
tab to be snapped out. Repeat this on the opposite short side and then pull the cover
away from the lift along its length to remove it.
4. IMMEDIATELY disconnect the RED wire lead to the batteries to prevent shock and
damage.
5. Now the batteries are accessible for replacement and can be taken out once their
brackets are removed.
6. Remove two 10-32 screws using a 1/8” Allen key from the bottom face of one of the side
covers.
7. Turn the lift unit over to the opposite side and remove the two remaining #10-32 screws
from the top face of the same cover.
8. Use caution when handling lift. The stand-offs supporting the PCB may be damaged if
the lift is not properly supported.
9. Be extremely careful and remember that the back of the PCB (Printed Circuit Board) will
be exposed. Contact with metal will short and destroy the PCB. Usage of proper E.S.D.
protection to prevent damage to the circuit board is highly recommended.
10. Remove this cover, detaching it from the elliptical, center control cover. Place screws in
the side cover and use it to hold all loose parts.
11. Repeat Steps 6 – 10 for the remaining side cover.