Electrical Instruction Sheets
E1 - Test and/or Replace Batteries
Sealed Lead Acid batteries must be handled with extreme care. Any
leakage or warpage of the battery cover indicates battery failure.
Replace immediately.
1. If the indicator light (LED) on the control panel turns RED and an audible alarm sound,
the batteries may not have sufficient power to operate the lift under load. Lift should be
returned to charger.
2. Using a voltmeter (set for DC volts 100 scale) measure the voltage across the RED and
BLACK wire terminals on the batteries. The reading should be greater than 27.5 VDC if
fully charged.
3. With the lift on charge, measure VDC. The reading should be between 27 to 30 VDC
indicating that the batteries are being charged. The lift should be left on charge for 30
minutes and retested. If the low battery indication still persists, the batteries should be
replaced.
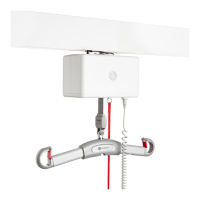
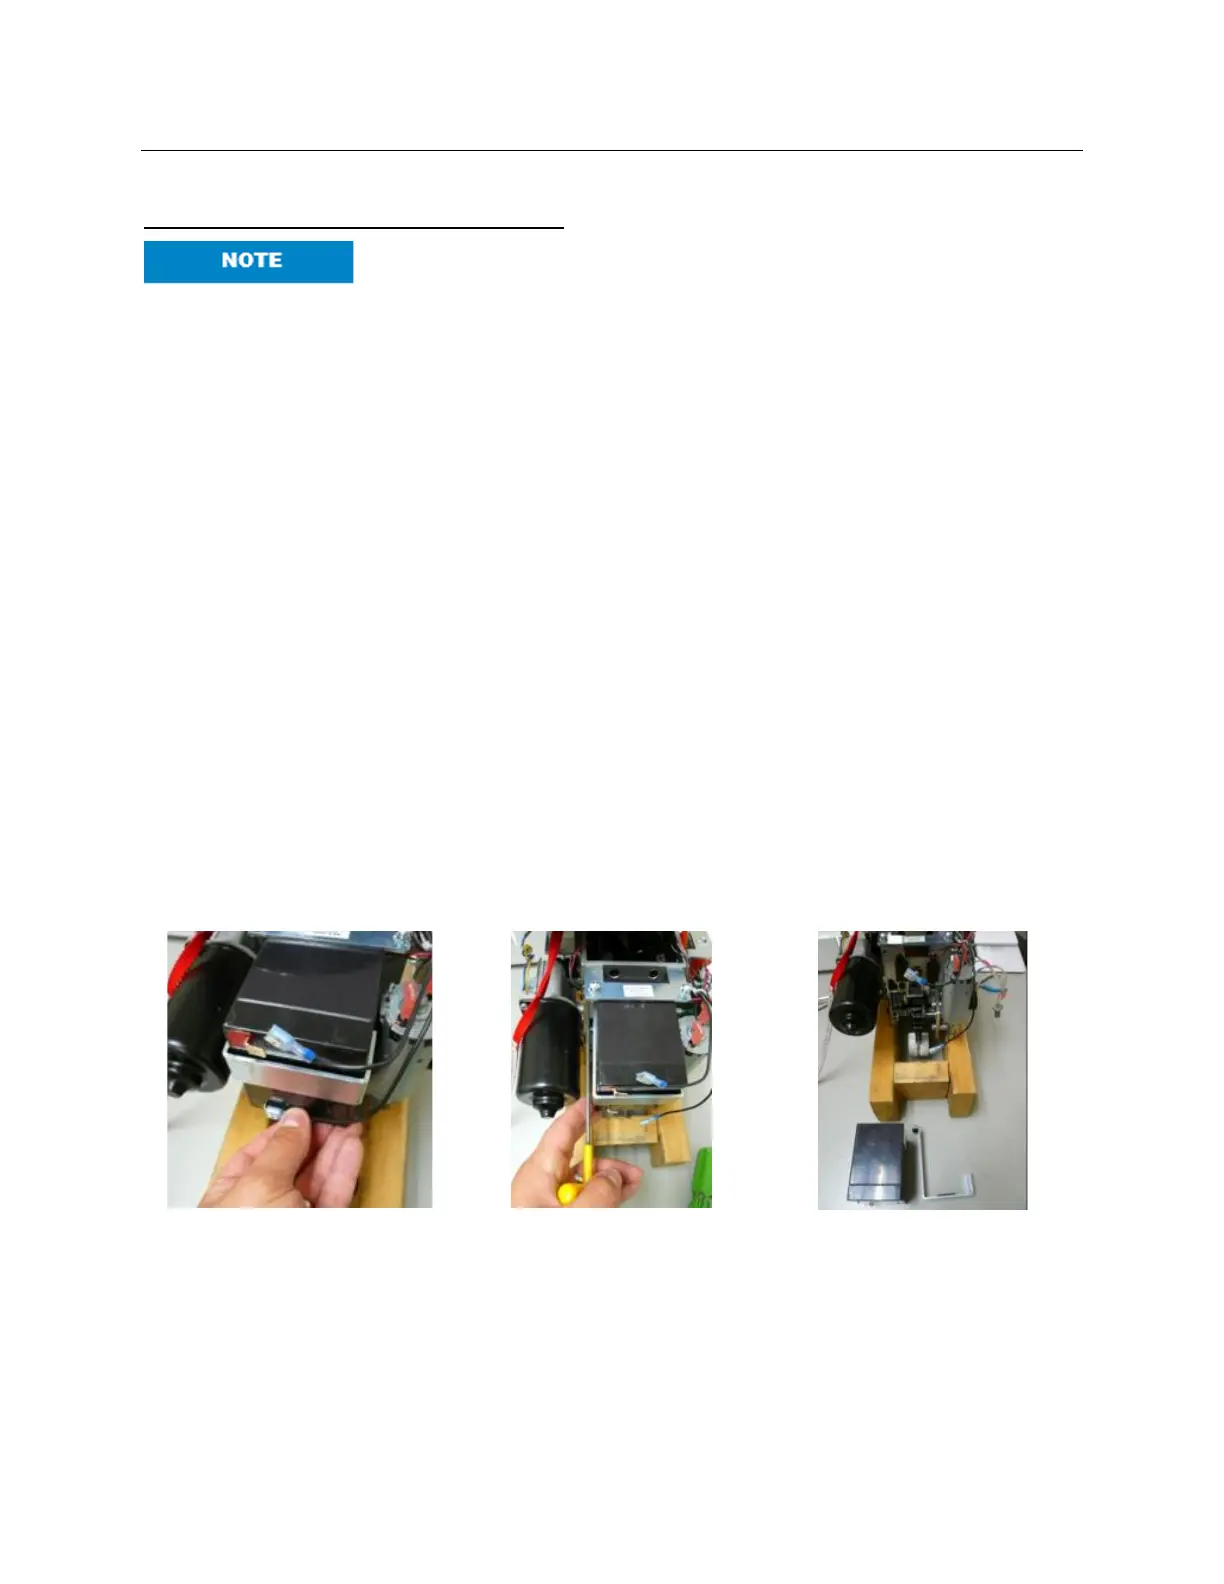
4. Disconnect all wires from the batteries.
5. Using a 1/8” Allen key, unscrew the #10-32 screw that fastens the battery bracket to the
gearbox and remove the batteries.
6. Ensure that an equivalent battery set is used to replace the original batteries (see
specifications).
7. Install the batteries. Ensure that any wire harnesses or airline tubing are loose, free of
obstructions. A blockage of the airlines will cause hand control problems.
8. Connect the SEPARATE BLACK wire across the inside RED and BLACK battery
terminals. Reconnect the (+) and (-) wire harness wires to the matching terminals on the
batteries.
 Loading...