E2 - Replace Main PCB (Printed Circuit Board)
Use extreme caution when servicing the lift. The PCB should be
handled with care. Use of proper E.S.D. protection to prevent damage
to the circuit board is highly recommended. Contact with metal objects
(screw drivers, rings, etc.) will damage the PCB.
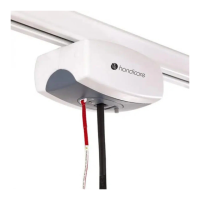
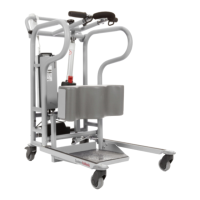
1. Before starting, disconnect the RED battery wire and all wire harnesses and all air tubes
(remove off from the steel pins) from the PCB.
2. Before installation of new PCB, test the new PCB to ensure that the diagnosed problem
will be solved. Attach all wire harnesses and reconnect the battery wire. Test lift unit. If lift
unit still does not function, the problem is elsewhere. Contact customer service for
further instructions.
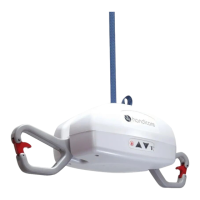
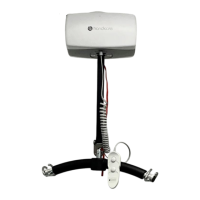
3. Remove the four “socket head cap screw 4-40 X ¼” using a 3/32” Allen Key.
4. Carefully remount the PCB and tighten screws. Do not over-tighten screws.
5. Attach all wire harnesses and reconnect the battery wire. Test lift unit.