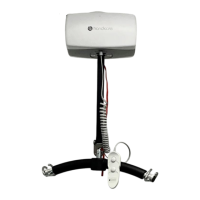
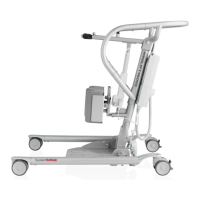
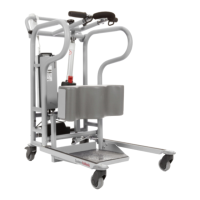
Mechanical Instruction Sheets
M1 - Replace Lifting Strap – Frayed, Stress Streaks, Length
Use extreme caution when performing internal servicing on the lift.
Ensure that the battery has been disconnected before starting.
1. Using the DOWN button on the hand control release the entire strap (until the lower limit
switch engages and stops the strap).
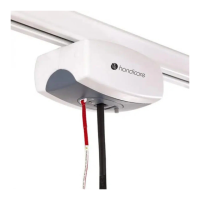
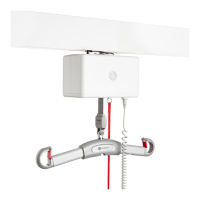
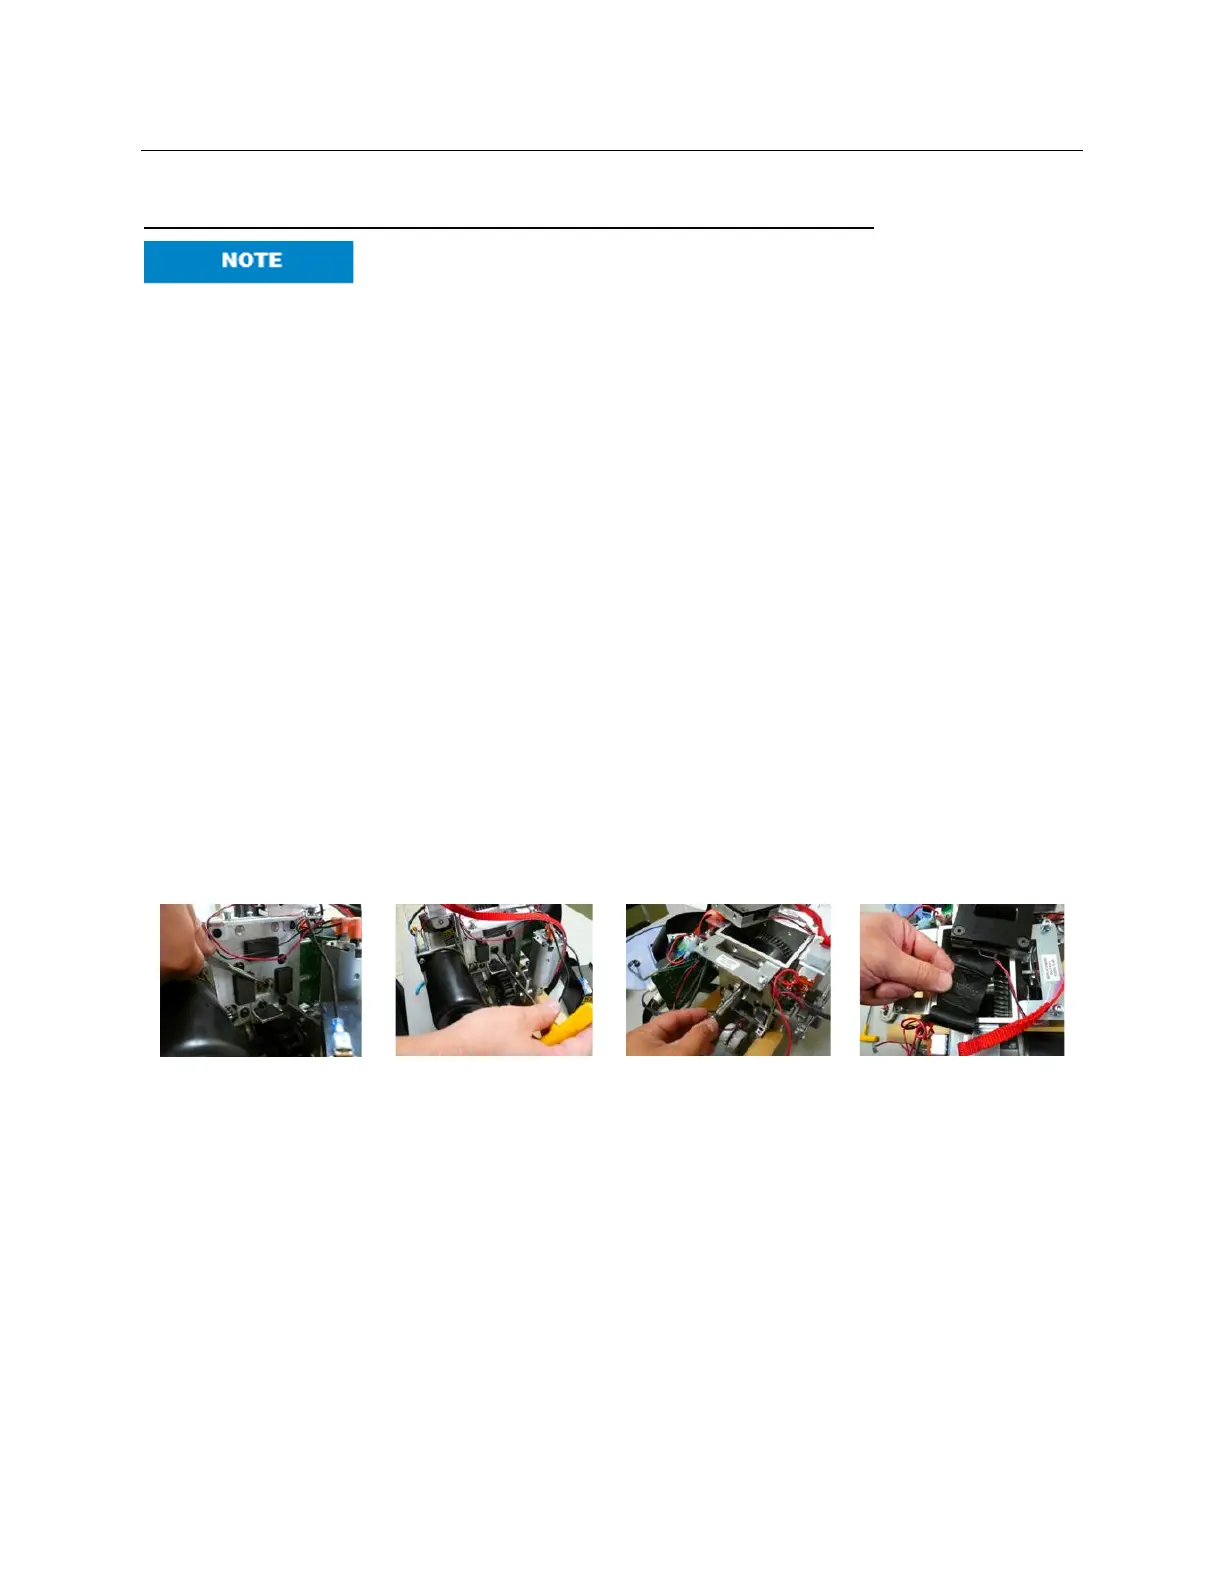
2. Remove the lift cover per section B1, Getting Access to the C800/C1000. Also, remove
the battery & its brackets (nearest to the strap pin) as per section E5, and remove the
PCBs as per section E2.
3. Remove the C-Clip from the motor side of the main drive axle.
4. Using the large vice grips, grab hold of the free end of the shaft. Leave the C-clip
attached to prevent accidental damage to the shaft. If damaged, the shaft will not fit back
into gearbox. Gently rotate and pull at the same time to release shaft. Pressure may be
applied to the gearbox to assist in the shaft removal.
5. Pull out and replace the old strap. It is very important that the end of the strap that is
inserted into the shaft is oriented with the overlapped side facing towards the motor side
of the lift & away from the gearbox side. Use two fingers to guide the strap.
6. Use a pencil or ballpoint pen to center the strap through the gearbox.
7. Reinsert the shaft into the gearbox. DO NOT USE FORCE. If the strap has been
centered properly, the shaft should move easily into position.
8. Replace the C-clip on the drive axle using needle nose pliers.
9. Operate the lift in the UP direction and the strap should start to wind into the gearbox.
10. Reassemble lift and test.