-CS -45
6-4
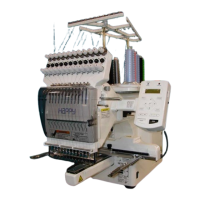
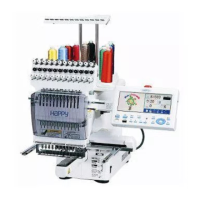
SEWING WITH TUBULAR FRAMES
6_4 D610
FORWARD
P.FOOT T.CUT
MENU
ENT.
ID: 2 Nd: 4
0
G
FORWARD
P.FOOT T.CUT
MENU
ENT.
>>Trace end
FORWARD
P.FOOT T.CUT
MENU
ENT.
>>End
G
3
5
2
Starting to sew
1. Press the arrow buttons (up, down, left,
right) and move embroidering frame posi-
tion to the origin point of the pattern (usually
the center).
2. Press the "START" button.
The embroidering frame moves for the design
trace. 5-3
Make sure that the pressure foot and needle
does not hit the frame.
If you push and hold the start button, the ma-
chine will discontinue the trace and move to the
first stitch point.
3. The display will show ">>Trace end" and
the embroidery frame will stop moving.
The embroidering frame has moved to the first
stitch point of the pattern.
4. If you are satisfied that the design will fit into
the hoop by viewing the trace, Press the
"START" button again to begin sewing.
5. After finishing your design, the display will
show ">>End" and the machine will stop.
The embroidery frame returns to the origin point
automatically.
.
4
: Original point
(Start point)
You can confirm outline
trace and the position of the
design.
START STOP
+
-
START STOP
+
-