Chapter X. Cylinder head
12. Installing valve cotters
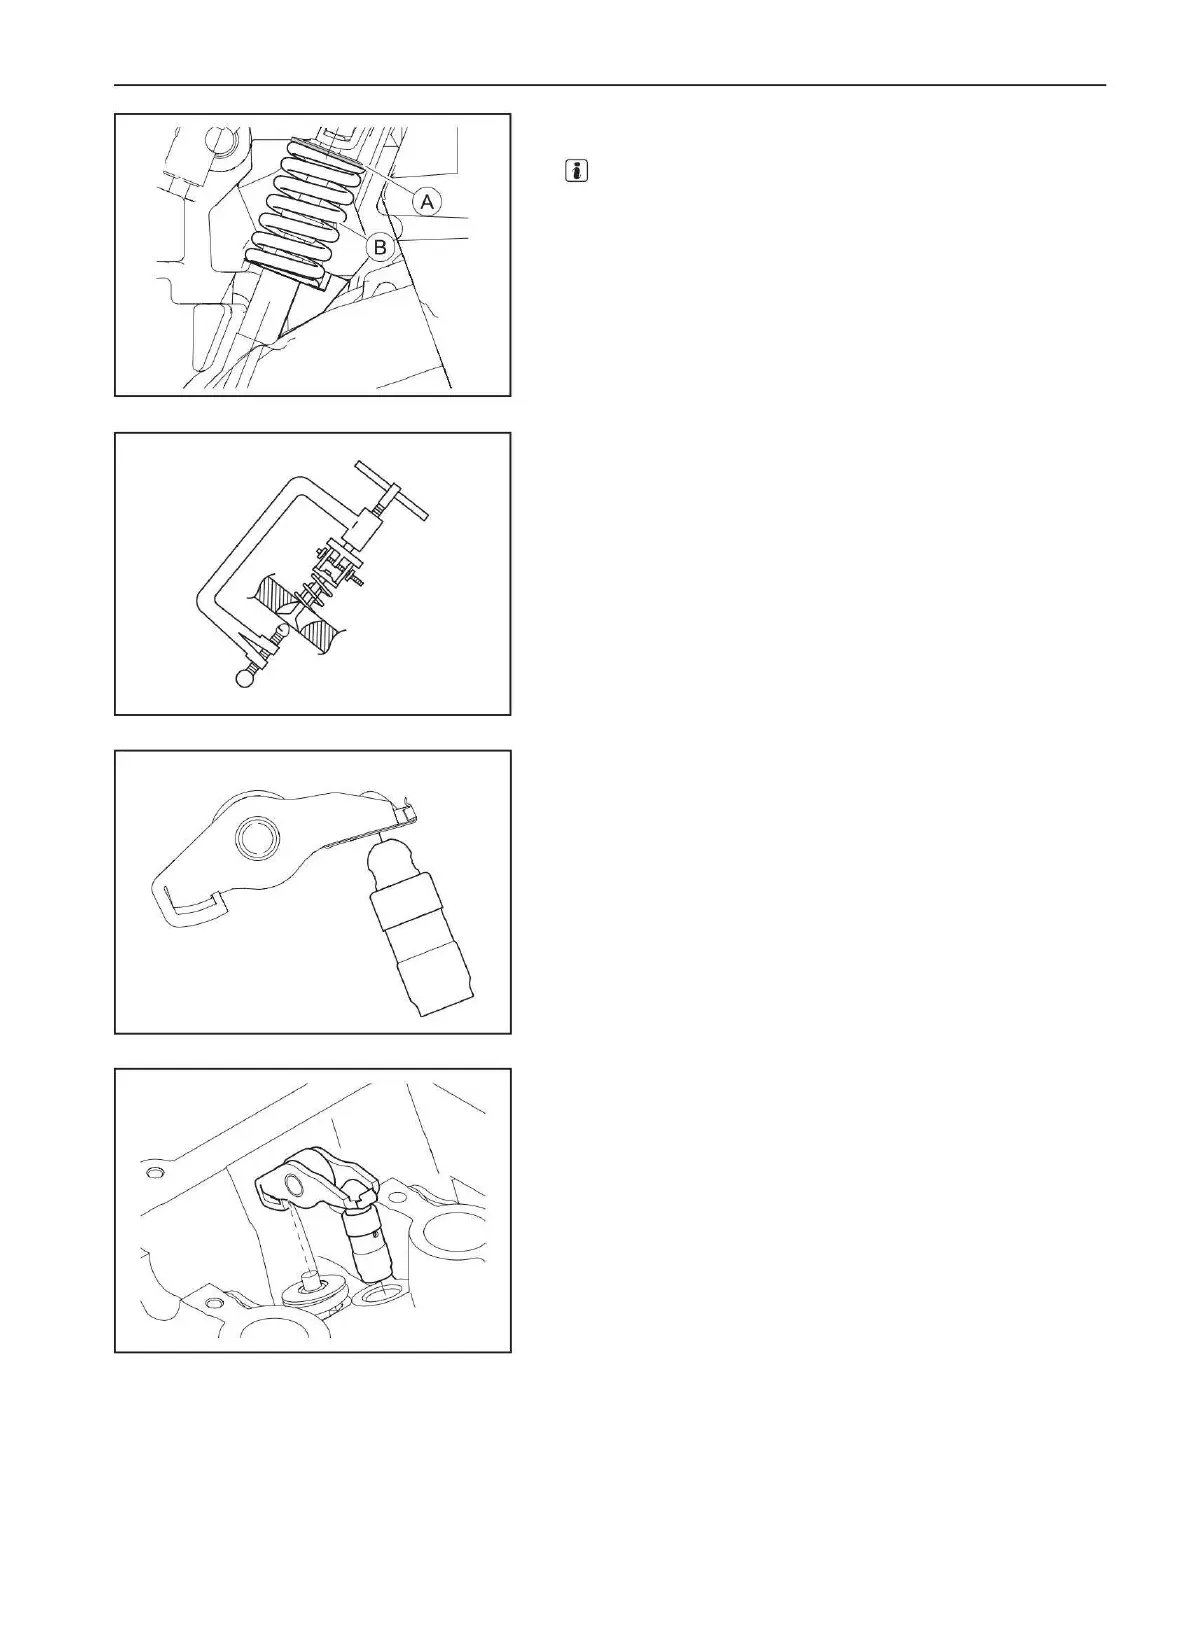
11. Valve spring installation
(b) Screw in the power bolt of the special tool until the nuts can be
installed.
(a) Install the special tool on the valve vertically
(a) Install valve spring (B) with poppet (A).
(c) Apply a thin coat of grease to the inside of the pegs to prevent
them from slipping off, and install them
on the.
(b) Make sure the ball stud is securely fastened to prevent it from
falling out after installation.
But.
Clue:
(c) Install the valve actuator lever connected to the hydraulic
valve clearance adjuster into the mounting hole, and install
the valve actuator lever onto the valve.
ÿ The middle three coils of the exhaust valve spring are blue
painted.
valve.
on the valve.
ÿ Swap the springs of the intake and exhaust valves
gentlemen is prohibited.
(d) Remove the special tool.
ÿ The valve spring must be in contact with the bottom surface of
the poppet. Don't let the spring get stuck.
13. Installing the valve drive lever with a valve clearance hydraulic
compensator
(a) Connect the ball stud of the hydraulic valve clearance adjuster
to the retainer at the rear of the valve actuating lever
75
Machine Translated by Google