USE ONLY GENUINE REPLACEMENT PARTS
Page 7 of 20 Control Station Rev. A
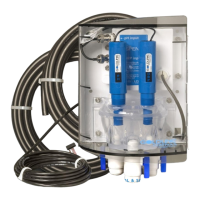
Connecting the water supply points
Install the measuring chamber as close as possible to the pool pipes to avoid head losses.
Drill a 10 mm hole. Place the flat gasket on the pipe fitting and insert the assembly into the hole, as illustrated below. Tighten the
fitting with the clamp provided. Once the fitting has been secured to the pool pipe, insert the hose firmly into the pipe and tighten
the retaining nut by hand.
Clamping
collar
Retai-
ning nut
Pipe tting
Flat
gasket
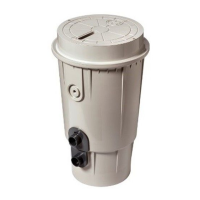
Installing the pH and ORP probes on the measuring chamber
The pH and ORP probes are "wet" packed and protected by plastic caps. The probes must always remain wet. If the probes are
allowed to dry, they will be permanently unusable (not covered by the warranty) and the pH-ORP test kit will be ineffective.
Remove the pH and ORP probes from their plastic protective caps and set the caps aside for later use (wintering). To ensure that
the probes remain wet at all times, fill the measuring chamber with pool water before installing the probes. Apply a length of Teflon
tape to the probe threads. Tighten the probes by hand only. Check that they are watertight at startup. If the probes leak, do not
tighten them further, but remove the Teflon tape and apply a new one.
After installation, check that the probes are constantly in contact with the water in the pool. When the filtration pump is not running
(even for long periods), the water remaining in the chamber may be sufficient to protect the probes.
Plug
ORP probe pH probe
Valves