Chapter 3: Setup and Configuration
The Status area shows the load progress. When loading is complete the following message
appears.
6.
Click OK.
In the Autoloader window click Exit.
Upgrading S320 Firmware via SD Card
Before you upgrade verify the S320 is powered off and, if you will not be using external power, both
Li-ion batteries are fully charged and inserted into the S320.
Download the S320_Upgrade.zip file from the Hemisphere GNSS website at
www.hemispheregnss.com and save it to your PC.
Unzip the file and extract the contents to the root folder of the SD card, ensuring
the same folder structure of the contents on the SD card.
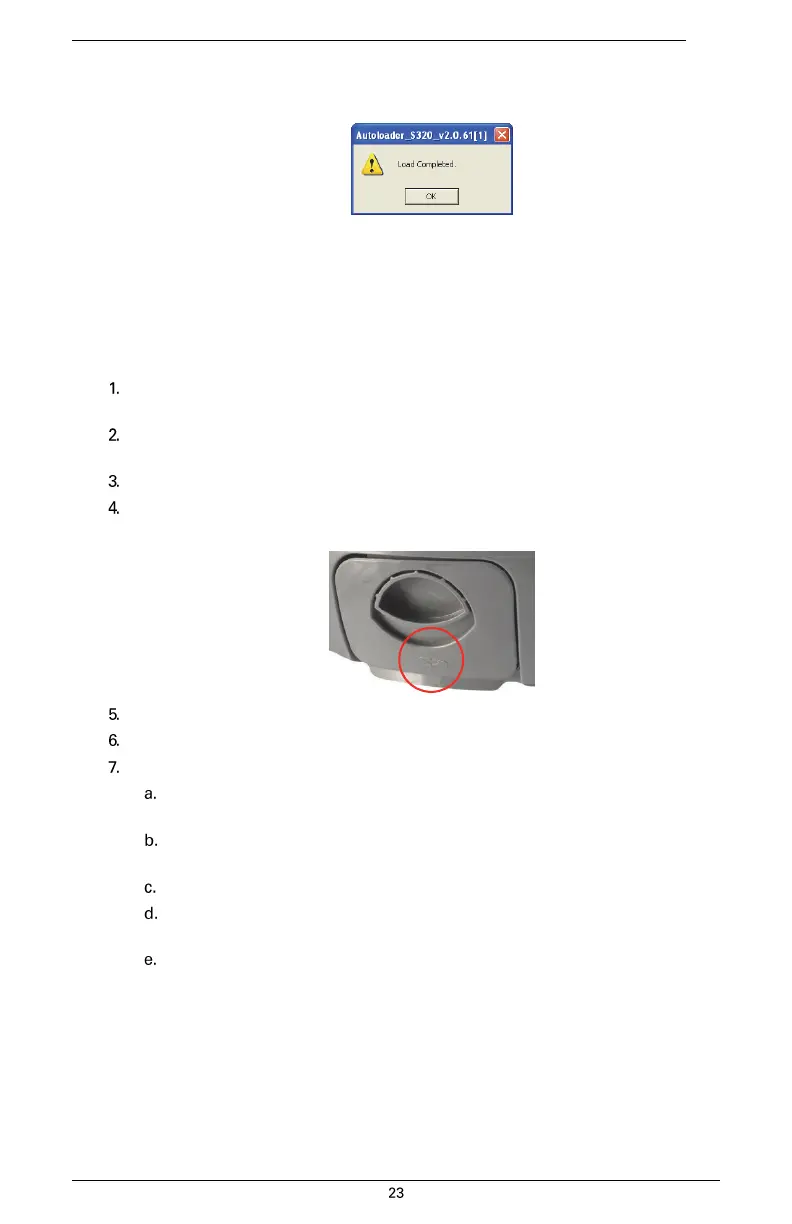
Remove the SD card from the PC.
If necessary remove the left battery tray from the S320 (the left tray is labeled
SD).
Insert the SD card into the S320 (see “Removing/Inserting the SD Card / SIM Card”).
Replace the battery tray.
Power on the S320.
The LEDs cycle from left to right while the receiver is reading the upgrade
file.
After the file has passed all internal verifications, the bottom battery LED
illuminates green.
The LEDs cycle from left to right while the file is copied.
All the LEDs flash quickly to indicate the new firmware file is being committed
to the receiver.
After committing the new file to internal memory, the LEDs cycle from left to right
one more time before resetting the receiver and returning to the heartbeat
sequence.
The upgrade is complete.