Do you have a question about the HID Fargo HDP8500 and is the answer not in the manual?
Details on regulatory compliance standards for the printer.
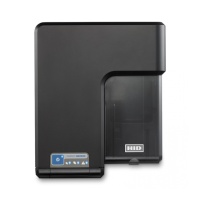
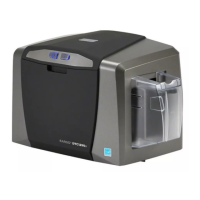
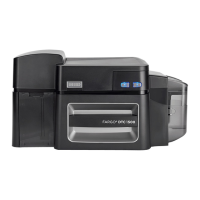
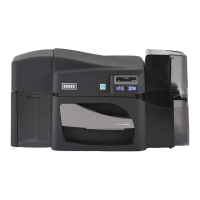
Detailed technical specifications of the HDP8500 printer.
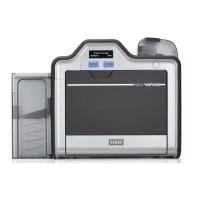
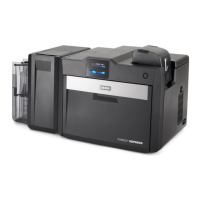
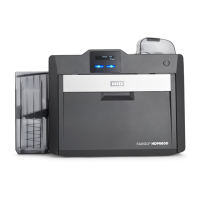
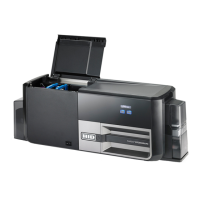
Overview of the printer's functional capabilities and features.
Accessing and performing diagnostic self-tests.
Accessing and performing mechanical diagnostic tests.
Options for calibrating various printer sensors.
Step-by-step guide for loading the HDP transfer film.
Step-by-step guide for loading the printer ribbon.
Procedure for installing the card cleaning roller assembly.
Instructions for loading the overlaminate material.
Guide on how to load blank cards into the input cartridge.
Steps for connecting the printer and lamination module to power.
Configuring card-related settings within the printer driver.
Choosing the correct card size for printing.
Selecting the appropriate card stock type for optimal printing.
Procedure for testing the adhesion of the HDP film to cards.
Configuring device-specific options in the printer driver.
Selecting the correct ribbon type for the loaded ribbon.
Selecting the correct HDP film type for the loaded film.
Enabling printing on both the front and back of a card.
Splitting ribbon panels for economical dual-sided printing.
Using fluorescent panel options for enhanced security images.
Feature to erase personal data for enhanced security.
Adjusting color properties like sharpness, contrast, and gamma.
Selecting color matching options for image quality.
Fine-tuning image color balance with advanced controls.
Adjusting image position, dwell time, and transfer temperature.
Positioning the printed image on the card using adjustment arrows.
Controlling image transfer speed and temperature for card types.
Configuring magnetic stripe encoding settings.
Specifying the magnetic encoding standard to use.
Setting coercivity and track selection for magnetic encoding.
Controlling the printer's lamination process and settings.
Adjusting the horizontal position of the overlaminate patch.
Controlling lamination speed and transfer dwell time.
Selecting the type of lamination media installed.
Controlling resin black panel printing and defined areas.
Choosing to print YMC panels under K or K panel only.
Configuring printer features, event monitoring, and language.
Calibrating the printer's lamination module.
Calibrating the printer's film transfer system.
Calibrating the printer's ribbon sensor and path.
Initiating the printer's cleaning routine.
Accessing advanced printer settings for customization.
Adjusting printhead resistance settings.
Adjusting the overall darkness of the printed image.
Shifting the magnetic stripe encoding start point.
Offsetting transfer roller temperature settings.
Creating custom fluorescent images using the Workbench utility.
Creating fluorescent images using badge application software.
Generating an inhibit panel layout using the Workbench utility.
Utilizing text objects with '~i' to define inhibit areas.
Resolving common issues with inhibit panel operation.
Using tables to diagnose and resolve LCD and printer error messages.
Detailed troubleshooting steps for various LCD error messages.
Procedure for upgrading printer firmware using the Workbench utility.
Information on how to contact HID Global Technical Support.
| Print Resolution | 300 dpi |
|---|---|
| Print Technology | Dye-sublimation |
| Connectivity | USB, Ethernet |
| Connectivity (USB Version) | USB 2.0 |
| Power Supply | 100-240 VAC, 50-60 Hz |
| Card Sizes | CR80 |
| Card Thickness | 30 mil |
| Operating System Support | Windows |