DS-7700NI-SP/9000/9600 Series HDVR/NVR User’s Manual
132
3. Enter the destination address in the text field of Destination Address.
4. Click the Test button to start testing network average delay and packet loss rate. The testing result
will pop up on the window.
5. Click the Status to check the network status.
To export network packet:
By connecting the DVR to network, the captured network data packet can be exported to USB-flash disk,
SATA/eSATA CD-RW and other local backup devices.
1. Enter the Network Detection menu by going to Menu > Maintenance > Network Detection.
2. Select the Network Detection tab to enter the Network Detection menu.
3. Click the Export button to start exporting.
4. After the exporting is complete, click OK to finish the packet export, as shown in Figure 149.
Figure 149 Export Process Bar
Note:
Click the Refresh button if the connected local backup device cannot be displayed. When it fails to detect
the backup device, please check whether it is compatible with the DVR. You can format the backup
device if the format is incorrect.
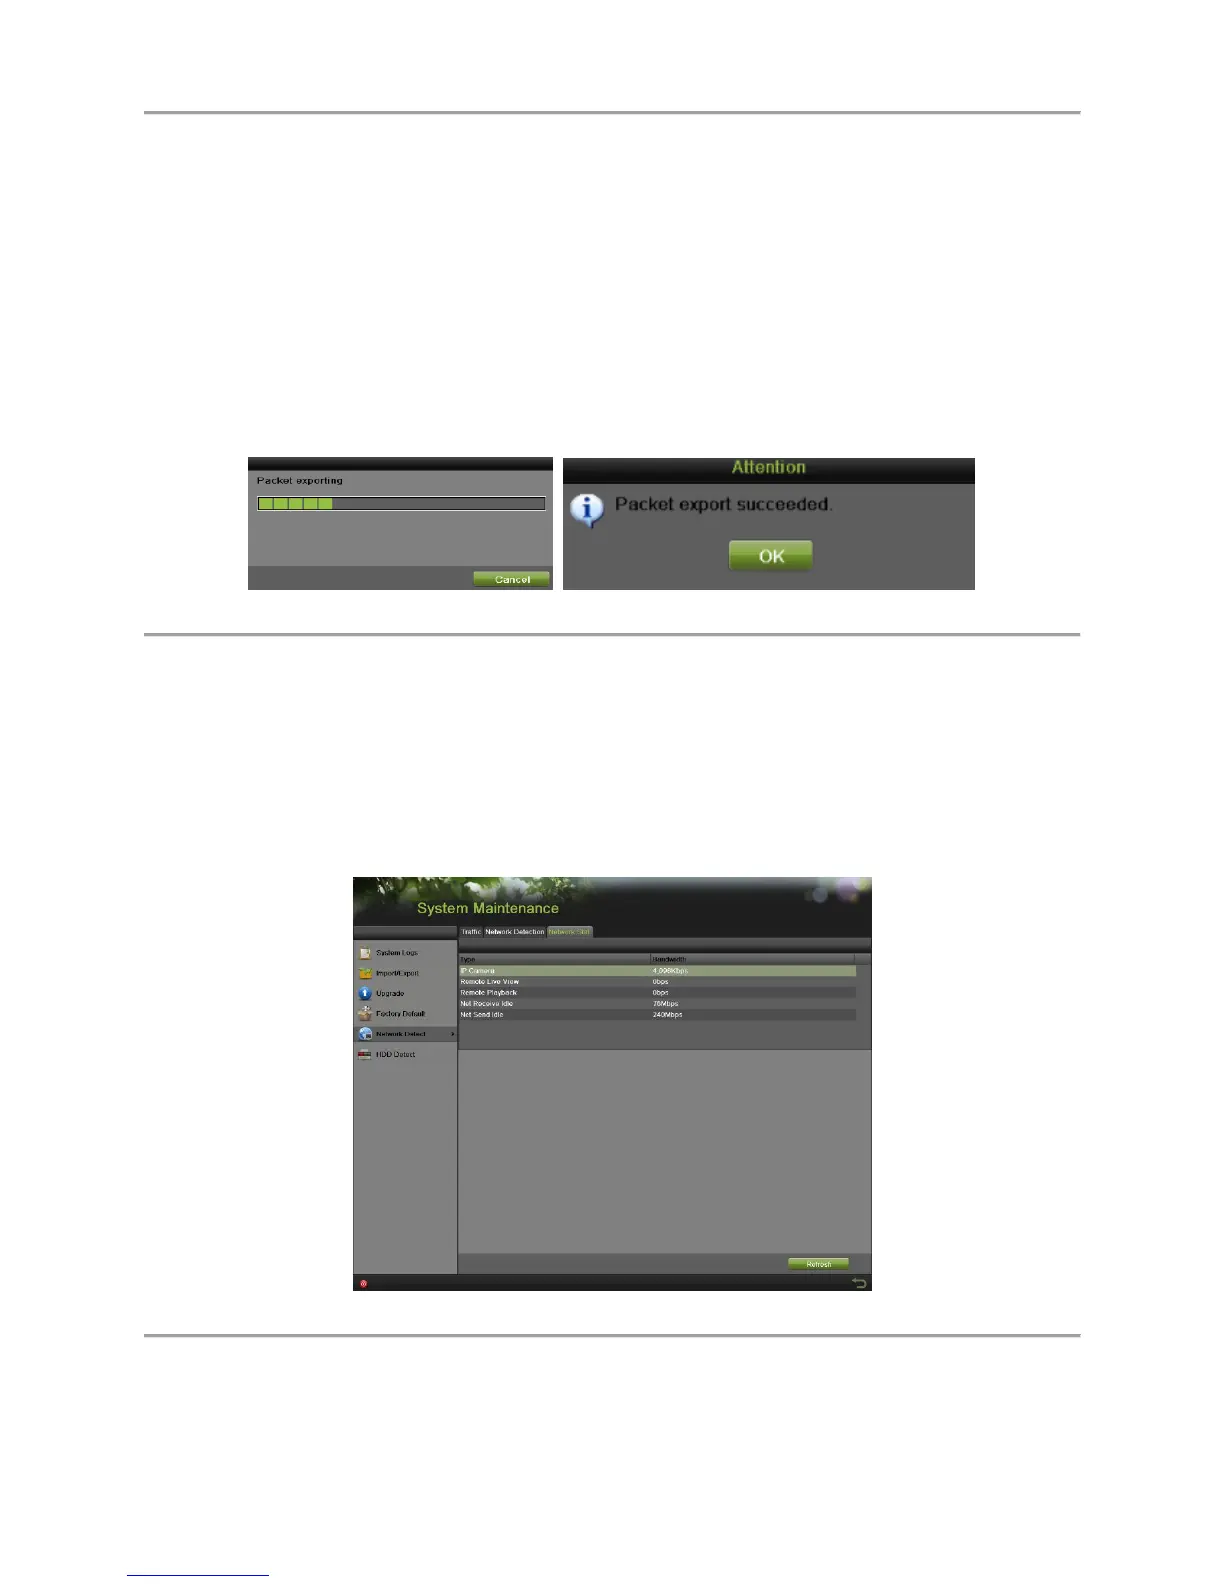
To view network status:
1. Enter the Network Stat. menu by going to Menu > Maintenance > Network Detection.
2. Select the Network Stat. tab to enter the Network Stat. menu, as shown in Figure 150.
Figure 150 Network Stat. Interface
3. Check the bandwidth of IP Camera, Remote Live View, Remote Playback, Net Receive Idle and
Net Send Idle.
4. You can click the Refresh button to get the newest status.
 Loading...