DS-7700NI-SP/9000/9600 Series HDVR/NVR User’s Manual
51
Configuring Settings for Capturing
Configuring Capture Quality Settings
Follow the introductions to configure capture quality settings.
Steps:
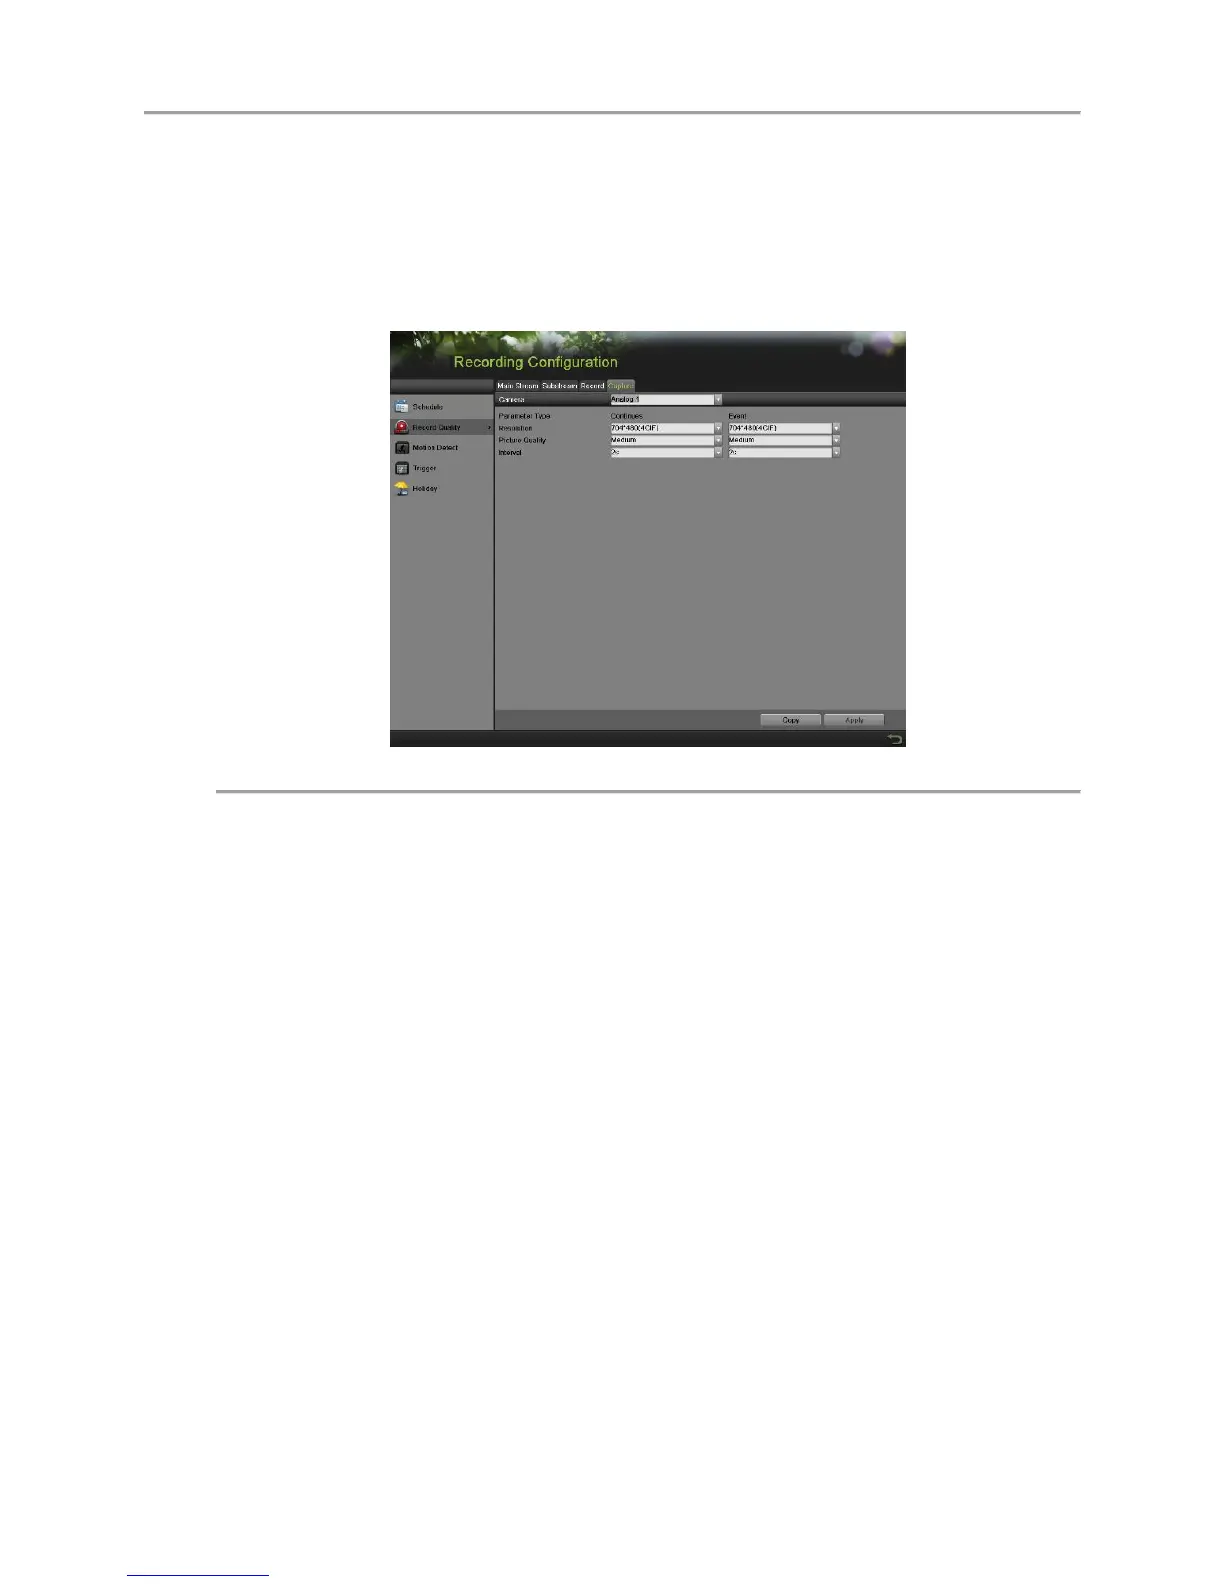
1. Enter the Capture interface, shown in Figure 47 by going to Menu > Recording Configuration >
Recording Quality > Capture.
Figure 47 Capture Quality Settings Menu
2. Select the camera to configure from the camera dropdown list.
3. Select the Parameter Type to configure. Both Continuous and Event can be configured.
4. Select the picture resolution in the Resolution dropdown list. The options for the capture
resolution include 4CIF, CIF and QCIF.
5. Select the picture quality to High, Medium of Low in the dropdown list.
6. Select the time period in second between two capturing actions.
7. If the parameters can be used to other channels, click Copy to copy the settings to other channels.
8. Click the Apply to save the settings.
Note:
The interval is the time period between two capturing actions. You can configure the parameters from 1s
to 24 Hour.
Configuring Capture Schedule
Set the capture schedule, then the camera will automatically start/stop capturing according to the schedule.
To setup a record schedule:
Steps:
1. Enter the Schedule menu by going to Menu > Recording Configuration > Schedule.
2. Select the Capture tab, as shown in Figure 48, to configure capture schedule.
 Loading...