DS-7700NI-SP/9000/9600 Series HDVR/NVR User’s Manual
67
3. If you have a DHCP server running and would like your DVR to automatically obtain an IP
address and other network settings from that server, check the DHCP checkbox. The assigned IP
information via DHCP is now displayed in the IP address bar after enable DHCP and refreshes
the interface.
4. Working Mode: There are two 10M/100M/1000M NIC cards provided by the device, and it
allows the device to work in the Multi-address, Load Balance and Net Fault-tolerance modes.
5. Multi-address Mode: The parameters of the two NIC cards can be configured independently. You
can select LAN1 or LAN2 in the NIC type field for parameter settings. You can select one NIC
card as default route. And then the system is connecting with the extranet, the date will be
forward through the default route.
6. Load Balance Mode: By using the same IP address and two NIC card share the load of the total
bandwidth, which enables the system to provide two gigabit network capacity.
7. Net Fault-tolerance Mode: the two NIC cards use the same IP address, and you can select the
Main NIC. By this way, in case of one NIC card failure, the device will automatically enable the
other standby NIC card so as to ensure the normal running of the whole system.
8. If you would like to configure your own settings, enter the settings for:
IP Address: IP address you would like to use for your DVR.
Subnet Mask: Subnet Mask of network.
Default Gateway: IP address of your Gateway. Typically the IP address of your router.
DNS Server: The preferred and alternate Domain Name System (DNS) Server to be used
with your DVR.
9. Click the Apply button to save the settings.
Configuring DDNS
Dynamic DNS allows you to create a hostname and associate it to your IP address, making access to
your DVR over the internet easier. To configure DDNS:
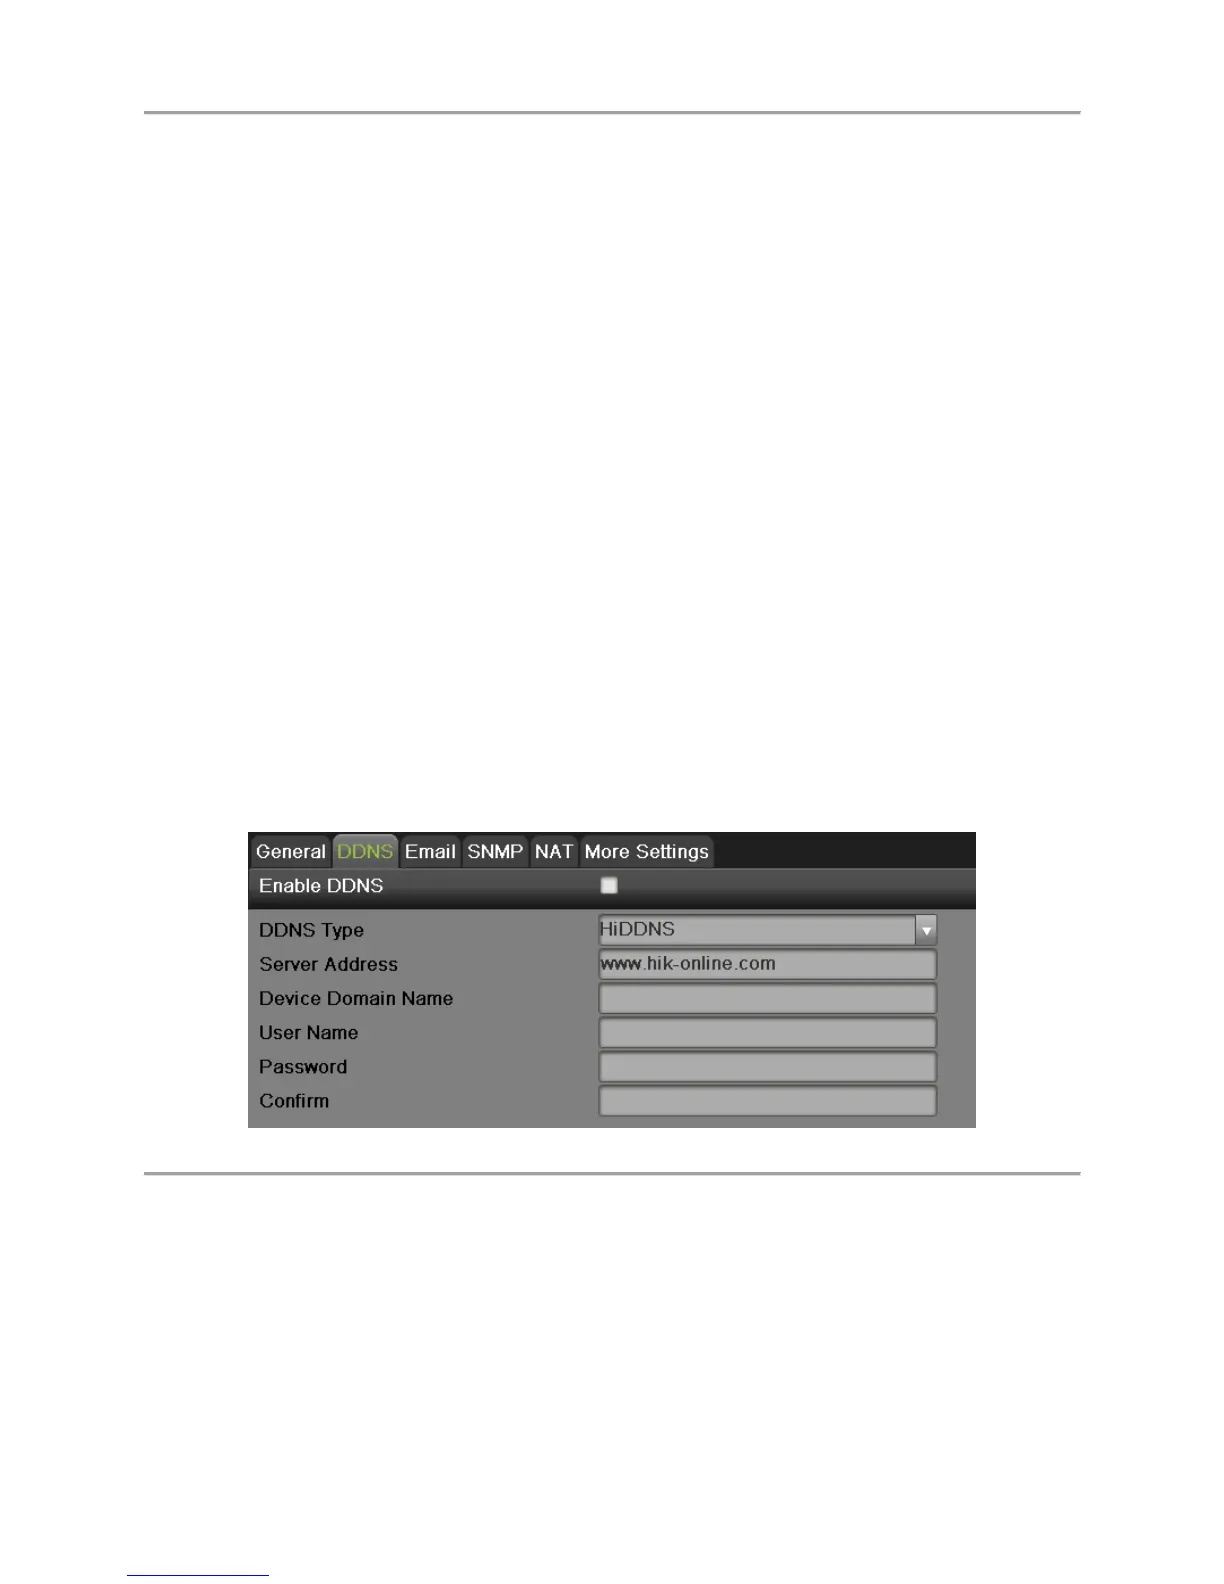
1. Select the DDNS tab to enter the DDNS settings interface, as shown in Figure 64.
Figure 64 DDNS Settings Menu
2. Check the Enable DDNS checkbox.
3. Select a DDNS type from the DDNS Type selection box. Five different DDNS types are
selectable: IPServer, DynDNS, PeanetHull, NO-IP, hkDDNS.
IPServer: Enter Server Address for IPServer.
DynDNS:
1) Enter Server Address for DynDNS.
2) Enter the domain obtained from the DynDNS website in the Domain Name textbox.
3) Enter the User Name and Password registered in the DynDNS website.
PeanutHull: Enter the User Name and Password obtained from the PeanutHull website.
 Loading...