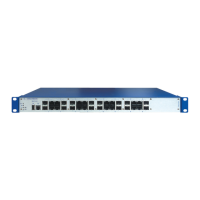
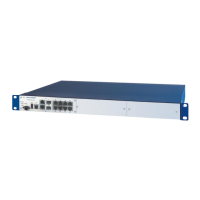
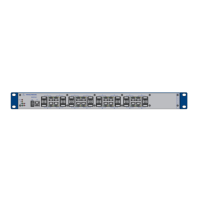
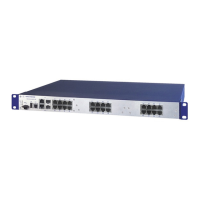
Installation MACH104
Release
07
07/2014
23
For the signal contact to be connected, make sure the following requirements
are met:
The electrical wires are voltage-free.
The connected voltage is limited by a current limitation device or a fuse.
Observe the electrical threshold values for the signal contact.
See “General technical data” on page 30.
Remove the power connector from the device.
Connect the signal contact wires with the connectors of the terminal block.
Mount the terminal block for the signal contact on the front of the device
using the screw locking. Check whether the terminal block is mounted
correctly and screwed on.
Note: Relevant for North America:
The torque for tightening the terminal block for the signal contact on the
device is 3 lb-in (0.34 Nm).
2.4 Installing the device and grounding
The device can be mounted on a flat surface, in a 19" standard switch
cabinet, or on the wall.
2.4.1 Selecting the assembly location
Select the assembly location according to the safety guidelines (see on
page 5 “Safety instructions”).
When selecting the assembly location, also make sure the following require-
ments are met:
The assembly location can be accessed for maintenance and repair work.
The LED display elements are clearly visible.
Twisted-pair cables are at a sufficient distance from potential sources of
electrical interference, such as power cables.
The device has a separate power source with a ground connection. The
power supply can be interrupted by means of a separate isolator or power
switch. We recommend using overvoltage protection for all devices.
WARNING
ELECTRIC SHOCK
Never insert sharp objects (small screwdrivers, wires, etc.) into the connec-
tion terminals for the signal lines, and do not touch the terminals!
Non-adherence to these instructions can lead to death, serious
physical injury or material damage.
 Loading...