24
Installation MACH104
Release
07
07/2014
2.4.2 Mounting on a flat surface
Before operating the device on a flat surface, such as a table, fasten the
housing feet supplied at a distance of 2 cm from the corners of the bottom of
the device.
If necessary, remove any dirt from the adhesive surfaces on the bottom
of the device.
Remove the protective foil from the adhesive surface of a housing foot
and attach the housing foot.
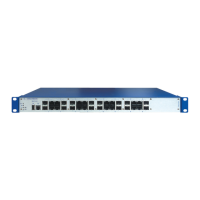
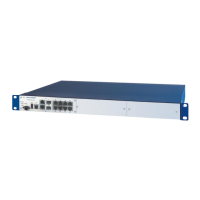
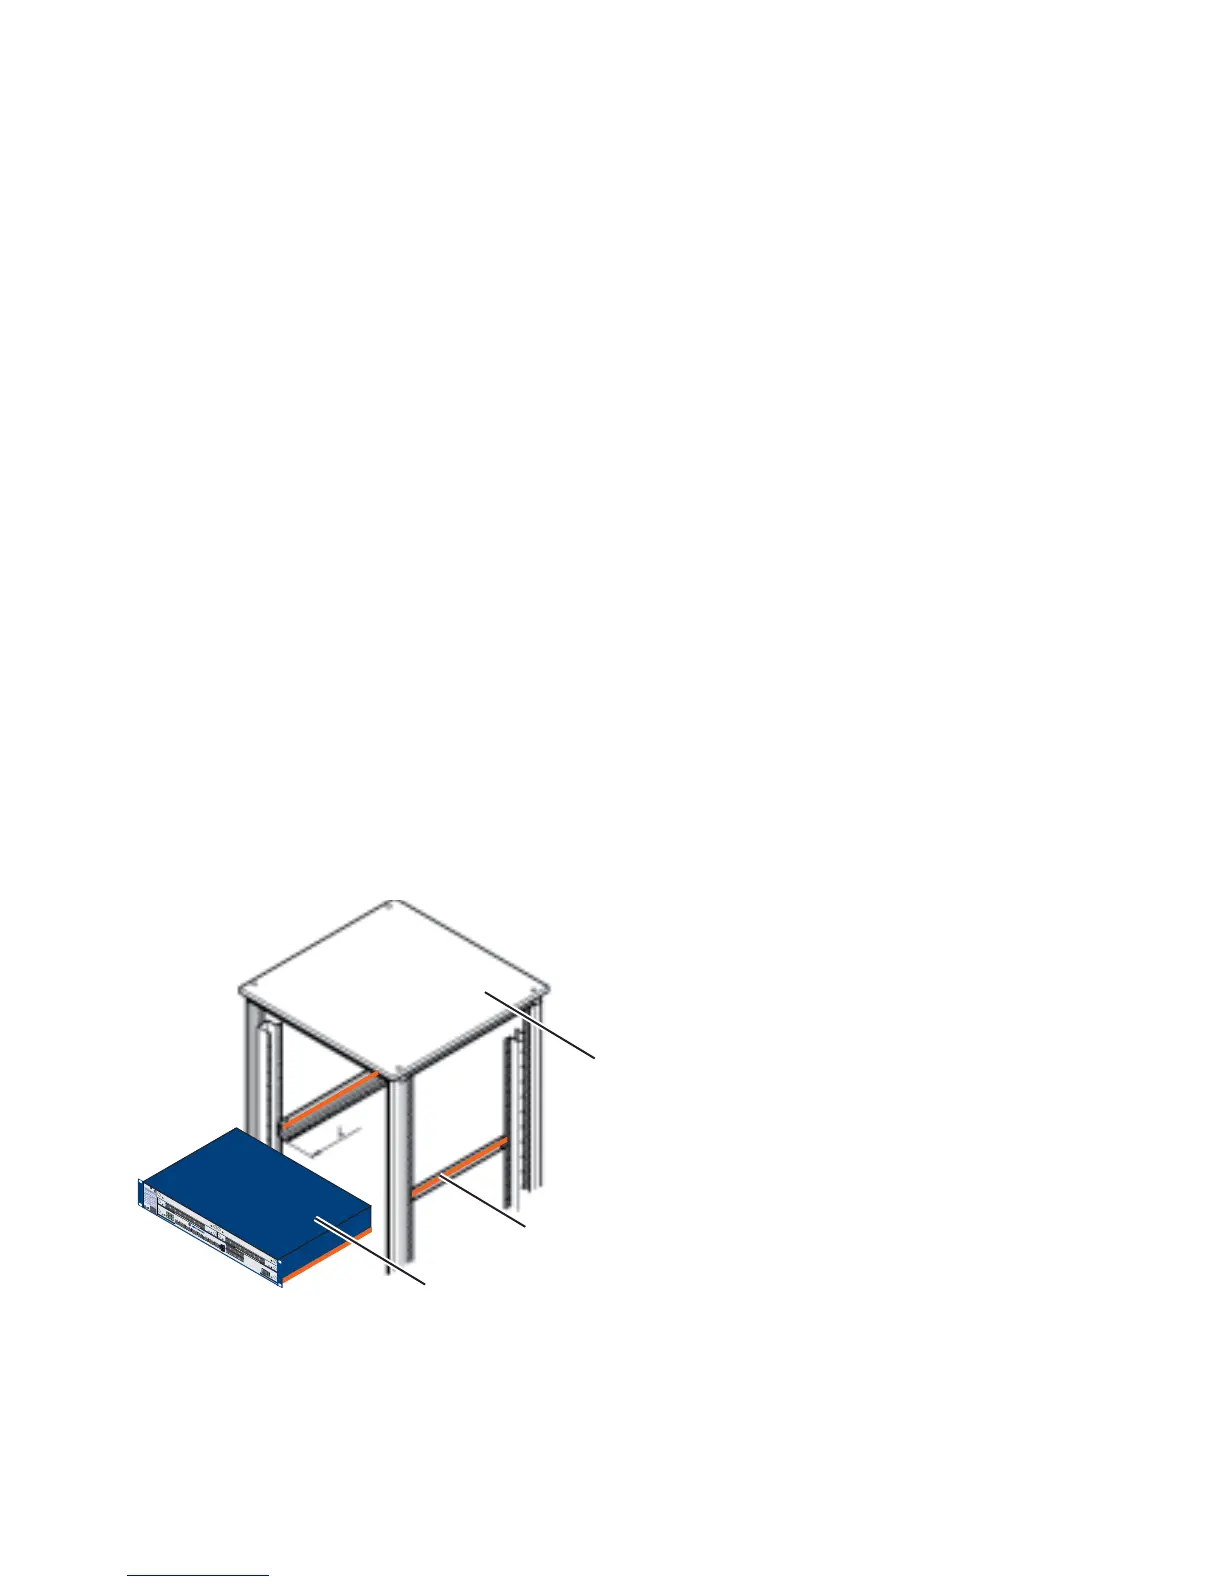
2.4.3 Mounting in a switch cabinet
Note: Observe the instructions for installation in 19'' control cabinets
according to UL 60950-1.
See “Relevant for rack mounted installations according to UL 60950-1” on
page 8.
Note: For more information on sliding/mounting rails and how to install them,
please contact your switch cabinet manufacturer.
The devices are designed to be mounted in a 19" switch cabinet.
Make sure there is sufficient ventilation. If necessary, provide a fan for the
19" switch cabinet. This will prevent the basic devices from overheating.
Measure the depth of the 19" switch cabinet so as to allow the power
supply cables to be fitted at the back and the data cables to be fitted at
the front.
Install the sliding/mounting rails in the 19" switch cabinet as instructed by
the manufacturer, and make sure the device is resting on both rails.
Figure 13: Assembly in a switch cabinet with sliding/mounting rails
1 - MACH104 device
2 - sliding/mounting rail
3 - 19“ switch cabinet
 Loading...