3. If the User Account Control window appears, click on Yes in the window
to allow the Rawrite32 to make changes to your computer.
4. In the NetBSD Disk Image Tool window, in the Target field, select the
letter for the drive into which you inserted the USBflash drive.
Important: Rawrite32 can overwrite any removable storage device
connected to the laptop computer. Be sure to select the correct drive.
5. In the NetBSD Disk Image Tool window, click on Open.
6. In the Open a file system image window:
a. Display all file types.
b. Navigate to and select the HCP S Series ISO image file.
c. Click on Open.
Rawrite32 calculates hash values for the file you selected.
7. Click on Write to disk.
8. In response to the confirming message, click on Yes.
While Rawrite32 writes the installation files to the USBflash drive, the
NetBSD Disk Image Tool window shows the progress of the operation.
When the operation is complete, the window displays a message
indicating the number of bytes that were successfully written.
9. After the operation is complete, close the NetBSD Disk Image Tool
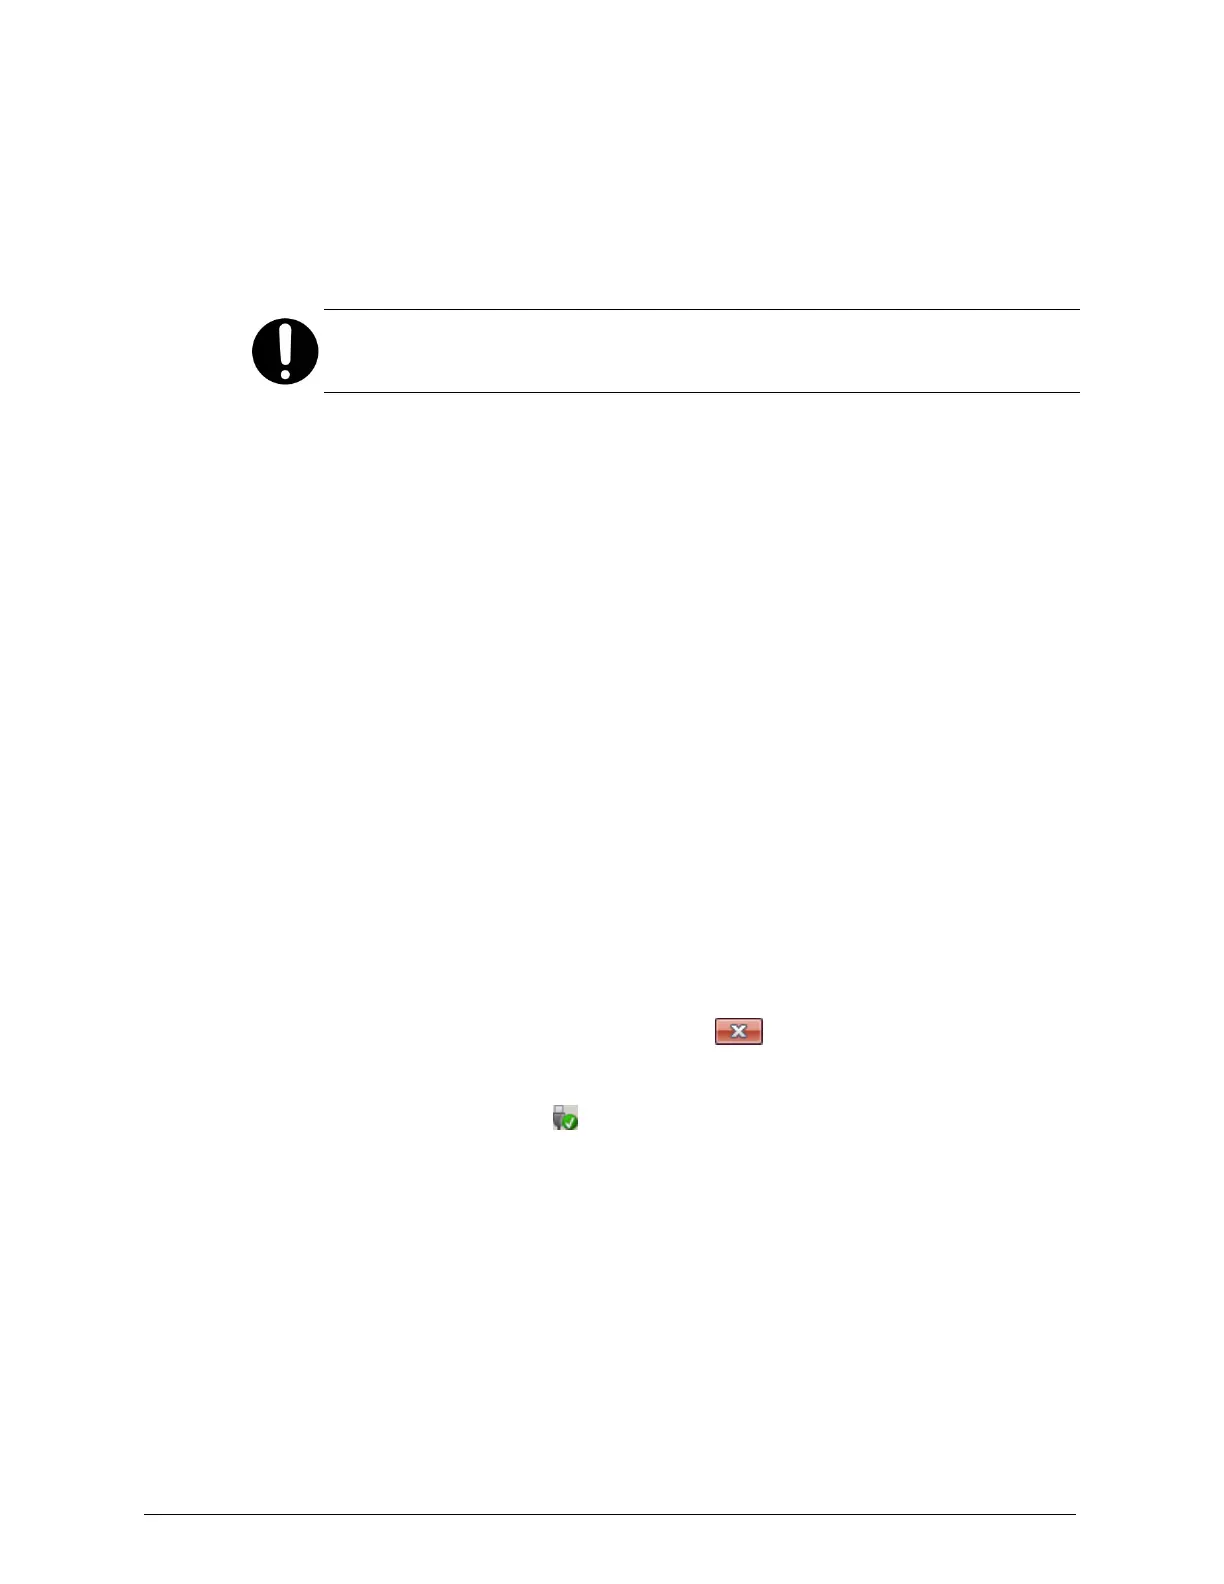
window by clicking on the close icon ( ) in the upper right corner.
10. In the Windows system tray, right-click on the Safely Remove Hardware
and Eject Media icon ( ). Then, in the popup menu, select the
USBflash drive.
11. Remove the USBflash drive from the laptop computer.
Chapter 2: Preparing for HCP S Series Node refurbishment
19
HCP S Series Node Refurbishment
Preparing the USB flash drives
 Loading...


