15
Installation of the Projector
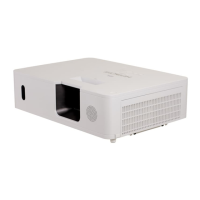
Installation the projector.
1. Orient the projector towards the screen
Screen
2. Connect the power cord to the projector
AC SWITCH
VOLTAGE SELECT
Please select the
correct input voltage
before removing the
warning label.
before you turn on the power switch.
$%&
power.
COMPONENT 2SDI / HDSDI / 3G
COMPONENT 1
YPbPr
10/100 BASE-T RS-232 WIRED REMOTE
12V TRIGGER
III
350mA
SYNC IN SYNC
IN OUT G/Y B/Pb R/Pr H VVGA
HDMI HDMI
STEREO DVI
©
Desk Top or Notebook
AC SWITCH
4. Remove the lens PU foam on the projector before starting it up.
Press the button on the projector or
the
l
button on the remote control to
start up the projector.

 Loading...