Glider
(GLID)
Section
– –
66
4WNG
421 3 567
MODEL
flashing
WING
6. Press the
Up
arrow once. This gets you
into the model name mode (note that the
words “MODEL” and “NAME” appear in
the upper left of the display).
7. Now you can select four letters to
identify your model. With the first of the
four letters flashing, press the
Data +Increase
or
–Decrease
key to change the letter that is
displayed. Stop when the first letter is the
one you want.
8. Press the
Right
Cursor
key once to get to
the second letter. Repeat the previous step
to choose the second letter.
9. Repeat two more times to fill out the
remaining two letters. If you like, you can
hit the right cursor button one more time and
select a number between 0 and 199 for
further identification. It can be handy to use
this to store the plane’s channel number.
10. Press the
Up
arrow once. This gets you
into the Timer menu (TIME). If you want,
you can use the
Data +Increase
or
–Decrease
keys to select the amount of time you want
the stopwatch to count down.
11. This completes the initial part of the
setup. Now, we’ll go ahead and customize
the GLID settings for your model. Switch
transmitter power OFF.
12. Turn the transmitter on. When you do,
you will find that channels 1 and 5 act as
ailerons. Channels 6 and 7 will only move
when the flap knob (VR1) is moved.
13. Now check that each servo moves the
proper direction. Move the aileron, elevator,
and rudder sticks. Be sure that the channels
go the proper direction. If not, go to the
Reversing menu (REV) by hitting the
Down
arrow. Follow the procedures in the ACRO
setup example, for details.
14. (4WNG only) Move to A →
→ →
→ F by
pressing the
Up Down Edit
buttons. Activate
it by pressing the
Active/Inhibit (Clear)
key
(‘
On
’ or ‘
Off
’ will be flashing depending on
the position of the Flt condition switch:
forward is on).
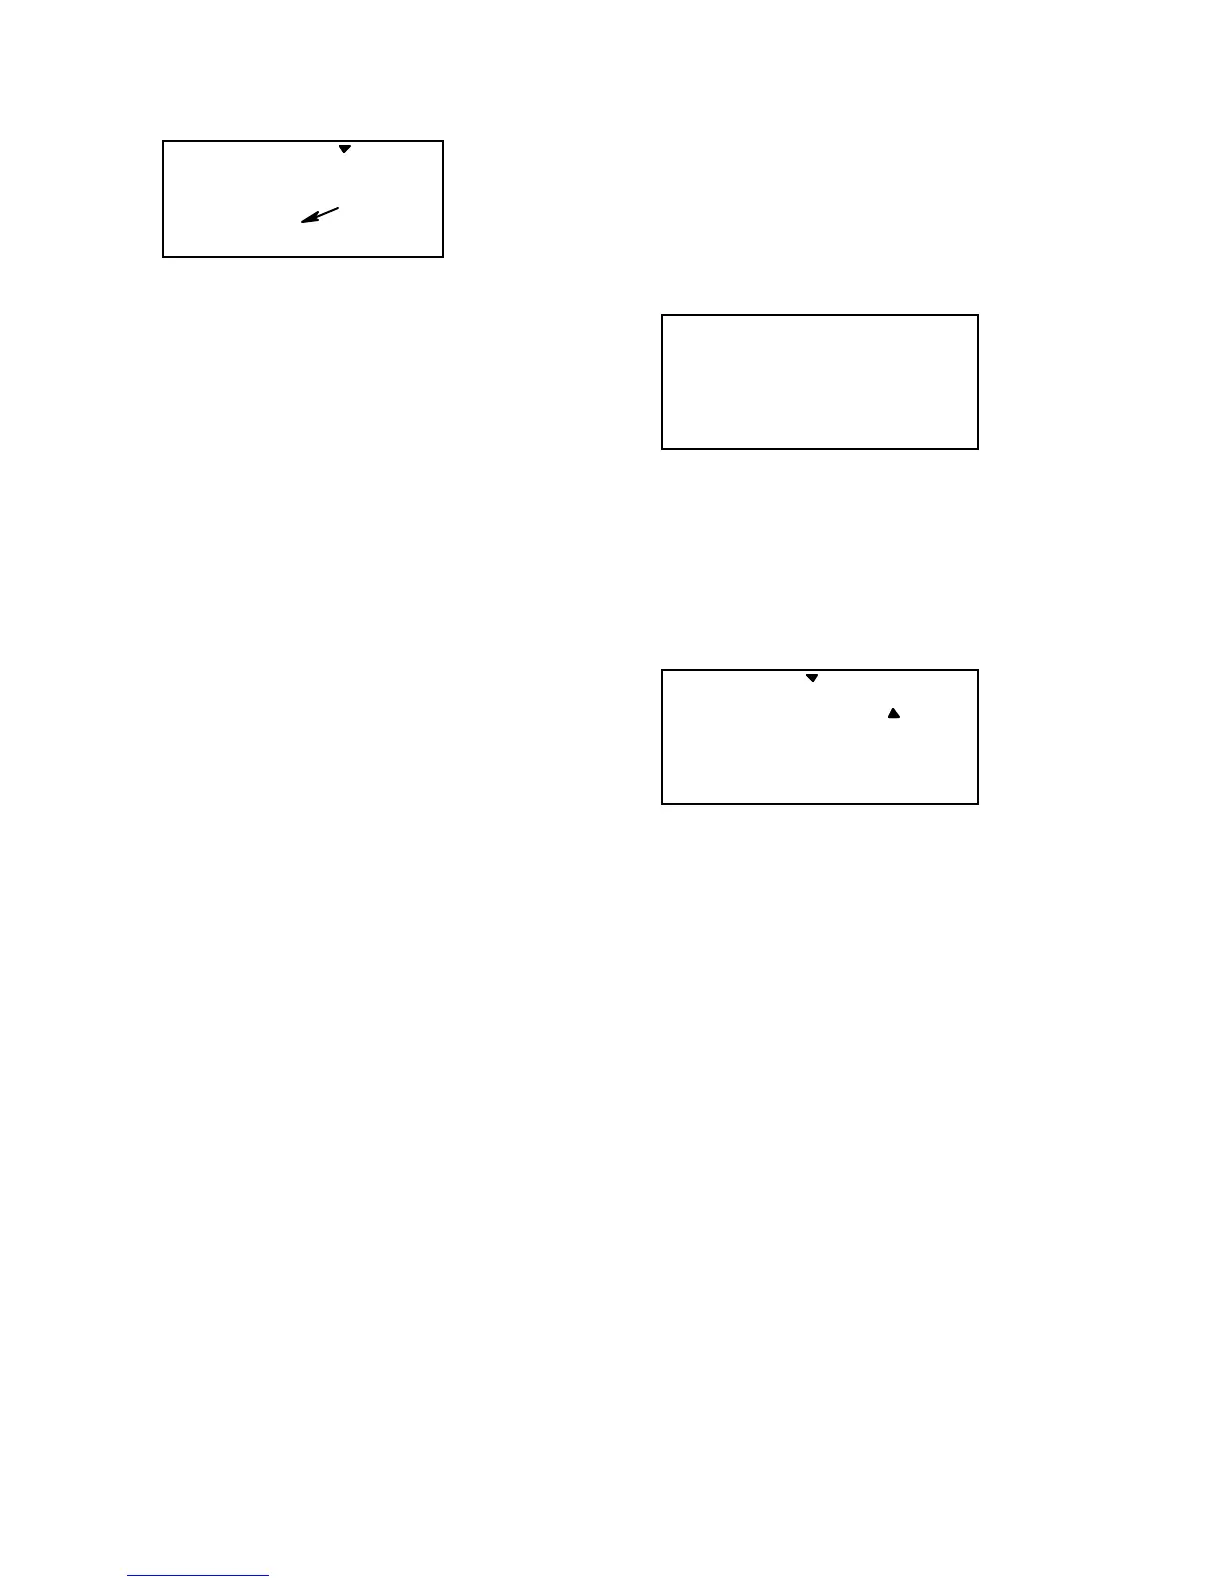
A->F
CH
16
SLV
MAS
7
ON
15. (4WNG only) Next, move the aileron
stick and be sure that both flaps move the
same directions as the ailerons. If they do,
move on to the next step. If they don’t,
reverse them in the REV menu. Check
again that the flaps now move with the
ailerons.
A->F + 50
CH
%
16
SLV
MAS
7
ON
L/U
16. (4WNG only) Reduce the rate that the
ailerons mix to the flaps by pressing the
Cursor Right
key until the percent sign
flashes. You can independently set the up
and down travel for each flap, which is
handy for models which have hinging that
prevents motion in one direction. We
suggest that you set the mixing rate to 50%
on all four settings. You can increase this
later if you find you need more
maneuverability.
17. Now all the servos should function
properly for different stick motions. When
you move the right-hand stick to the right,
the servos on the right wing should move the
controls upwards, and the servos on the left
should move the left wing controls
downward. Rudder and elevator should also
respond properly.
Spend some time getting the correct motions
in this step. If you try to do it later within