Glider
(GLID)
Section
– 65 –
Competition Glider Quick Setup Instructions
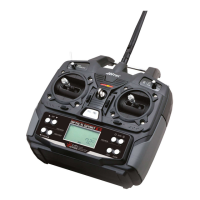
The following example shows how the
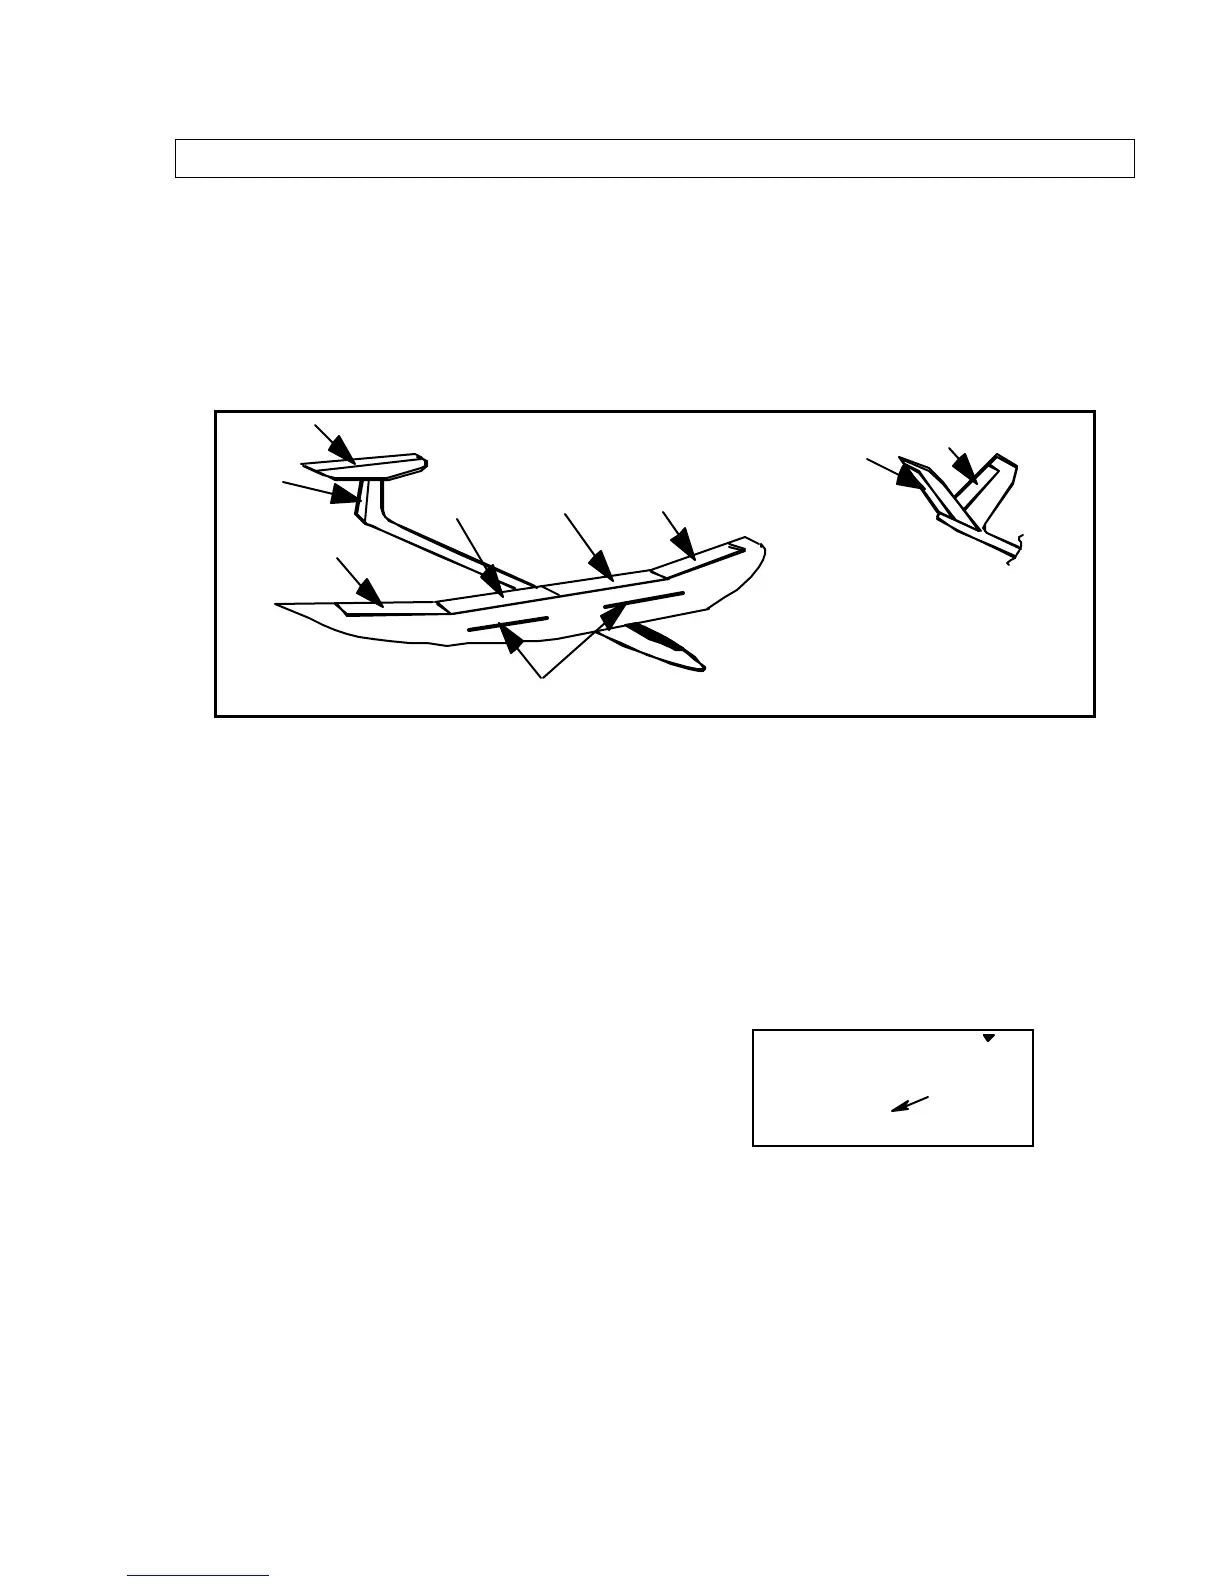
Eclipse 7
may be programmed for the “typical” high-
performance six-servo sailplane, shown below. Six servos are used for right and left ailerons,
right and left flaps, elevator, and rudder. If the model happens to have a V-tail, all the functions
are the same, except for the response of the two tail controls. The channel 3 output on the
receiver toggles with the Gear switch and may be used for motor on/off. If you are programming
a model with two wing servos, skip the steps labeled “4WNG only.” Your model’s settings will
be dependent on the setup and linkages. Ask an experienced pilot for assistance setting up.
Right Aileron
Elevator
Rudder
Right Flap
Left Flap
Left Aileron
Spoilers
Right Ruddervator
Left Ruddervator
V-Tail
1. Before you begin, be sure that all of
your aileron and flap servos are plugged into
the proper receiver channels:
CH1 — Right aileron
CH2 — Elevator
CH3 — Motor on/off or spoiler
CH4 — Rudder
CH5 — Left Aileron
CH6 — Right Flap (4WNG only)
CH7 — Left Flap (4WNG only)
2. Enter the SETUP mode by turning on
the transmitter while pressing the two
Up
Down Edit
buttons simultaneously. You will
be in the model setup (MSEL) menu.
3. Make sure you’re in a clear memory. If
necessary, use the Cursor
Right
button to
move to a new model memory. The selected
model memory is indicated by the little
flashing arrow pointing down. Power down
if you’ve chosen a new memory, then power
up as in previous step.
4. Press the
Up
arrow until the word GLID
appears, flashing on and off. If it does,
you’re ready to proceed on to the next step.
If not, press the
Left
or
Right
Cursor
keys
until it appears. You must press both
Data
keys to “Save” the setting; when you do
this, there will be two beeps. This is how
you select the type of model you wish to
use.
WARNING: selecting a different model type
will erase the settings in the model memory.
BE SURE you’re in the correct model
memory before selecting a new model type,
or you might accidentally erase a model
you’re using! (The other memories will not
be affected.)
GLID
421 3 567
MODEL
flashing
5. Now it’s time to select the wing type.
Select 2WNG for models with two aileron
servos, and 4WNG for models with two
ailerons and two flaps. Press the
Up
arrow
until you see the word “WING” in the upper
right of the display. The wing type in the
lower left will be flashing. You must press
both
Data
keys to save the wing type.