3–1
SECTION 3
PC Board Mounting
•••••••••••••••••••••••••••••••••••••••••••
In This Section
♦ Mounting the Control Board
♦ Mounting the Receiver and Antennas
•••••••••••••••••••••••••••••••••••••••••••
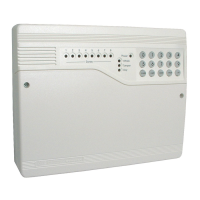
Mounting the Control Board
Before mounting the printed circuit board, be certain that the appropriate metal knockouts have been
removed. DO NOT ATTEMPT TO REMOVE THE KNOCKOUTS AFTER THE CIRCUIT BOARD HAS
BEEN INSTALLED.
NOTE: The front face (door) of the enclosure can be completely removed to gain unrestricted access to
the control panel during installation. To remove the door, perform steps 1 and 2. Otherwise, proceed to
step 3:
1. Open the door to its fully extended position (approximately 90 degrees).
2. Lift the control panel door to remove it from the enclosure.
3. To mount the PC board, hang the three mounting clips on the raised cabinet tabs. Observe proper
clip orientation to avoid damage to the clip when mounting screws are tightened, and to avoid
problems with insertion and removal of the PC board.
4. Insert the top of the circuit board into the slots at the top of the cabinet. Make sure that the board
rests in the slots as indicated in the figure below.
5. Swing the base of the board onto the mounting clips.
 Loading...