UDA Communications Setup
8 UDA2182 Communications User Guide January 09
3.1.3 Setting up DHCP using the front-panel
It is recommended that the IP addresses assigned to the UDA by the DHCP server are fixed, so that the
Modbus host can locate the UDA on the network. Consult your IT department or network administrator for
allocating DHCP IP addresses to specific devices.
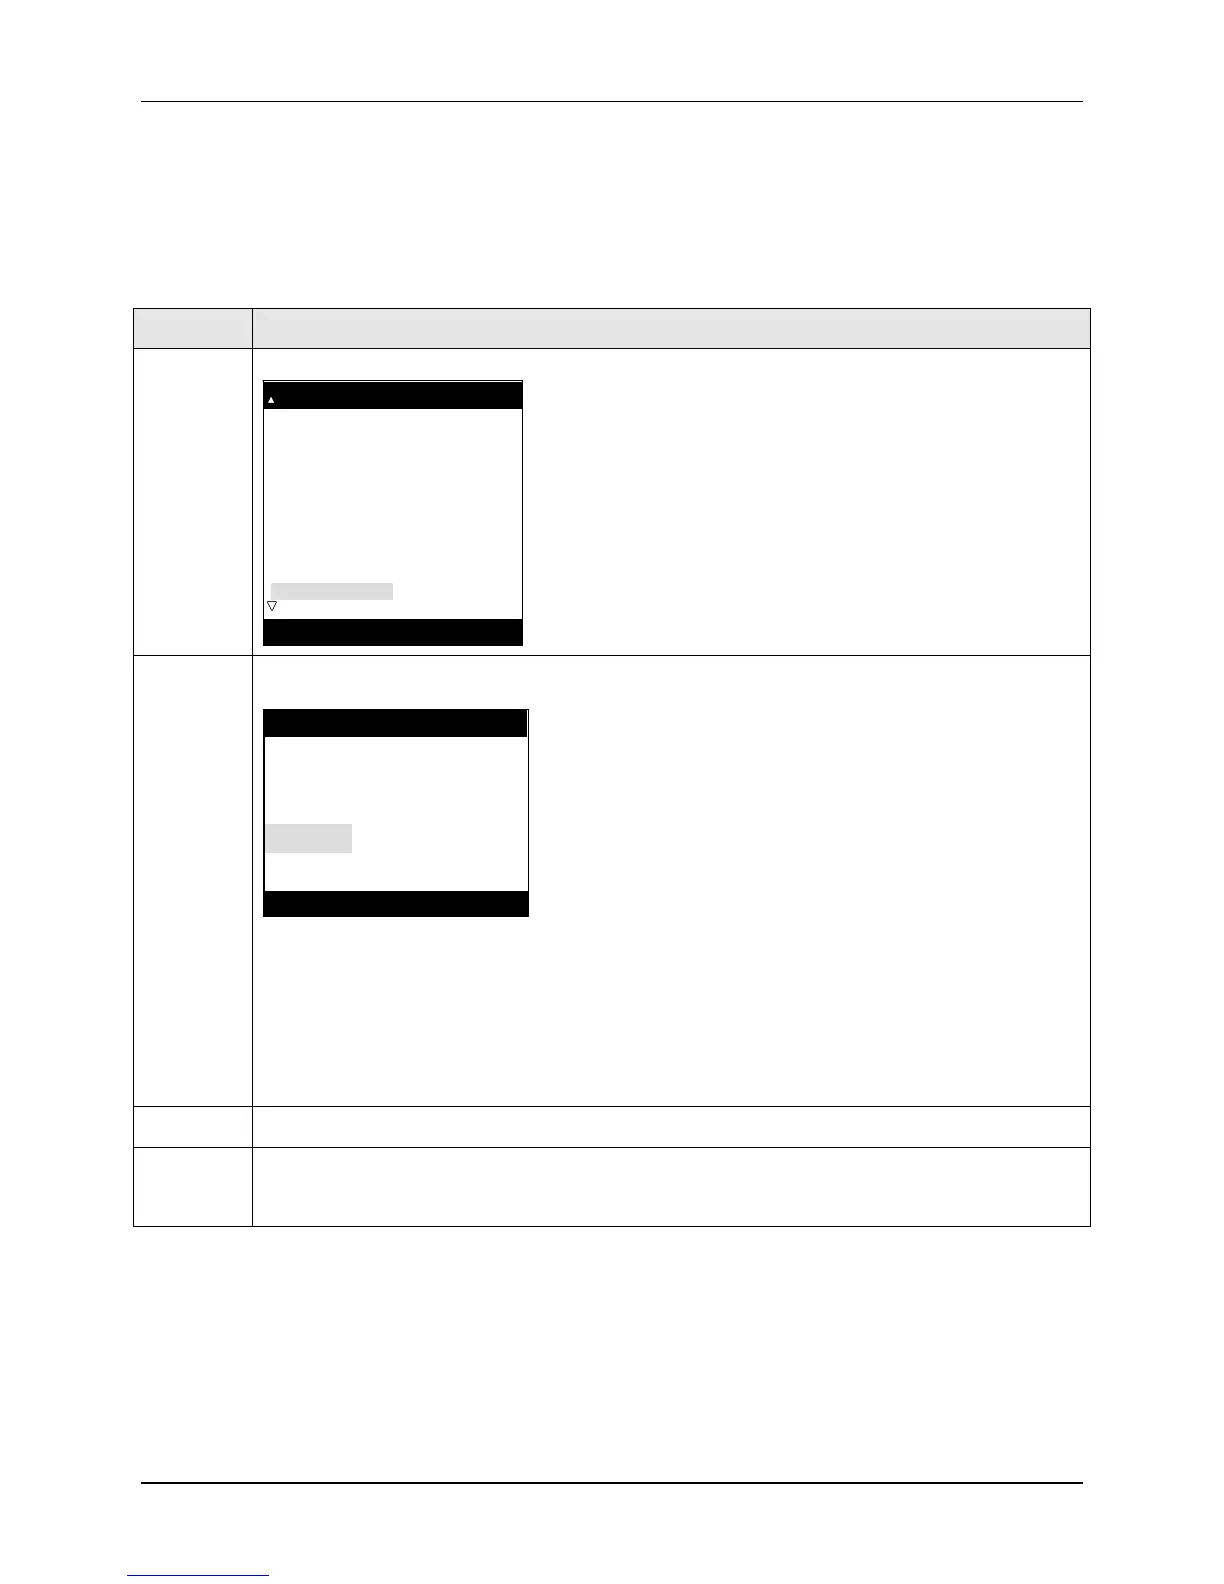
Table 3-3 Setting Up DHCP using the Front Panel
Step Action
1 On the front panel, select the Communication menu option in the Setup menu.
Setup
Inputs
Relays
Outputs
Maintenance
Alarms
Logic
PID Control
Math
Communication
Monitors
Auxiliary
Auto Cycling
Setup
Relays
Outputs
Maintenance
Alarms
Logic
PID Control*
Math
Communication
Monitors
Auxiliary
Auto Cycling*
Setup
Relays
Outputs
Maintenance
Alarms
Logic
PID Control
Math
Communication
Monitors
Auxiliary
Auto Cycling
Setup
Relays
Alarms
Logic
PID Control*
Math
Monitors
Auxiliary
Auto Cycling*
Variables
Setup
Inputs
Relays
Outputs
Maintenance
Alarms
Logic
PID Control
Math
Communication
Monitors
Auxiliary
Auto Cycling
Setup
Relays
Outputs
Maintenance
Alarms
Logic
PID Control*
Math
Communication
Monitors
Auxiliary
Auto Cycling*
Setup
Relays
Outputs
Maintenance
Alarms
Logic
PID Control
Math
Communication
Monitors
Auxiliary
Auto Cycling
Setup
Relays
Alarms
Logic
PID Control*
Math
Monitors
Auxiliary
Auto Cycling*
Variables
2 In the Communication menu, select Ethernet.
COMMUNICATION
RS485
Ethernet
IR FrontPanel
Modbus
COMMUNICATION
RS485
Ethernet
IR FrontPanel
Modbus
You will see the following Parameters:
Port Reset
DHCP (Dynamic Host Configuration Protocol)
IP Addr Octet 1-4 (IP Address)
SbntMsk Octet 1-4 (Subnet Mask)
Dflt Gtwy Octet 1-4 (Default Gateway)
DNS Srvr Octet 1-4 (Domain Name Service)
3
Set DHCP to Yes.
4 Scroll to Port Reset at the top of the menu, and press enter.
Change the value to Enable and press enter to lock the setting into the communication card.
Once all of the UDAs are set to DHCP, power them down, connect them to the network, and then power
them up. The DHCP server should automatically assign the IP address for each UDA.
Go to the Comm Status menu in the Status Displays menu to verify that the DHCP server automatically set
the IP address.
 Loading...