Optical drive
Description Spare part number
DVD±R/RW Double-Layer SuperMulti Drive (includes bezel, bracket, and screws)) 804185-001
Before removing the optical drive, follow these steps:
1. Turn off the computer. If you are unsure whether the computer is off or in Hibernation, turn
the computer on, and then shut it down through the operating system.
2. Disconnect the power from the computer by unplugging the power cord from the computer.
3. Disconnect all external devices from the computer.
4. Remove the battery (see Battery on page 25).
Remove the optical drive:
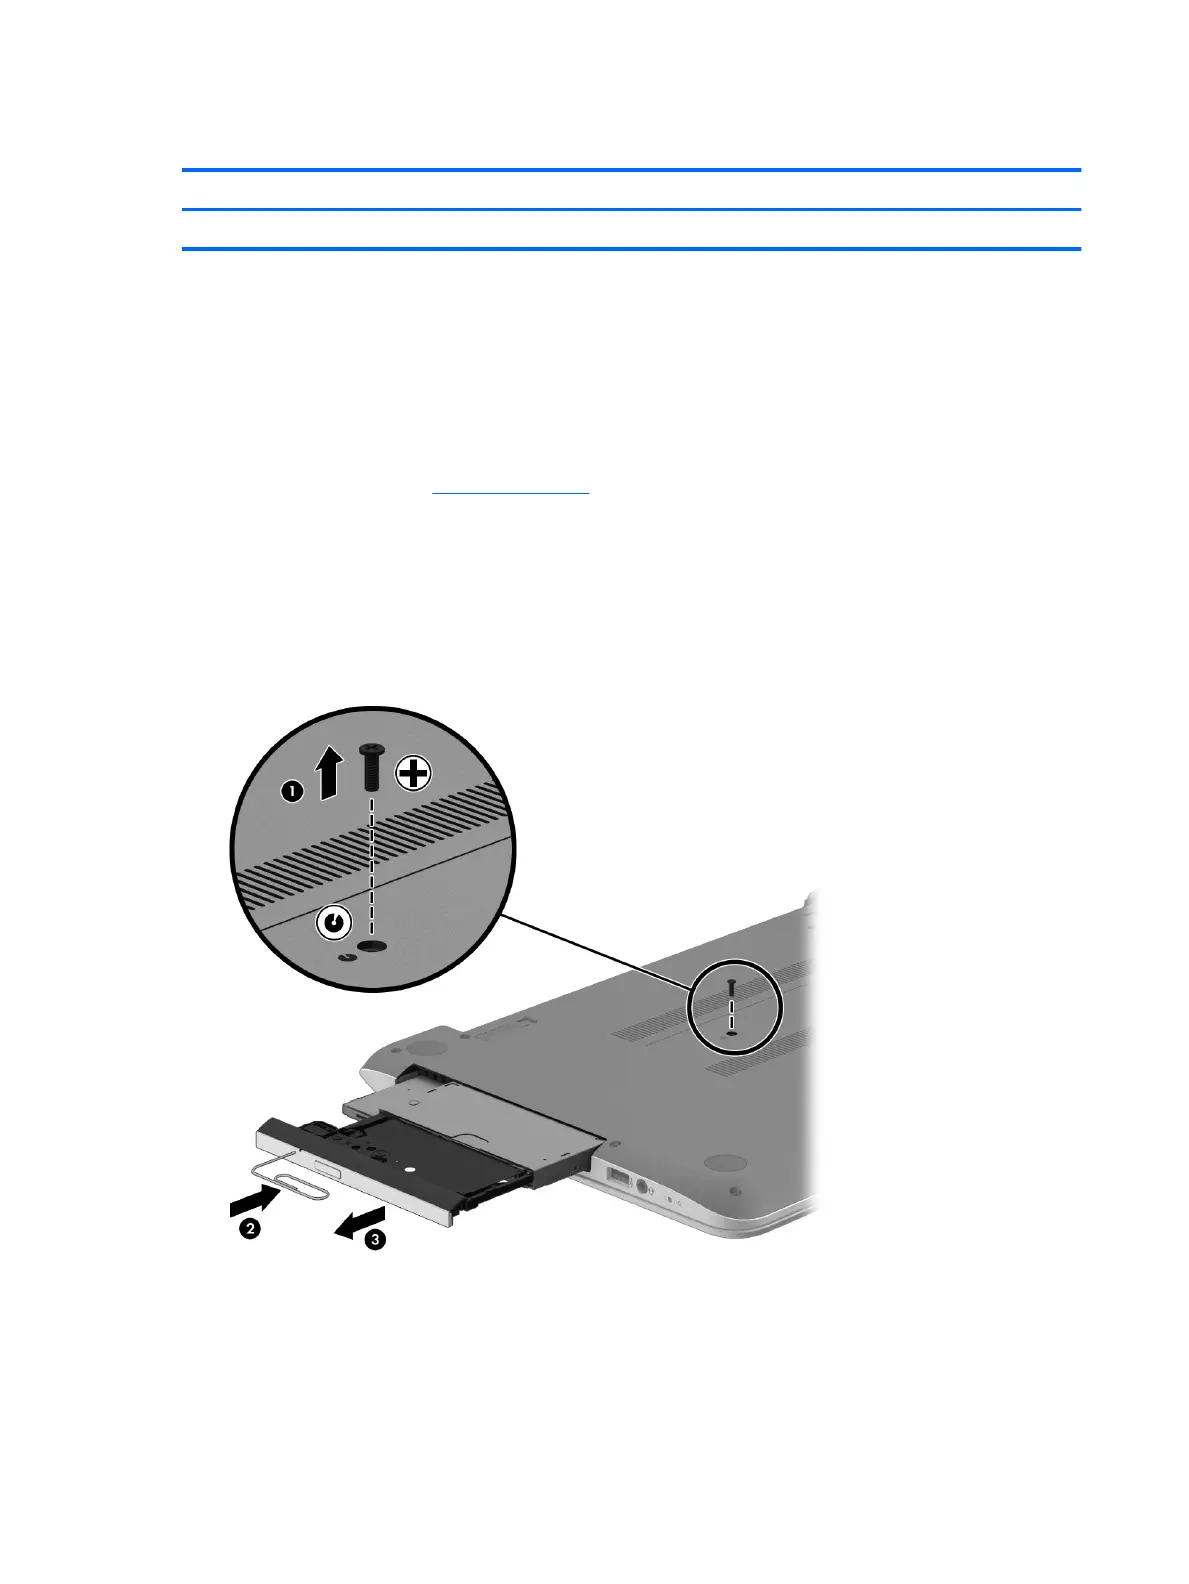
1. Remove the Phillips M2.5×6.5 screw (1) that secures the optical drive to the computer.
2. Push on the rear of the optical drive to disconnect it from the computer.
3. If necessary, use a straightened paperclip and press into the release hole (2) until the disc tray releases.
4. Pull the tray (3) out from the front until the optical drive is completely removed from the computer.
If it is necessary to replace the optical drive bracket and bezel, position the optical drive with the rear panel
toward you.
1. Remove the two Phillips screws from the optical drive (1) and remove the bracket (2).
30 Chapter 5 Removal and replacement procedures for Customer Self-Repair parts